Up Your Room Decor: Crystal Making
Grow colorful alum or salt crystals using safe household materials, decorate strings or jars with them, and learn about crystal formation through observation.


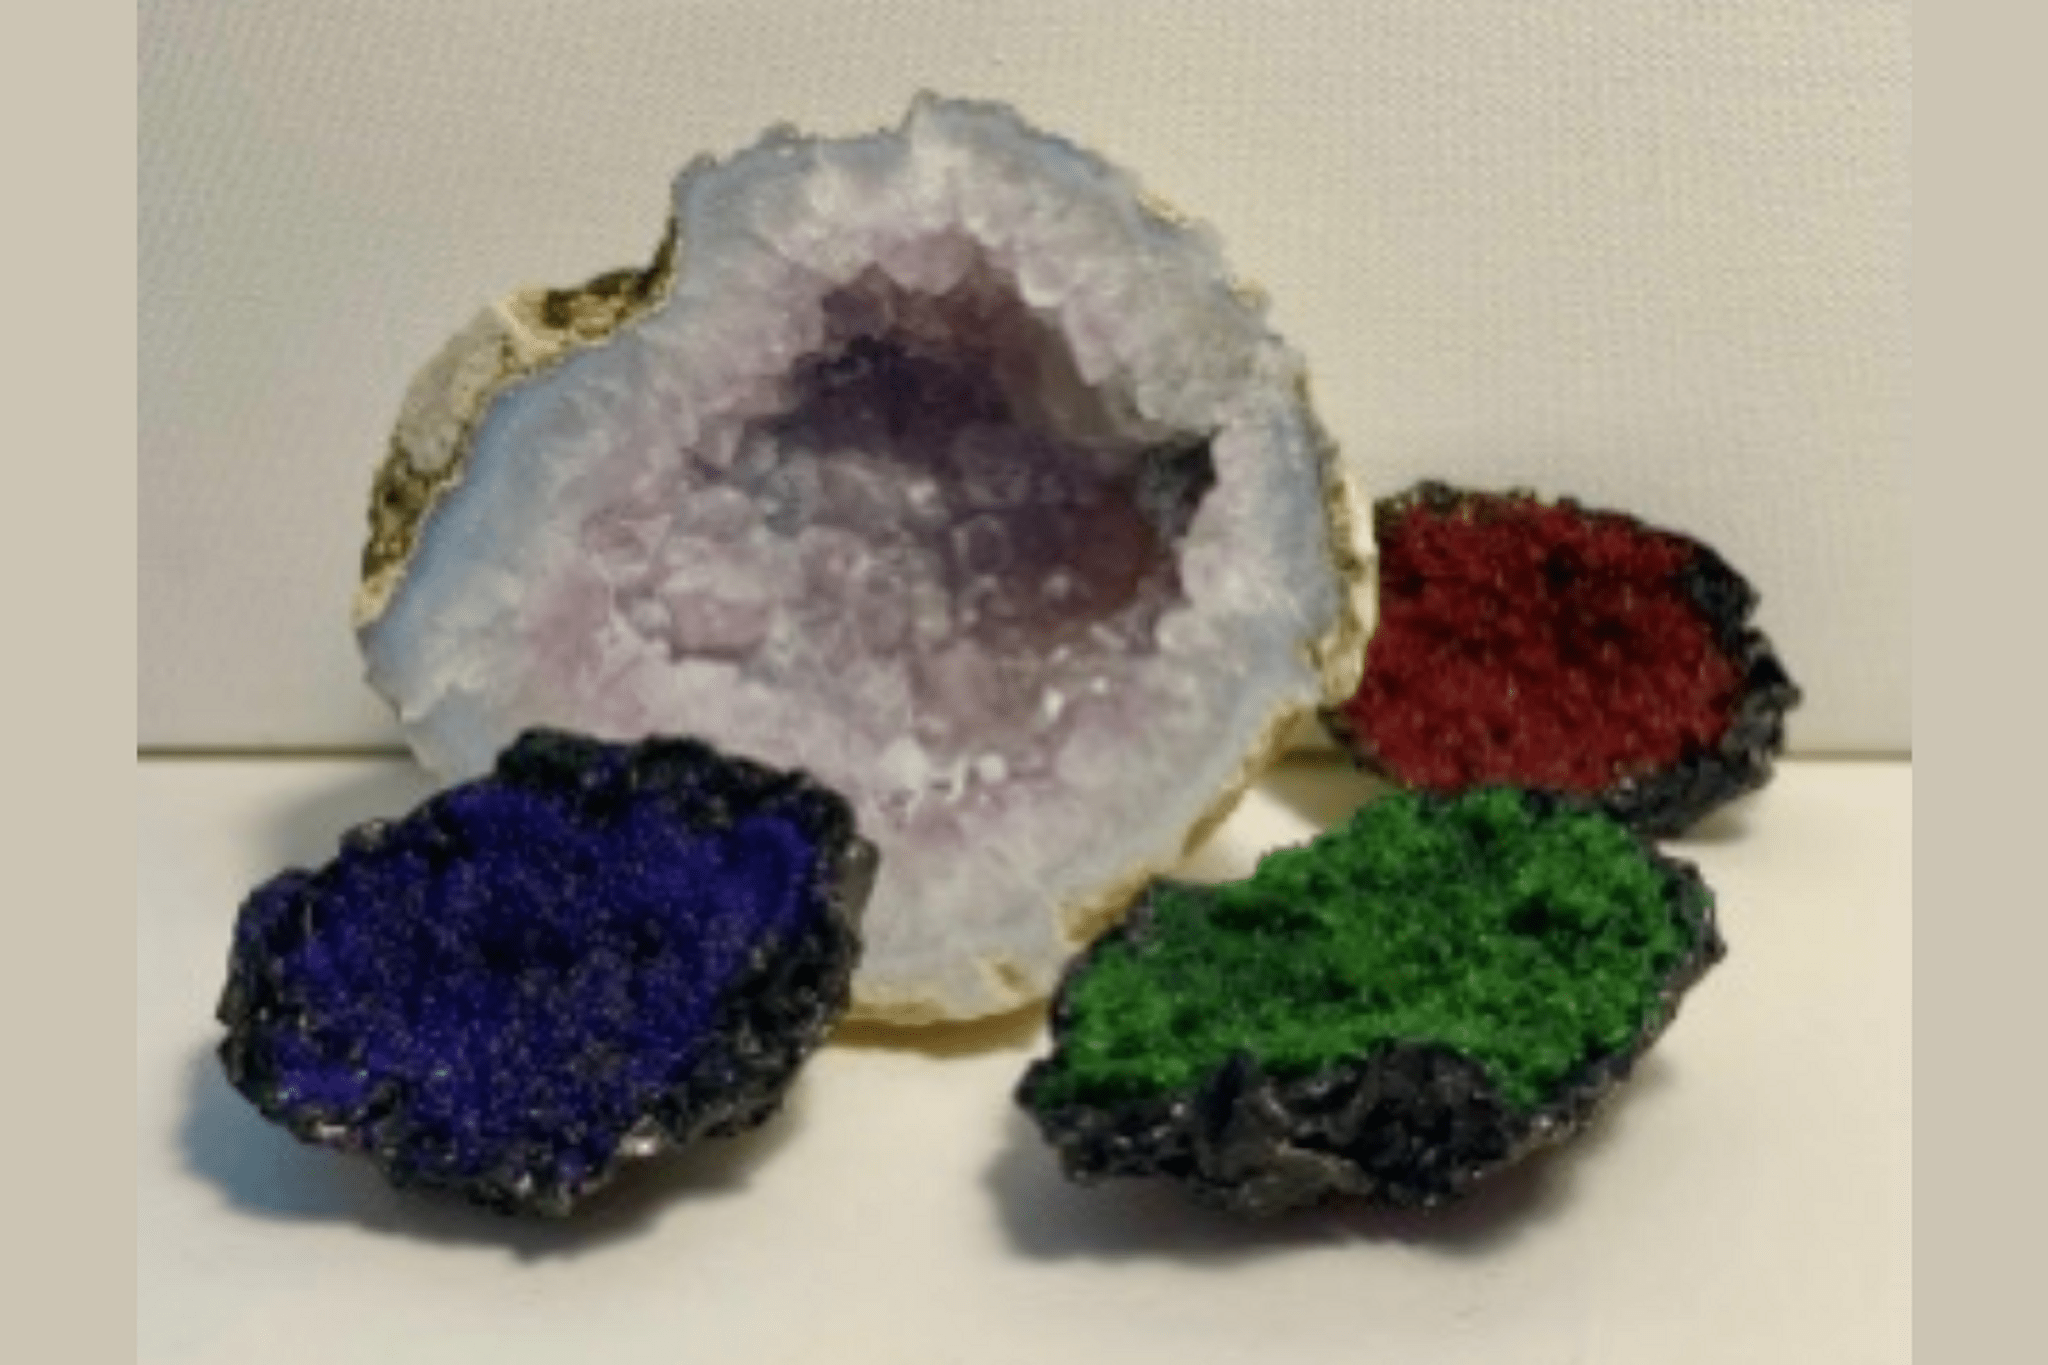

Step-by-step guide to Up Your Room Decor: Crystal Making
Grow Your Own Crystals at Home! Supplies & steps in the description. Subscribe for more fun ideas!
Step 1
Gather all the Materials Needed and set them on a clean table so everything is ready.
Step 2
Wash and dry the clear glass jar and the spoon to make sure they are clean before you start.
Step 3
Decide whether you will grow alum crystals or table salt crystals so you know which powder to use.
Step 4
With adult help heat 1 cup of water in the saucepan until it is very hot and steaming but not boiling.
Step 5
Add 3 tablespoons of alum or 5 tablespoons of table salt to the hot water.
Step 6
Stir the hot water with the spoon until the powder fully dissolves and the liquid looks clear.
Step 7
Add 2–4 drops of food coloring to the solution and gently stir to mix the color if you want colorful crystals.
Step 8
Place a paper towel or coffee filter over the jar and carefully pour the hot colored solution through it into the jar to remove any bits.
Step 9
Tie one end of the string to the pencil or popsicle stick and make sure the other end hangs down so it will sit in the center of the jar without touching the sides.
Step 10
Lower the string into the jar so it hangs in the solution and rest the pencil across the top of the jar to hold the string in place.
Step 11
Cover the jar with a paper towel and put it somewhere undisturbed at room temperature for several days while you wait for crystals to grow.
Step 12
Check after a few days and when crystals have formed well on the string remove the string from the jar with adult help.
Step 13
Let the crystal-covered string dry on a paper towel and then glue crystals onto the jar or use the string to make decorations.
Step 14
Share your finished crystal creation on DIY.org.
Help!?
What can I use if I can't find alum for the crystals?
If alum is unavailable, use table salt with the 5-tablespoon measurement from the instructions or try Epsom salt from a pharmacy knowing it will make different-shaped crystals and may need concentration tweaks.
My mixture stayed cloudy or no crystals are growing — what should I check?
Confirm you heated 1 cup of water until very hot, fully dissolved the 3 tablespoons alum or 5 tablespoons salt while stirring, poured the solution through the paper towel into the jar to remove bits, and left the jar undisturbed at room temperature to let crystals form.
How can I adapt this activity for younger kids or older kids?
Have an adult handle the hot-water and pouring steps for younger kids while they measure, add food coloring, and watch growth, and let older kids experiment with different concentrations, multiple jars, or shaped strings like pipe-cleaners.
How can we make the finished crystal project more decorative or long-lasting?
After drying the crystal-covered string as instructed, glue crystals onto the jar or grow separate colored crystals using 2–4 drops of different food coloring in multiple jars and assemble them into ornaments or a glued mosaic.
Watch videos on how to Up Your Room Decor: Crystal Making
Grow Crystals at Home Fun Kids Science Experiment | Try Think Box With Aras
4 Videos
Grow Crystals at Home Fun Kids Science Experiment | Try Think Box With Aras
Crystal icicles science experiment for children
DIY Grow Large Crystals for Room Decor

Grow Your Own Crystals at Home! Easy DIY
Facts about crystal growth and safe home chemistry
🧪 Potassium alum is a common, safe chemical used for growing classroom crystals because it dissolves well in hot water.
🧂 Salt (sodium chloride) crystals naturally form tiny cubes because of their cubic crystal lattice.
🌈 Adding a few drops of food coloring changes only the color, not the crystal growth process, so you can make colorful decorations.
⏳ Small crystals can appear within hours, but large, clear crystals often take several days to weeks to form.
🌍 Some of the biggest natural crystals—giant selenite—were found in Mexico's Naica Mine and measure over 10 meters long.
How do I grow colorful alum or salt crystals to decorate jars and strings?
What materials do I need to grow and decorate with alum or salt crystals?
What ages is crystal making suitable for?
Is crystal making safe for kids? What safety precautions should I take?
