Make Beaded Baubles
Create colorful beaded baubles using beads, string, and simple techniques. Design patterns, practice fine motor skills, and make decorative ornaments to share.
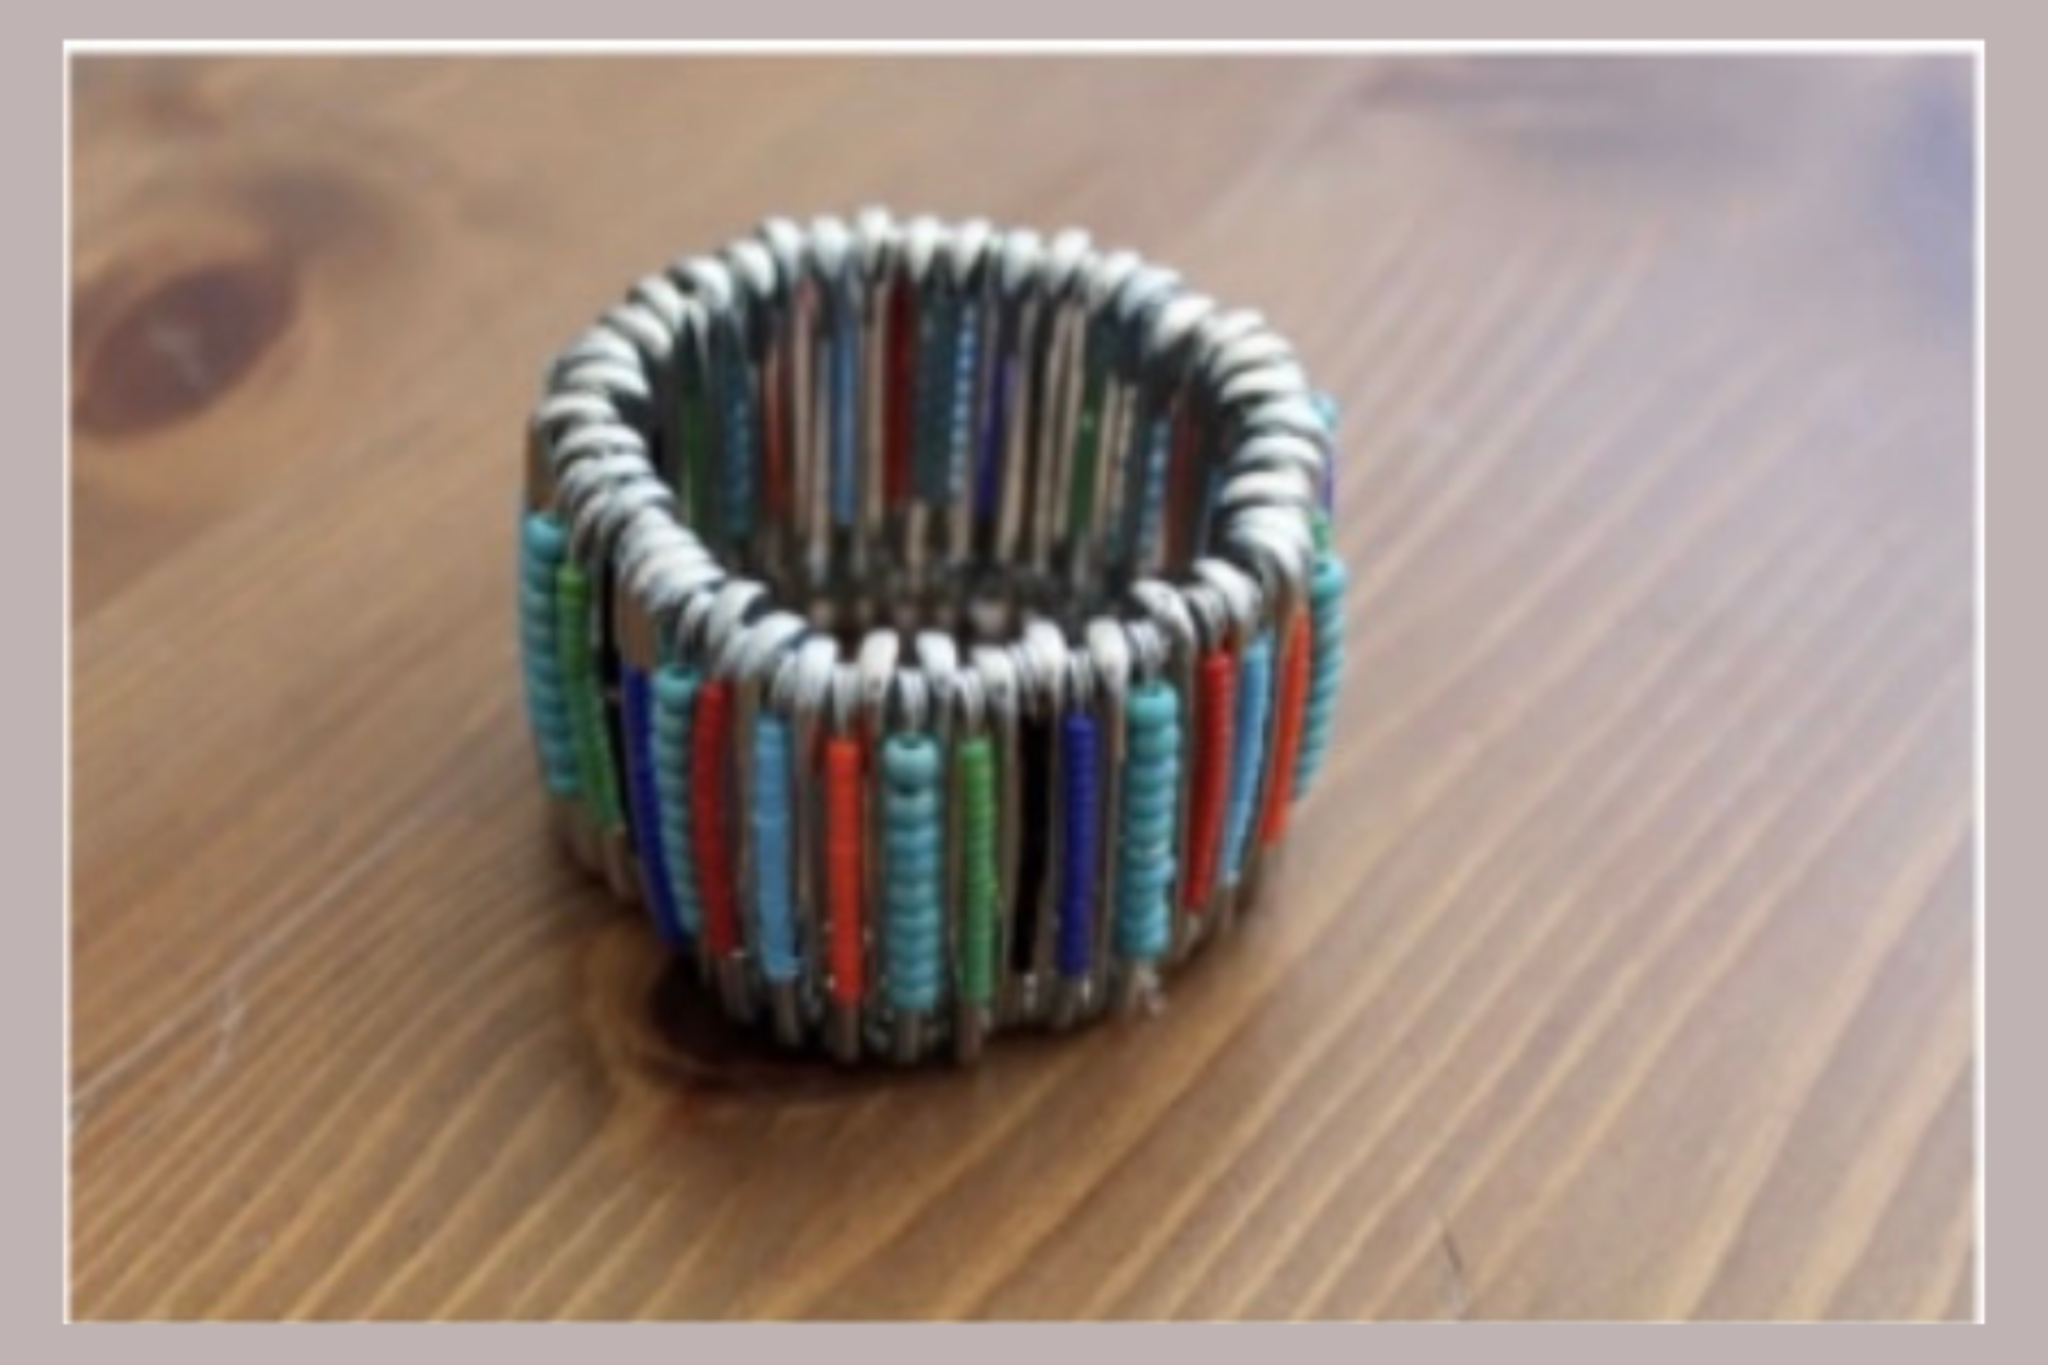
About this activity
Create colorful beaded baubles using beads, string, and simple techniques. Design patterns, practice fine motor skills, and make decorative ornaments to share.
What you need
Step by step
- 1
Step 1
Gather all your materials and put the beads into the bowl so they are easy to reach.
- 2
Step 2
Pick the colors and pattern you want for your bauble and count how many beads you will need.
- 3
Step 3
Cut a piece of string about 30 centimeters long using scissors.
- 4
Step 4
Attach a small piece of tape to one end of the string to stop beads from slipping off.
- 5
Step 5
Lay your beads on the table in the order of your pattern so you can follow it easily.
- 6
Step 6
Thread the beads onto the string one by one following the order you arranged.
- 7
Step 7
Stop threading when there is about 3 centimeters of string left before the taped end.
- 8
Step 8
Remove the tape and tie the two string ends together with a tight double knot.
- 9
Step 9
Trim the extra string close to the knot with scissors.
- 10
Step 10
Loop a ribbon or an ornament hook through the knot to make a hanger for your bauble.
- 11
Step 11
Gently tug your bauble to check the knot and beads are secure.
- 12
Step 12
Take a photo and share your finished beaded bauble on DIY.org
Fun facts
How do I make beaded baubles?
To make beaded baubles, start by choosing a color palette and simple pattern. Cut a length of string or elastic about twice the finished loop plus extra for tying. Tie a temporary knot or attach tape to one end, then thread beads onto the string following your design. Secure the ends with a tight knot (add a dot of craft glue for strength) and trim excess. Add a ribbon or hook for hanging. Adult help is recommended for very small beads and knotting.
What materials do I need for beaded baubles?
You’ll need a mix of beads (plastic, wooden, or glass), elastic cord or craft string, scissors, and a bead tray or small bowls to sort colors. Optional items: beading needles for thin string, clear craft glue to secure knots, jump rings or ornament hooks, and ribbon for hanging. Use large, chunky beads for young children to reduce choking risk. Recycled beads from old jewelry work well.
What ages is making beaded baubles suitable for?
This activity suits ages 4 and up with supervision. Toddlers (age 3–4) can use large, chunky beads with close adult assistance. Ages 5–7 develop fine motor control and can follow simple patterns with help tying knots. Ages 8+ can design more intricate patterns, use smaller beads, and work more independently. Always supervise to prevent choking; choose bead size and tools appropriate to the child’s skills.
What are the benefits of making beaded baubles?
Beaded baubles boost fine motor skills, hand–eye coordination, and concentration as children thread beads and follow patterns. The activity encourages color recognition, pattern-making, creativity, and early math concepts like counting and sequencing. It also builds patience and confidence when kids finish a project, and creates shareable gifts, promoting social and emotional skills. For safety, use age-appropriate beads and supervise younger children to avoid choking hazards.
Watch & Learn
Need help?
What can we use instead of tape, special string, or tiny beads if they’re hard to find?
If you don’t have tape, use a small paperclip or tie a temporary knot at the end of the string (step 4), and swap the string for a pipe cleaner or thicker cord if tiny beads or thread are unavailable.
My beads keep slipping or the knot comes undone—what should I try?
If beads slip during threading or the double knot feels loose (steps 4 and 8), use a bead needle or tape to hold beads in place while threading, retie a tight double knot and add a drop of clear glue or nail polish to the knot, then trim the excess with scissors (step 9).
How can I adapt this bauble activity for different age groups?
For preschoolers use pipe cleaners and large chunky beads with adult help for cutting and tying (step 3 and steps 8–9), while older kids can use thinner string and seed beads to create complex counted patterns (steps 2 and 5) or make multi-strand baubles.
How can we make the baubles more special or turn this into a bigger project?
Personalize by adding charms or spacers between beads, painting or mixing metallic beads to follow a theme (step 2 and step 5), attach a decorative ribbon loop for hanging (step 10), and photograph each design to share on DIY.org.