Turn Yourself Into Disney Royalty!
Create a Disney-inspired royal costume and accessories (crown, sash, wand) using paper, fabric, and glue, then pose and practice royal manners.
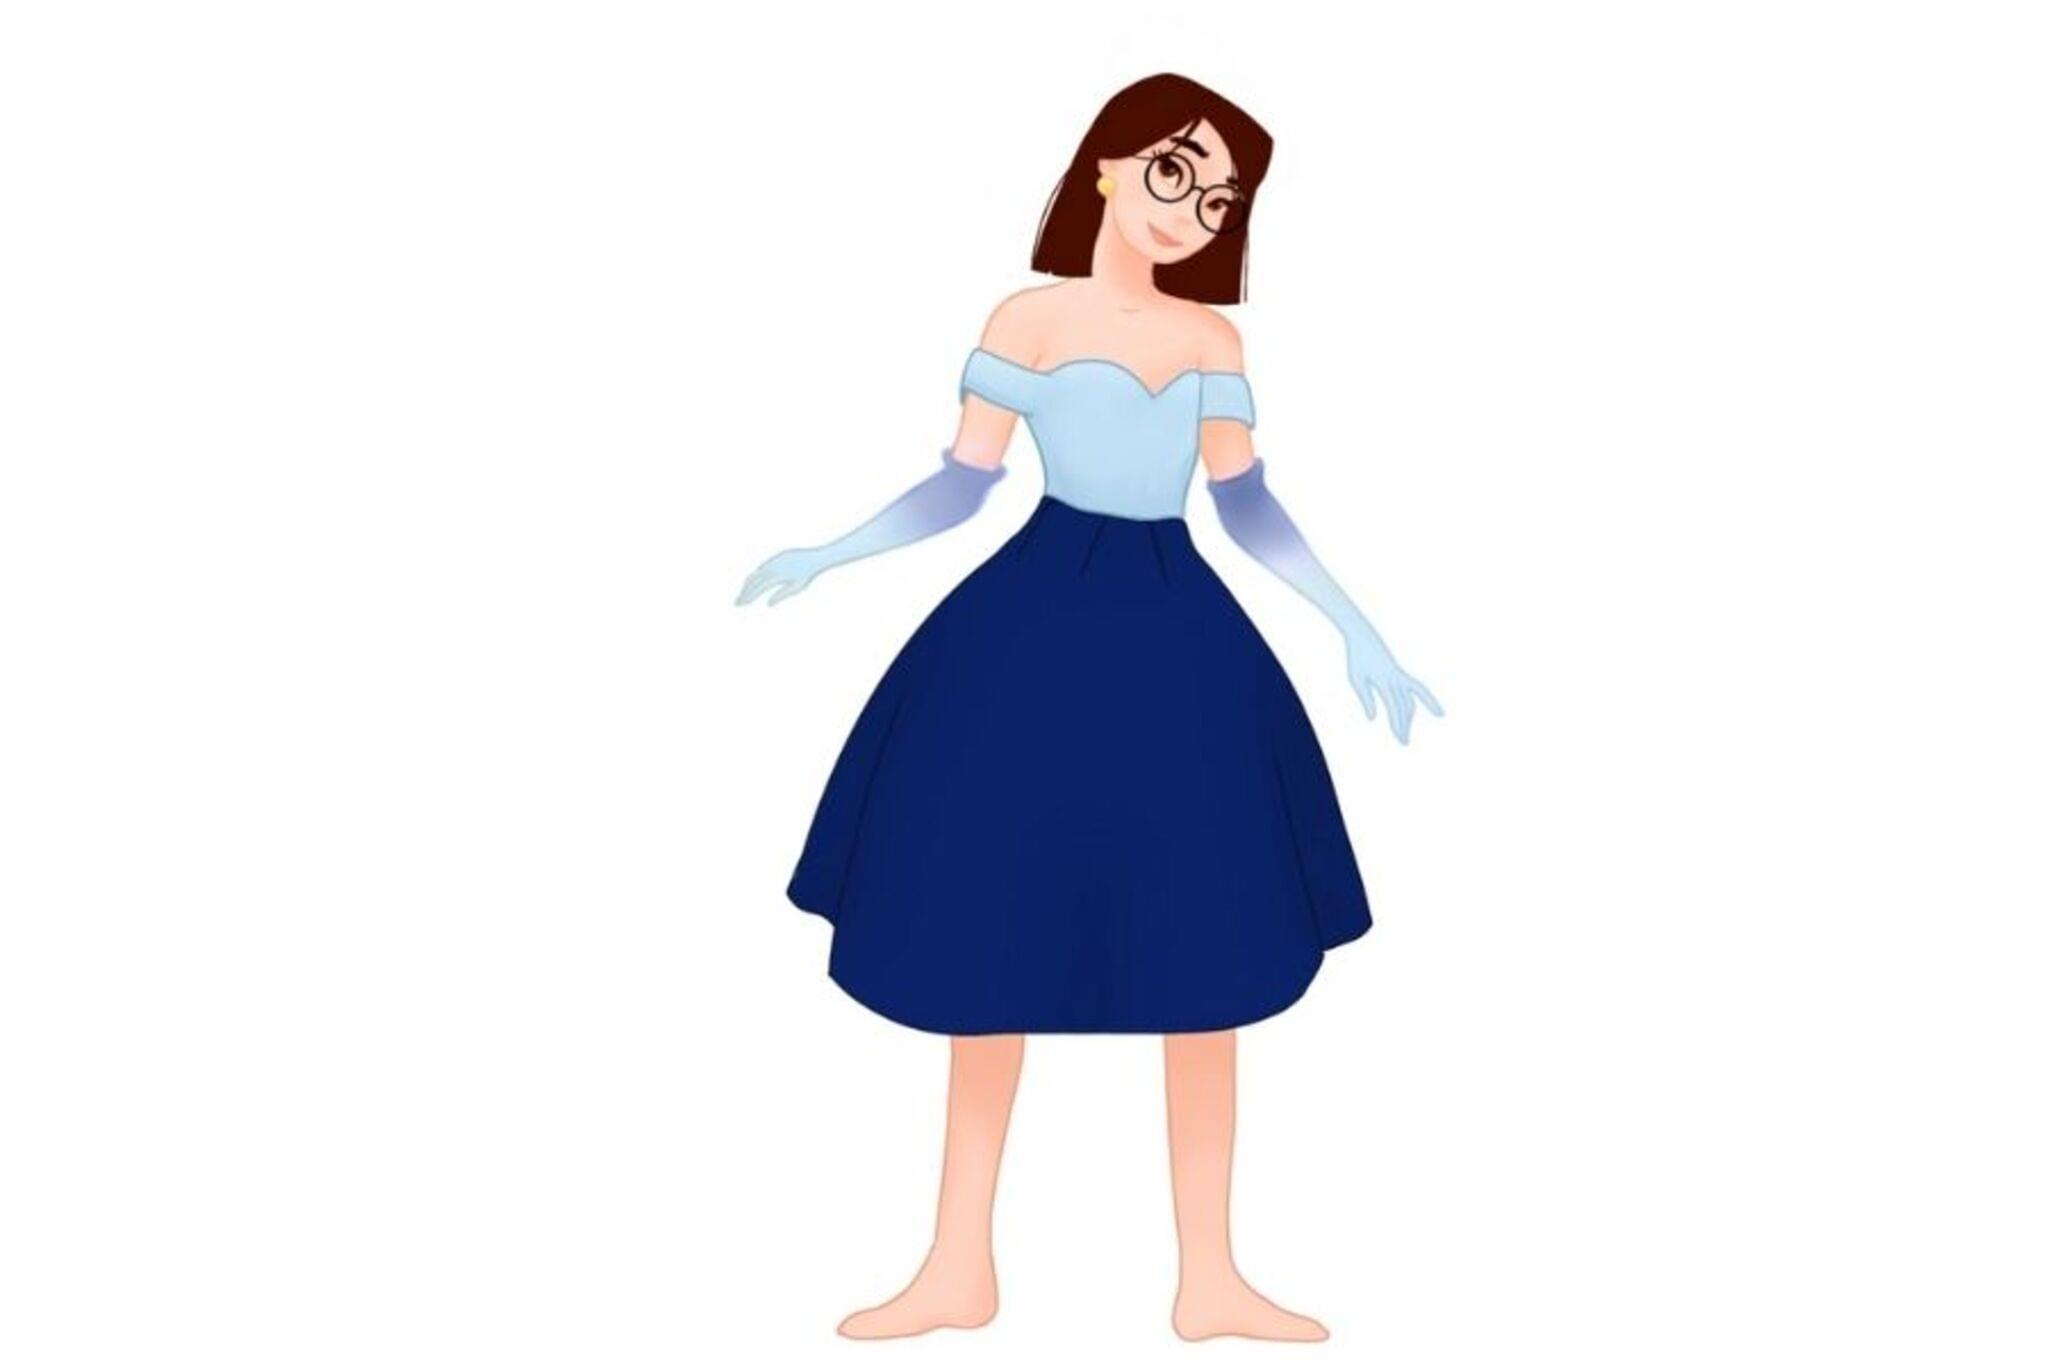
About this activity
Create a Disney-inspired royal costume and accessories (crown, sash, wand) using paper, fabric, and glue, then pose and practice royal manners.
What you need
Step by step
- 1
Step 1
Gather all your materials and set a clear workspace so everything is ready to use.
- 2
Step 2
Choose a Disney royal character or invent your own royal and pick 2 or 3 main colors to use.
- 3
Step 3
Make the crown by measuring your head with paper or fabric then cutting and shaping a band that fits.
- 4
Step 4
Add crown points by cutting triangle shapes and attaching them to the band with glue or tape.
- 5
Step 5
Decorate your crown using colouring materials stickers or craft gems to match your royal colors.
- 6
Step 6
Cut a long sash from fabric or paper that will go across your chest from shoulder to hip.
- 7
Step 7
Decorate the sash with drawings stickers or glued shapes that show your royal style.
- 8
Step 8
Make a wand by rolling a piece of paper into a stick or trimming a safe stick to wand size.
- 9
Step 9
Decorate the wand with drawings stickers or a glued star to make it magical.
- 10
Step 10
Tie ribbon or string around the wand handle to add sparkle and a royal finish.
- 11
Step 11
Put on your sash across your chest and fasten it with tape or a safety pin (ask an adult for help if needed).
- 12
Step 12
Put on your crown and hold your wand so you look like royal royalty.
- 13
Step 13
Strike a royal pose and hold it proudly for 10 seconds to practice standing tall and confident.
- 14
Step 14
Practice royal manners by doing a curtsy or bow three times and saying a polite royal greeting.
- 15
Step 15
Take a photo or short video of your royal costume and share your finished creation on DIY.org
Fun facts
How do I turn my child into Disney royalty?
Start by choosing a Disney-inspired royal look together. Sketch simple costume ideas, then make a paper or cardboard crown: cut a band to fit, add points, and decorate with foil, stickers, or gems. Create a sash from fabric or ribbon and glue on trim. Make a wand from a dowel or straw and attach a paper star. Help your child get dressed, practice royal posture, curtsies or bows, and encourage playful lines of dialogue for posing and role-play.
What materials do I need to make a Disney royal costume?
Gather basics: sturdy paper or cardboard, fabric scraps or an old shirt for a sash, craft glue and tape, scissors, markers or paints, ribbon, aluminum foil, and stickers or gem stickers. Add a wooden dowel or straw for a wand and decorative paper for a star. Optional items: safety pins, elastic for the crown, sequins, glitter (use with care) and hot glue (adult use only). Most items are low-cost and repurposed household materials.
What ages is this Disney royalty activity suitable for?
This activity suits a wide range: preschoolers (3–5) can enjoy simple dress-up and decorating with close adult help for cutting and gluing. Elementary kids (6–9) can design and assemble most pieces independently with supervision for scissors. Tweens (10+) can add sewing or more detailed decorations and lead the role-play. Always supervise hot glue, small decorations for choking hazards, and use child-safe scissors for younger children.
What are the benefits of making Disney royal costumes with kids?
Costume-making boosts creativity, fine motor skills, and problem-solving as kids plan and construct accessories. Role-play builds confidence, language and social skills through storytelling and practicing manners. It encourages parent-child bonding during crafting and imaginative play. The activity also teaches following steps and basic tool safety. Finished costumes give kids a tangible achievement to show off, strengthening self-expression and pride in their handmade creation.
Watch & Learn
Need help?
What can I use instead of craft gems, fabric, or a wooden stick if I can't find them?
Use torn pieces of colored paper or foil for craft gems to decorate the crown, an old T-shirt or pillowcase cut into a sash instead of fabric, and a rolled magazine or a pencil wrapped in paper for the wand.
My crown band is too loose or the points keep falling off—how can I fix that?
Re-measure your head with the paper or fabric band and trim for a snug fit, then reinforce attached triangle points by gluing them to a strip of cardboard before taping or gluing them to the band.
How can I adapt this activity for different ages?
For preschoolers have an adult pre-cut the band, points, and sash and provide stickers for decorating, for school-age kids let them measure, cut, and glue with safety scissors, and for older kids encourage sewing the sash or adding painted details and wired crown points.
How can I enhance or personalize my royal costume beyond the basic steps?
Add a hand-drawn crest or name to the sash, glue on extra fabric trims or ribbon to the crown, stick LED fairy lights or glitter glue to the wand, and stage a mini photo shoot to share the finished costume on DIY.org.