Draw Different Kinds of Butterflies
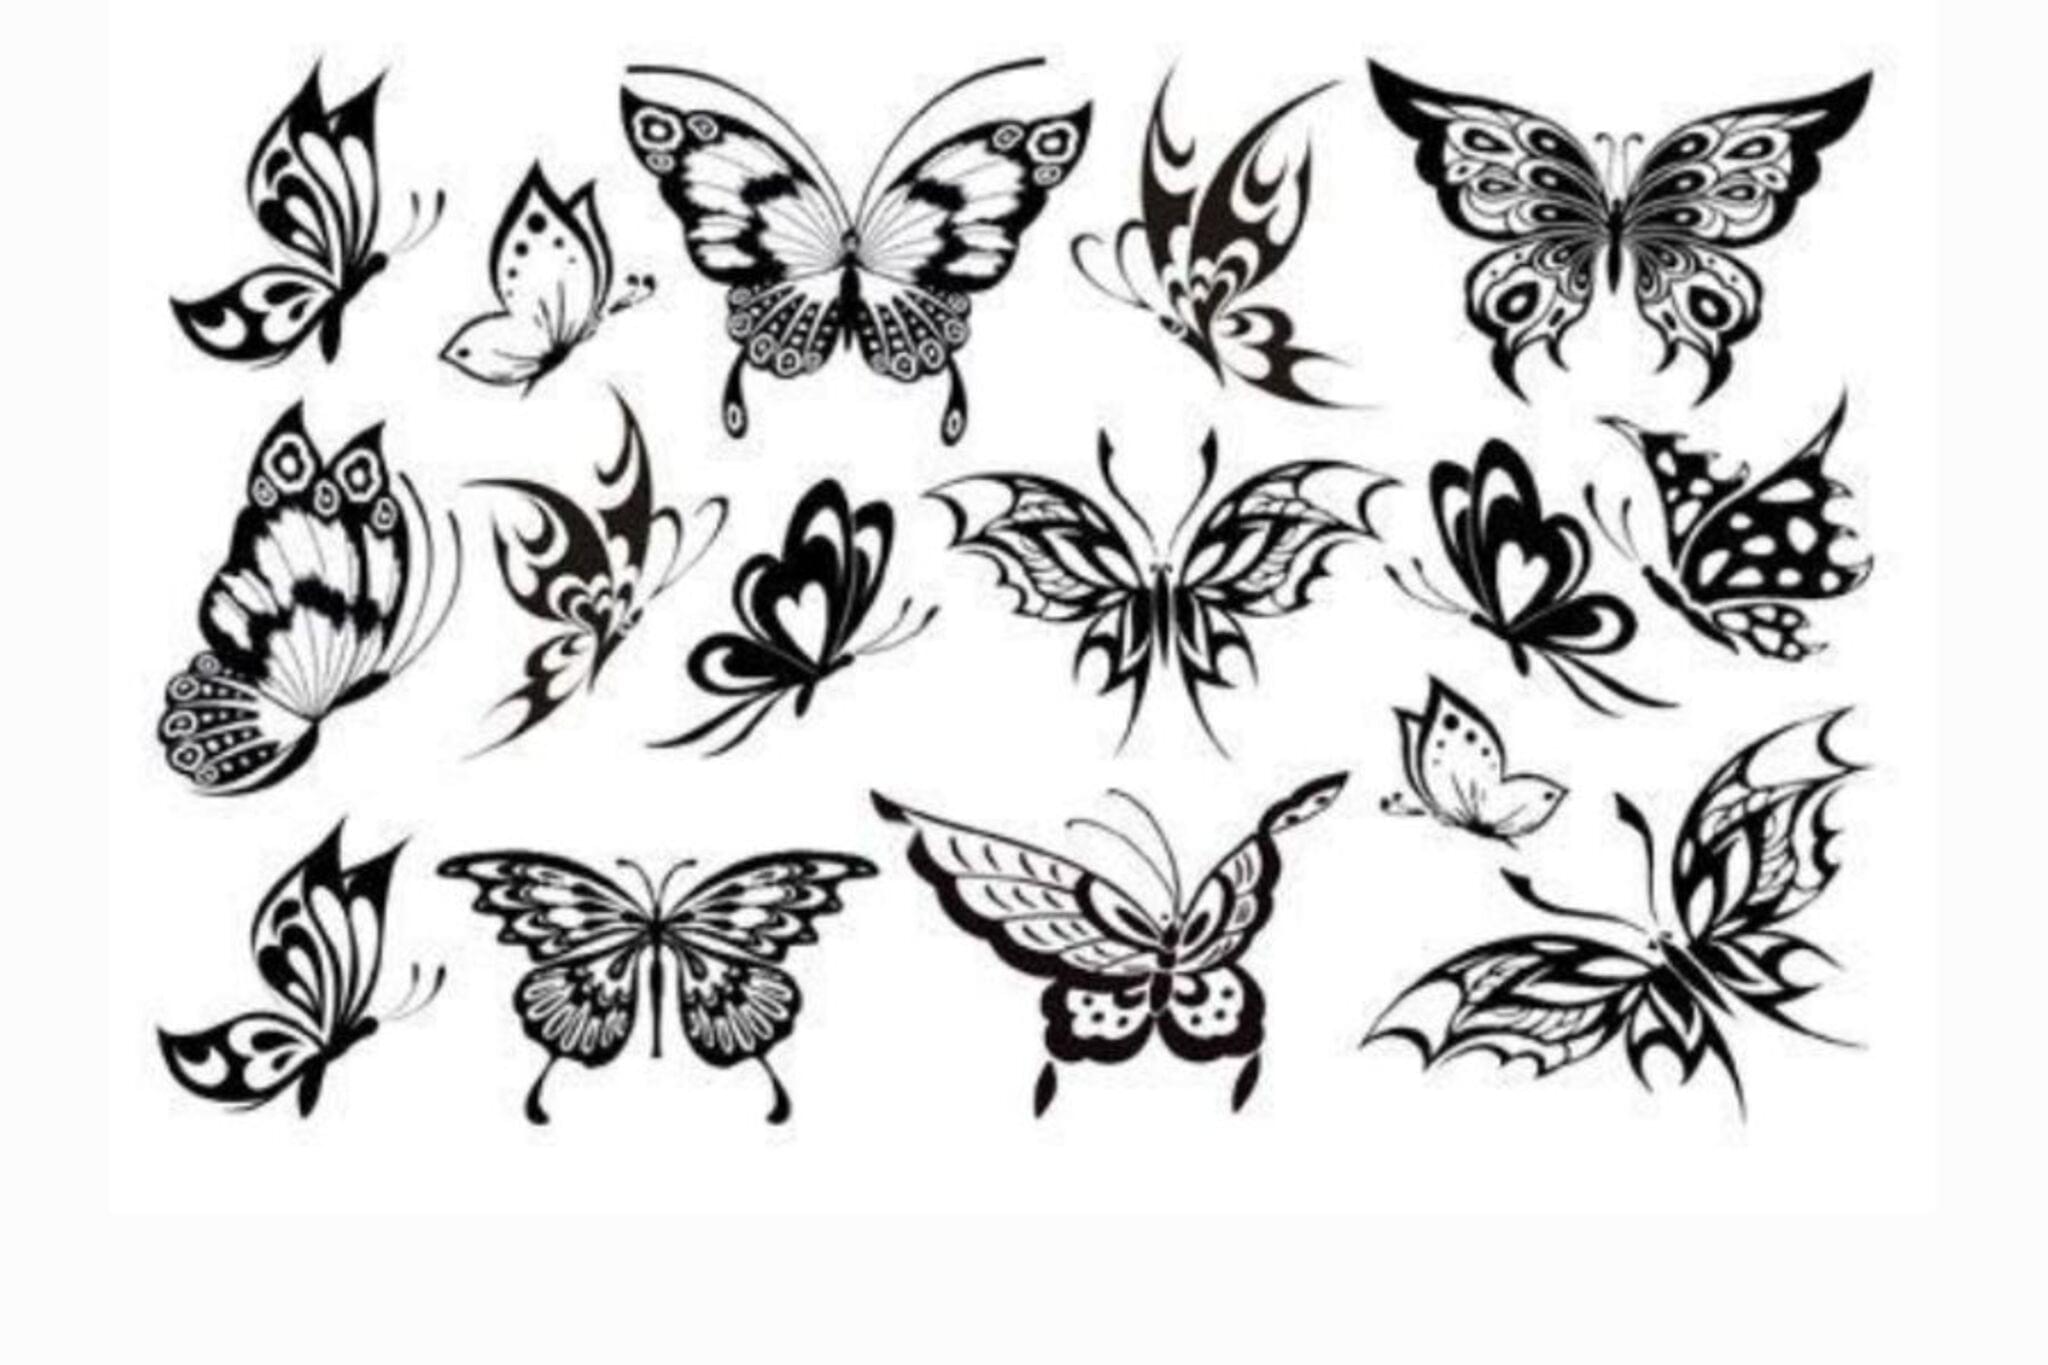
Draw and color five different butterfly species by observing reference pictures, practicing wing patterns, symmetry, and labeling features to learn about diversity.
About this tutorial
Draw and color five different butterfly species by observing reference pictures, practicing wing patterns, symmetry, and labeling features to learn about diversity.
What you need
Instructions
- 1
Step 1
Gather all your materials and spread them out on a flat table so everything is easy to reach.
- 2
Step 2
Choose five butterfly species from your reference pictures and decide which one goes in each spot on your paper.
- 3
Step 3
Lightly draw five small ovals spaced across the page to mark the bodies of the five butterflies.
- 4
Step 4
Draw a light vertical centerline through each oval to show where the wings will mirror each other.
- 5
Step 5
For each oval draw the wing shape on one side using the reference picture to copy the outer wing outline.
- 6
Step 6
Carefully copy the wing shape across the centerline to make the opposite wing match so both sides are symmetrical.
- 7
Step 7
Add the wing patterns and markings on both sides for each butterfly using details from the reference pictures.
- 8
Step 8
Draw eyes and antennae on each butterfly body so they look finished and recognizable.
- 9
Step 9
Trace your final outlines with a black marker or a darker pencil so the shapes and patterns stand out.
- 10
Step 10
Erase the light guide lines and any extra pencil marks so each butterfly looks clean.
- 11
Step 11
Color each butterfly following the reference colors and keep patterns mirrored on both wings for neat symmetry.
- 12
Step 12
Write the species name next to each butterfly to label what you drew.
- 13
Step 13
Write one short sentence about how the five butterflies are different such as color pattern wing shape or size.
- 14
Step 14
Share your finished creation on DIY.org
Fun facts
How do I guide my child to draw five different butterfly species?
Start by choosing five clear reference photos of different species. Have your child lightly sketch a central body and a faint vertical guideline to keep wings symmetrical. Draw each wing’s outline, then copy patterns from the photo—spots, stripes, and veins—working one wing side and mirroring it on the other. Add antennae and legs, then color using layered strokes to match tones. Finally, label features and compare the five drawings to discuss differences and similarities.
What materials do I need to draw and color different butterfly species?
You’ll need plain drawing paper or a sketchbook, HB pencil and eraser, ruler or straightedge for symmetry guides, and colored pencils, markers, or crayons for coloring. Printouts or tablet images of reference photos are helpful, plus a black fineliner for outlines and labels. Optional extras: watercolors, blending tools, a magnifying glass for close pattern study, sticky notes for labels, and a clipboard or hard surface to draw on.
What ages is the butterfly drawing activity suitable for?
This activity works for many ages: preschoolers (3–5) can color simple butterfly shapes and try basic symmetry with tracing help. Early elementary kids (6–8) can sketch outlines, copy simple patterns, and label basic features. Older children (9–12) can study species details, practice accurate wing venation and realistic shading. Teens can do scientific-style illustrations and research species traits. Adjust complexity and supervision to match your child’s fine-motor and observation skills.
What are the benefits and fun variations for drawing different butterflies?
Drawing butterflies builds observation, fine motor control, pattern recognition, and patience while teaching biodiversity and anatomy (wings, veins, antennae). Variations include making a mini field guide with labeled species, creating mixed-media wings (collage, paint), folding paper for perfect symmetry, or turning drawings into a classroom display or matching game. You can also pair the project with a nature walk to observe real butterflies and reinforce learning.
Watch & Learn
Need help?
What can I use if I don't have the reference pictures the instructions ask for?
Use photos on your phone or tablet, pages from nature books or magazines, or quick sketches of live butterflies laid out on your table as the 'reference pictures' when you gather all your materials.
My wings don't look symmetrical after copying across the centerline—how do I fix that?
After you draw the wing shape on one side using the reference picture, fold the paper gently along the light vertical centerline and rub the pencil line to transfer it or use tracing paper to copy and flip the wing so the opposite wing matches across the centerline.
How can I adapt this activity for different ages?
For younger kids pre-draw the five small ovals and centerlines and let them color simple mirrored patterns with crayons, while older children can add detailed markings from the reference pictures, trace final outlines with marker, label each species, and write the comparative sentence about color, pattern, wing shape, or size.
What are some ways to extend or personalize our butterfly drawings?
Enhance your page by adding a habitat background, using mixed media like watercolor or collage on the wings, gluing textured papers, neatly writing each species name next to its butterfly, photographing the finished creation, and then share it on DIY.org.