Quill Leaves
Make leaf quills by drying and shaping fallen leaves, then, with adult help, use them for ink dipping and writing to explore textures.
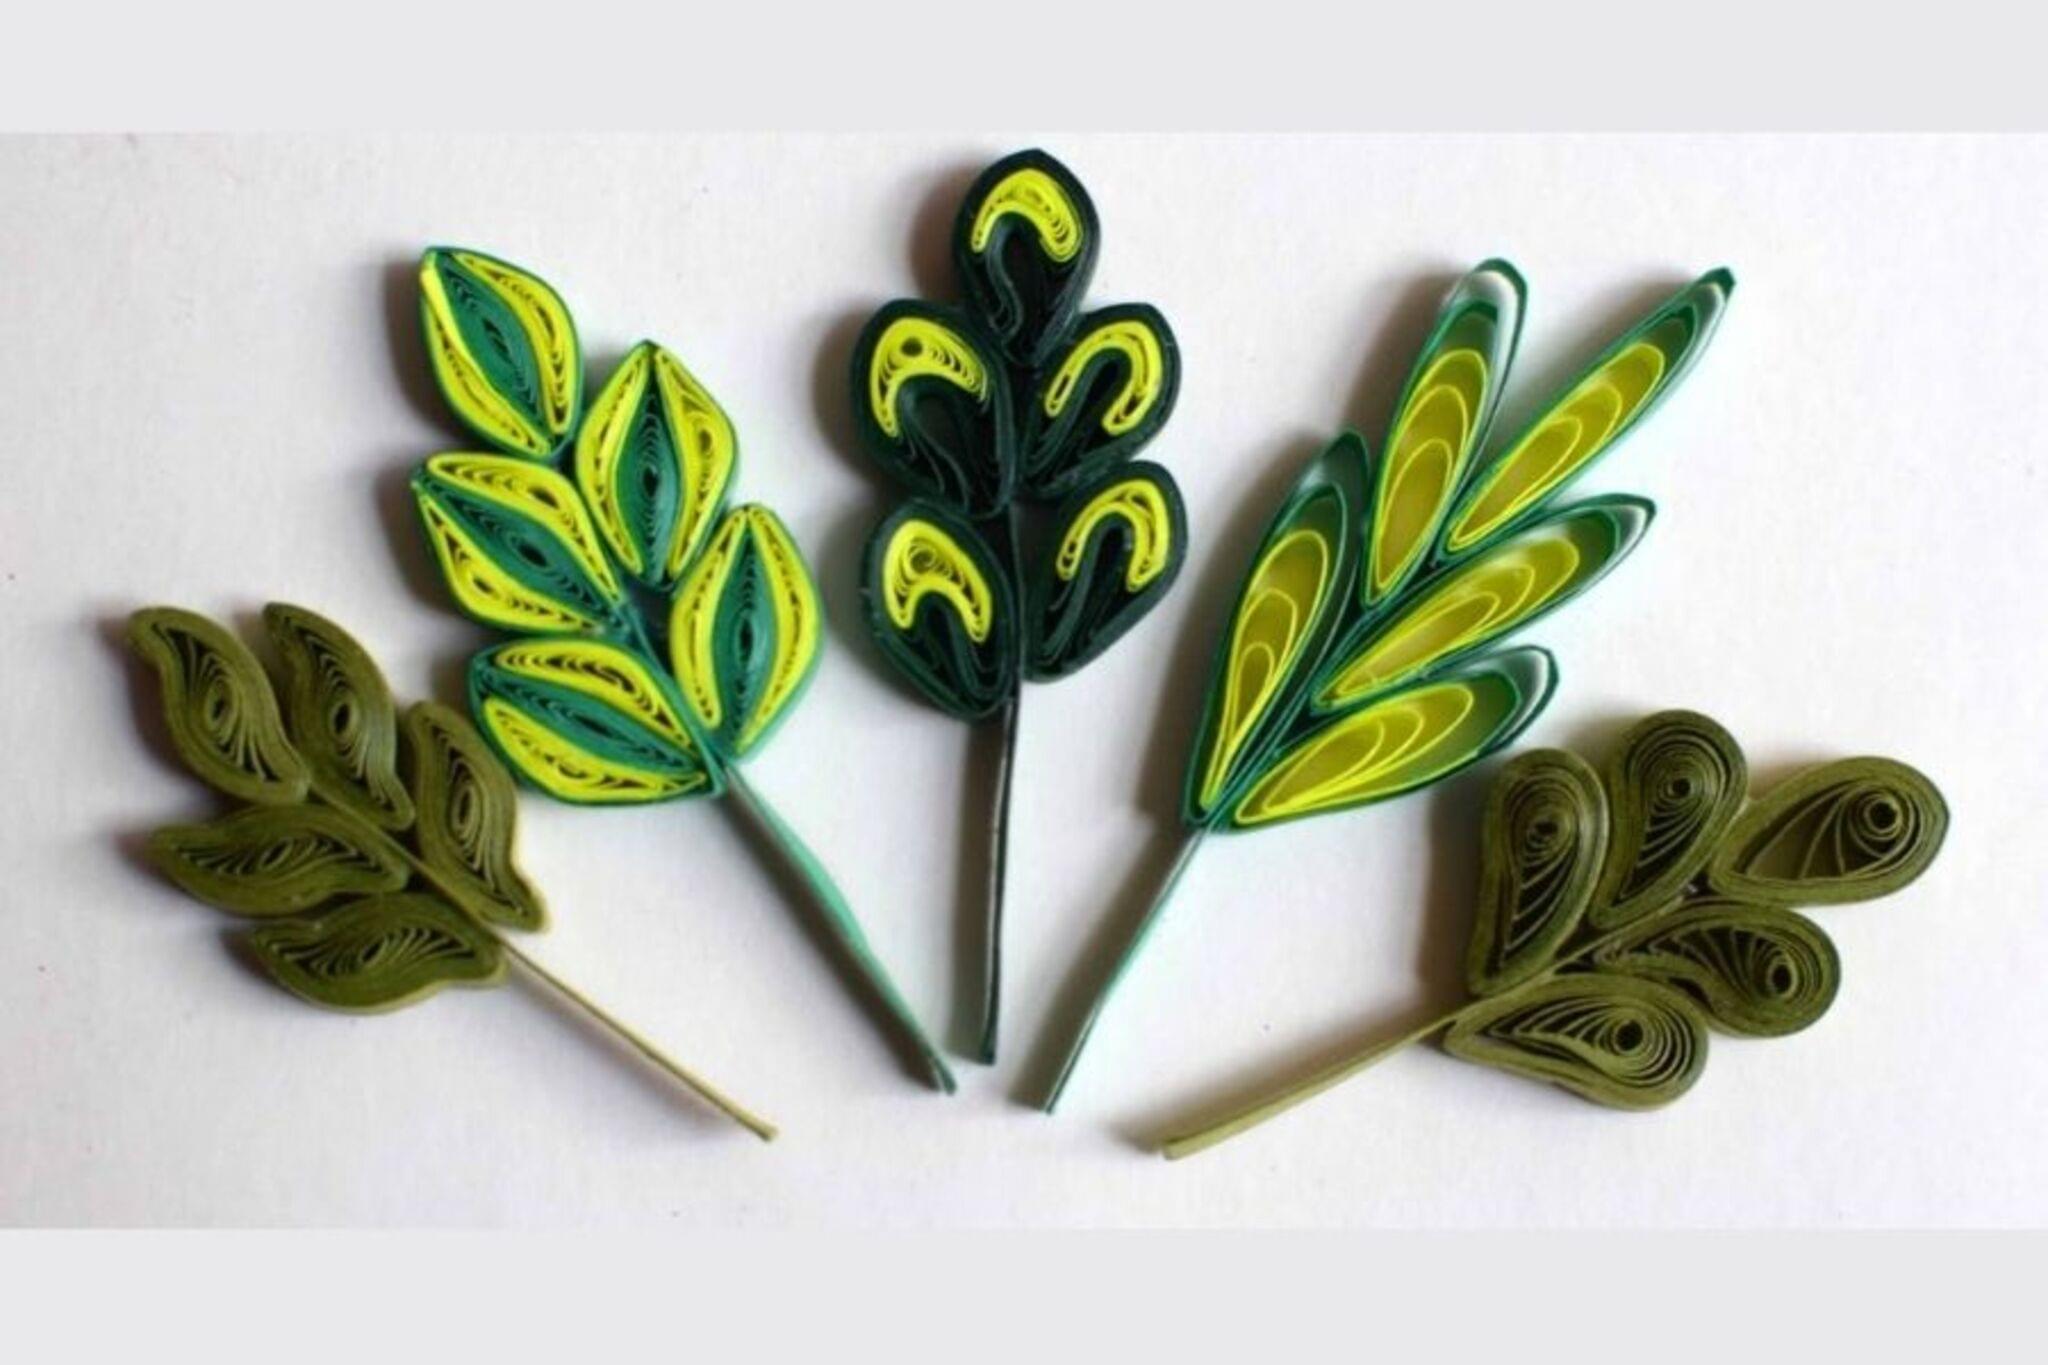
About this activity
Make leaf quills by drying and shaping fallen leaves, then, with adult help, use them for ink dipping and writing to explore textures.
What you need
Step by step
- 1
Step 1
Go outside and collect 3 to 5 recently fallen leaves of different sizes and shapes to explore textures.
- 2
Step 2
Gently wipe each leaf with your cloth or paper towel to remove dirt and tiny bits.
- 3
Step 3
Put one leaf between two sheets of plain paper so it lies flat.
- 4
Step 4
Slide the paper with the leaf into the heavy book and close the book.
- 5
Step 5
Leave the book closed for 48 to 72 hours so the leaf dries and flattens.
- 6
Step 6
Open the book and carefully take out one dried leaf.
- 7
Step 7
Use the scissors to trim the leaf stem to about 2 or 3 centimeters so it’s a comfy handle.
- 8
Step 8
With adult help use the craft knife to cut a diagonal point at the tip of the leaf to make a nib.
- 9
Step 9
With adult help use the craft knife to make a small vertical slit about 5 to 10 millimeters at the tip to form an ink channel.
- 10
Step 10
Pour ink or washable paint into the shallow dish, dip the leaf nib briefly, and wipe any extra ink on the cloth.
- 11
Step 11
Practice writing or drawing on scrap paper to feel and compare the different textures each leaf quill makes.
- 12
Step 12
Share photos and what you learned about the textures your leaf quills made on DIY.org
Fun facts
How do you make leaf quills and use them for ink writing?
To make leaf quills, collect intact fallen leaves and dry them flat by pressing between paper towels under heavy books for a week or more. With an adult, trim the tip and make a small slit to form a nib, or roll and secure the leaf around a pencil shaft with tape or glue to stiffen. Seal lightly with diluted white glue. Dip gently in washable ink or watercolor and test strokes on scrap paper to explore textures.
What materials do I need to make and use quill leaves?
You'll need: fallen leaves (firm, intact), absorbent paper towels or blotting paper, heavy books for pressing, small scissors and a craft knife (adult use only), clear-drying glue or Mod Podge, tape or a clothespin to hold a handle, pencils or straws for shafts, washable ink or watercolor and a shallow dish, scrap paper, and wipes or a damp cloth for cleanup.
What ages is the leaf quill activity suitable for?
Suitable for ages about 4–12 with different levels of help. Ages 4–6 enjoy collecting, pressing, and simple stamping while supervised; ages 7–9 can help trim and shape leaves with close adult assistance for cutting and glue; ages 10–12 can make more precise nibs and experiment independently under supervision. Always provide adult help when using scissors, craft knives, heat, or permanent inks.
What are the benefits, safety tips, and variations for leaf quills?
Making leaf quills builds fine motor control, observation skills, and a connection to nature while encouraging creativity and sensory exploration of textures. Safety: avoid unknown or irritant plants, wash hands after handling, and supervise cutting, adhesive use, and inks. Variations: try different leaf shapes and sizes, stiffen nibs with fabric resin, use watercolor washes or berry inks, or press leaves into clay for ink stamps to explore more textures and prints.
Watch & Learn
Need help?
What can we use if we don't have a heavy book, craft knife, or liquid ink?
Press leaves between two sheets of plain paper under a stack of textbooks or canned goods instead of a heavy book, use small sharp scissors or a metal nail file (with adult help) instead of the craft knife to make the diagonal nib and 5–10 mm slit, and substitute tea, diluted food coloring, or a washable marker dabbed into the shallow dish for liquid ink.
What should we do if the leaf quill splits, doesn't flatten, or the ink blobs instead of flowing?
Make sure you fully dry each leaf for the full 48–72 hours pressed between plain paper in the heavy book, trim the stem to about 2–3 centimeters for a steady handle, cut a shallower diagonal point and a 5–10 mm vertical slit to form a proper ink channel, and always wipe extra ink on the cloth before practicing on scrap paper.
How can this activity be adapted for different ages?
For toddlers and preschoolers skip the craft knife and let them help wipe leaves and use leaves as paint stamps with washable paint while older kids can, with adult supervision, trim stems to 2–3 cm, carve finer diagonal nibs and 5–10 mm slits with the craft knife, and experiment with different inks on scrap paper to compare textures.
How can we extend or personalize the leaf quill activity once we've made quills?
After collecting 3–5 different leaves and trimming stems to 2–3 cm, test nibs on scrap paper, label each leaf with its species and a note about the texture it produced, decorate the stem handles with washi tape or wrapped thread, and photograph your set to share on DIY.org.