#ReviewDIYTV - Origanimals
Fold paper to create simple origami animals, learn basic folding techniques, follow step-by-step diagrams, and decorate your animal creations with markers and stickers.
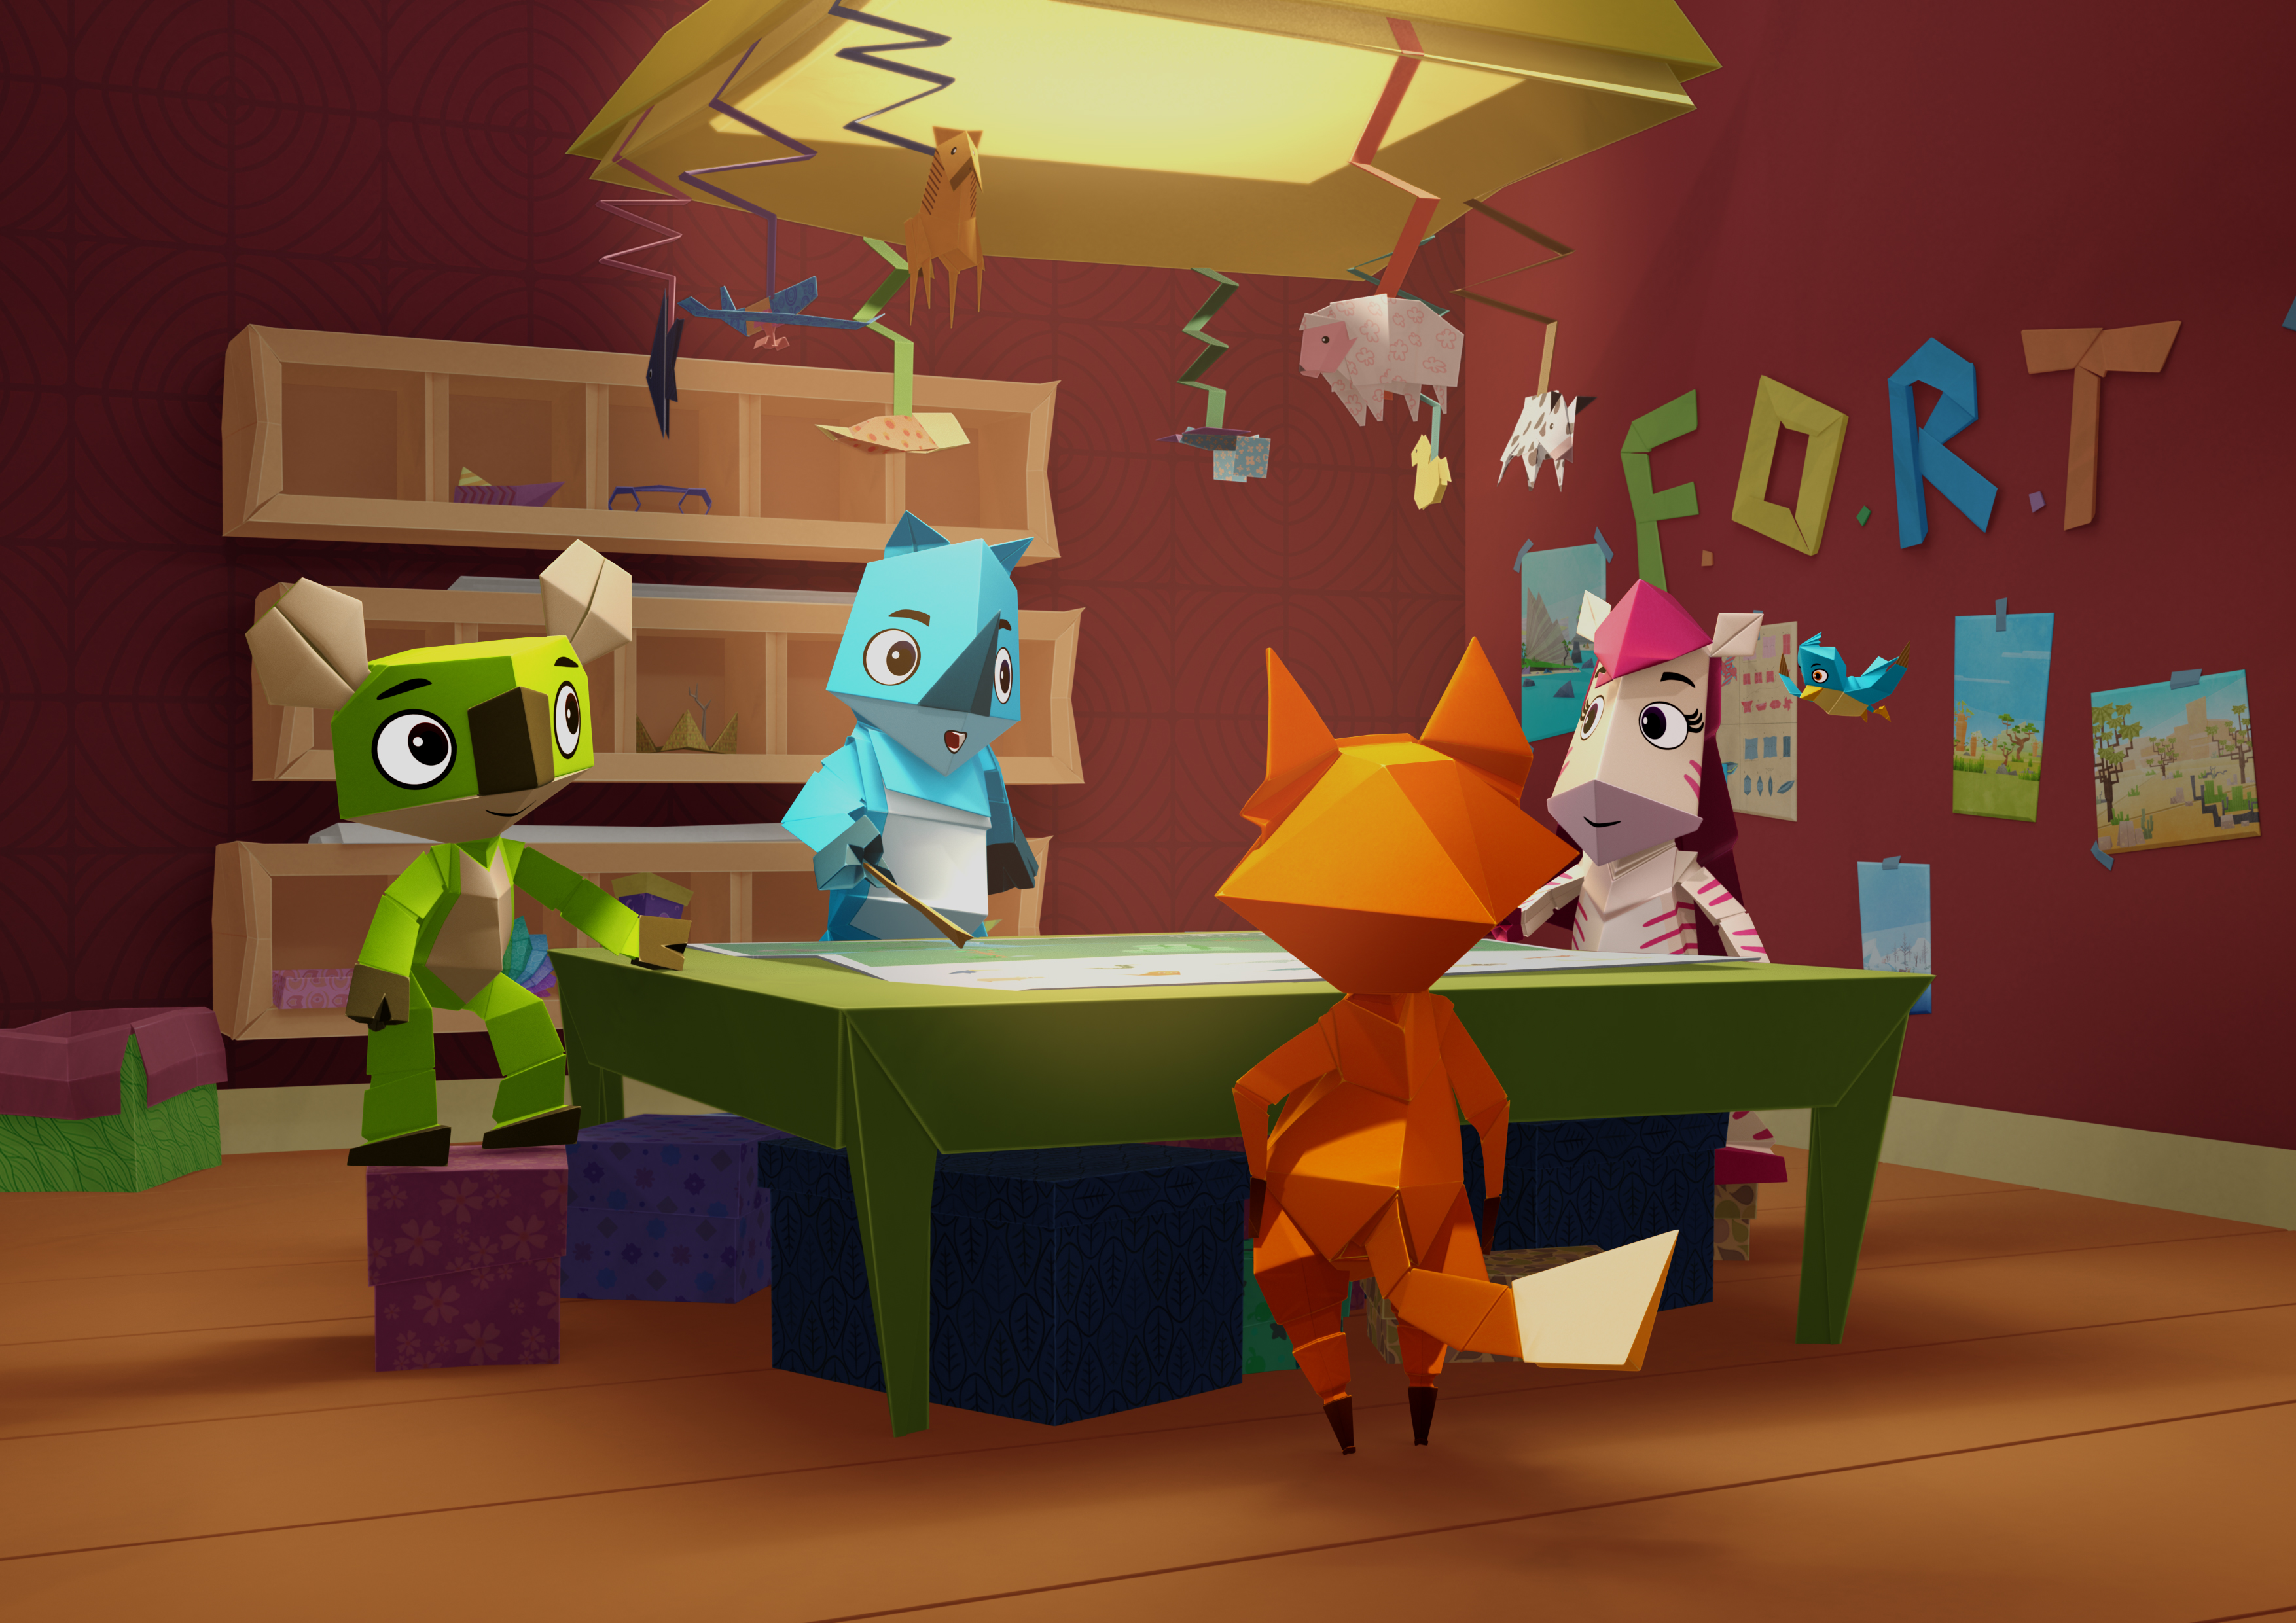
About this activity
Fold paper to create simple origami animals, learn basic folding techniques, follow step-by-step diagrams, and decorate your animal creations with markers and stickers.
What you need
Step by step
- 1
Step 1
Gather all your materials and make a clear space to work on.
- 2
Step 2
Fold one corner of your paper over to the opposite edge to make a triangle and crease the fold.
- 3
Step 3
Cut off the rectangle of paper below the triangle along the crease to make a perfect square with an adult's help.
- 4
Step 4
Unfold the paper so you have a neat square ready to fold.
- 5
Step 5
Fold the square diagonally in half to make a triangle and press the crease firmly.
- 6
Step 6
Fold the triangle's left corner up so its tip meets the top point and press the crease to form one ear.
- 7
Step 7
Fold the triangle's right corner up so its tip meets the top point and press the crease to form the other ear.
- 8
Step 8
Fold the small top point down about one-third of the way and press the crease to make a forehead.
- 9
Step 9
Fold the bottom tip up a little and press the crease to shape the chin or snout.
- 10
Step 10
Decorate your folded animal face with markers and stickers to turn it into a cat bunny fox or dog.
- 11
Step 11
Share a photo of your finished Origanimal on DIY.org so everyone can see your creation.
Fun facts
How do I make Origanimals (simple origami animals)?
Start with a square piece of paper and clear, step-by-step diagrams. Begin by making basic folds: valley folds, mountain folds, and crisp creases. Follow the diagram sequence for each animal—fold body shapes, tuck corners for ears or tails, and flatten each step before moving on. Practice simpler models first (like a frog or fish), then add decoration with markers and stickers when the shape is finished.
What materials do I need for Origanimals?
You need square origami paper or cut plain paper into squares, a flat table, and clear printed diagrams. For decorating: washable markers, crayons, stickers, and glue or tape (optional). Keep child-safe scissors and a ruler handy for adult use. Use lightweight paper so folds are neat; avoid thick cardstock for beginners. Supervision is recommended when scissors or glue are used.
What ages are Origanimals suitable for?
Origanimals works well for children aged about 4–6 with close adult help for basic folds and cutting. Ages 7–9 can follow simple diagrams more independently and practice neat creases. Ages 10+ can try more detailed or multi-step animals and create their own variations. Tailor the model complexity to the child’s patience and fine motor skills, and supervise younger children with scissors or tiny folds.
What are the benefits and fun variations of making Origanimals?
Origami builds fine motor skills, spatial reasoning, patience, and following instructions. Decorating animals encourages creativity and storytelling—kids can name and role-play with their creations. For variations, use patterned paper, make a mini zoo by combining animals, or glue animals to popsicle sticks for puppets. For safety, use non-toxic art supplies and supervise scissors; choose larger paper for little hands to reduce frustration.
Watch & Learn
Need help?
I don't have origami paper or a perfect square—what can I use instead?
Use regular printer paper or recycled magazine pages and follow the step "Fold one corner of your paper over to the opposite edge to make a triangle" then cut off the rectangle along the crease (with an adult's help) to make a perfect square.
My ears don't line up with the top point when I fold the left/right corners—how do I fix it?
Unfold to the triangle from the step "Fold the square diagonally in half to make a triangle," sharpen that central crease, then realign each corner so its tip meets the top point before pressing the ear creases firmly.
How can I adapt this activity for younger or older kids?
For younger kids, an adult should prepare the "perfect square" by cutting off the rectangle and supervise the creasing while the child focuses on the "Decorate your folded animal face" step, and for older kids, challenge them to add extra folds for ears or snouts or create full origami animals from the same square.
How can we personalize or extend the Origanimal beyond decorating with markers?
After the "Decorate your folded animal face" step, personalize it with glued-on googly eyes, yarn whiskers, patterned wrapping paper, make a string of Origanimals to hang, and then "Share a photo of your finished Origanimal on DIY.org" to show your creations.