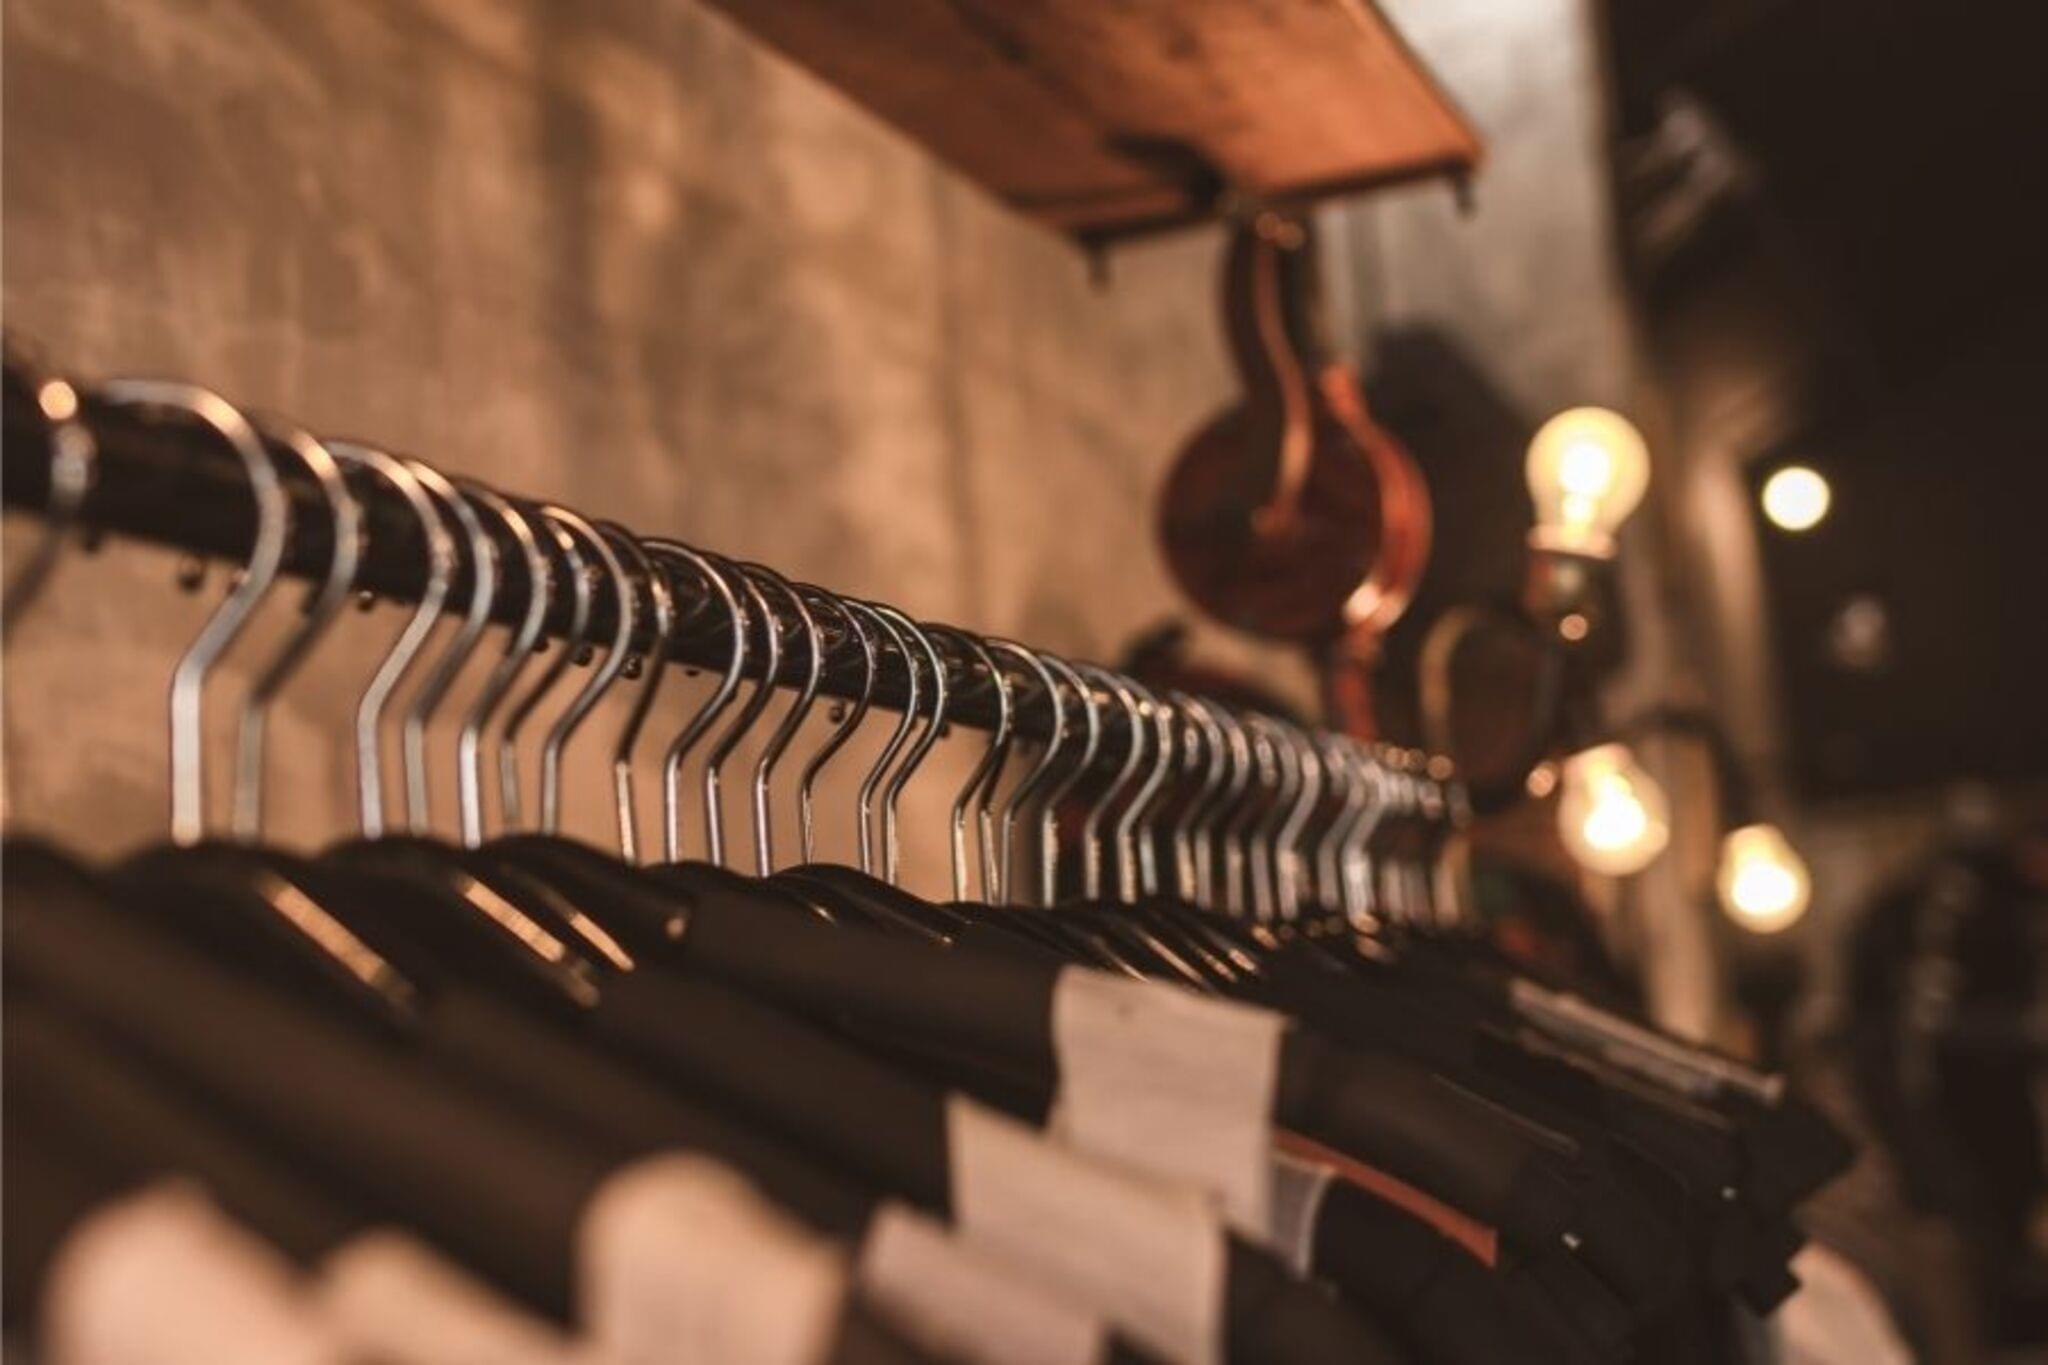
#GroomYourRoom Day 1 : Wardrobe
Sort and organize your wardrobe: learn folding, declutter clothes to donate, arrange outfits by type and color, and label storage neatly.


Step-by-step guide to Groom Your Room Day 1: Wardrobe
GCSE Biology - Photosynthesis
Step 1
Bring all your Materials Needed to the wardrobe area so everything is ready.
Step 2
Empty your wardrobe by taking every item out and placing them on your bed or a clean floor space.
Step 3
Make three piles labeled KEEP; DONATE; REPAIR using your labels and boxes or bags.
Step 4
Pick up each clothing item and decide quickly which pile it belongs in then put it in that pile.
Step 5
Learn a simple t-shirt fold by laying a t-shirt flat folding each side to the middle then folding in half and then into a neat rectangle.
Step 6
Practice folding five t-shirts using the t-shirt fold you just learned.
Step 7
Fold five pairs of pants by laying them flat folding them in half lengthwise and then folding into thirds or rolling them tightly.
Step 8
Hang dresses and delicate items on hangers and group similar hanging items together.
Step 9
Put folded items into storage boxes or onto shelves and keep hanging items on the rod.
Step 10
Arrange each clothing type by color from light to dark within its section so outfits are easy to find.
Step 11
Label each shelf or box with its contents using your marker and sticky notes so everything has a clear home.
Step 12
Put the donation pile into the donation bag and ask an adult to help with drop-off or arranging pickup.
Step 13
Share your finished organized wardrobe on DIY.org.
Help!?
What can I use if I don't have labels, boxes, sticky notes, a marker, hangers, or a donation bag?
Use masking tape or folded paper as labels, laundry baskets or reusable grocery bags for KEEP/DONATE/REPAIR piles, a pen if you don't have a marker, spare scarves or clips for hanging delicate items, and a sealed trash bag or sturdy tote for donations so you can still follow the instructions.
What should I do if I get stuck deciding which pile an item belongs to or feel overwhelmed during the quick-pick step?
Set a 10–15 second timer for the 'pick up each clothing item and decide quickly' step, put uncertain items in a 'maybe' box to revisit, and ask an adult to help with tricky DONATE vs REPAIR decisions.
How can I change the activity for different ages?
For younger children simplify to KEEP and DONATE piles and practice the t-shirt fold with two shirts, while older kids can fold five t-shirts, fold and roll pants into thirds, sort by color, write detailed labels with the marker, and organize hanging items by type.
How can we extend or personalize the wardrobe organizing activity after finishing the basic steps?
Decorate and color-code your labels and boxes, create an 'outfit-ready' shelf arranged by color and occasion, keep a small repair kit near the wardrobe, and photograph the finished organized wardrobe to share on DIY.org.
Watch videos on how to Groom Your Room Day 1: Wardrobe
Photosynthesis in plants for children - Natural Science for kids
4 Videos

Photosynthesis in plants for children - Natural Science for kids
SPOTLIGHT: Photosynthesis | Encyclopaedia Britannica

Photosynthesis in Plants- Learn how plants make food

GCSE Biology Revision "Photosynthesis"
Facts about wardrobe organization for kids
🧘 Marie Kondo’s KonMari method asks you to hold each item and keep only what 'sparks joy'—a fun way to decide what to keep!
👕 Most people wear about 20% of their clothes the majority of the time—sorting helps you find your favorites faster.
♻️ Donating or recycling clothes keeps textiles out of landfills; globally millions of tons of clothing are discarded each year.
🗂️ Folding shirts vertically in drawers lets you see everything at once—an easy trick for quick outfit choices.
🏷️ Clear labels on bins and shelves save time and help everyone in the family find things fast.
How do I help my child sort and organize their wardrobe for #GroomYourRoom Day 1?
What materials do I need to organize a child's wardrobe for Day 1?
What ages is the #GroomYourRoom wardrobe activity suitable for?
What are the benefits of teaching kids to sort and organize their wardrobe?
