Watercolour Art
Create a colorful watercolour painting using wet-on-wet, washes, and colour mixing techniques; practice brush control, layering, and observing light and shadow.
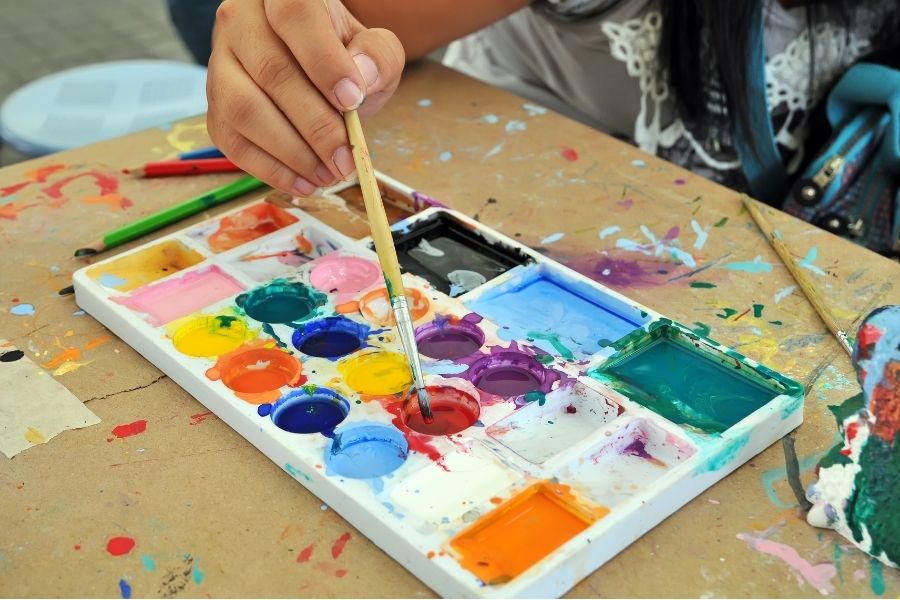
About this activity
Create a colorful watercolour painting using wet-on-wet, washes, and colour mixing techniques; practice brush control, layering, and observing light and shadow.
What you need
Step by step
- 1
Step 1
Tape your watercolour paper to a flat board or table with masking tape so the edges stay straight.
- 2
Step 2
Fill a jar with clean water and place it where you can reach it easily.
- 3
Step 3
Put a small amount of each paint color on your palette so you can mix them.
- 4
Step 4
Practice brush control on scrap paper by painting thin lines thick lines and dots until you feel steady.
- 5
Step 5
Choose a simple subject like a fruit or a toy and look carefully at where light and shadow fall on it.
- 6
Step 6
Use a clean wet brush to wet the area of your paper where you want a soft blended background until it looks slightly shiny.
- 7
Step 7
Mix two or three colours on your palette to make new shades you like.
- 8
Step 8
Drop those mixed colours gently onto the wet paper and watch them spread and blend for a wet-on-wet effect.
- 9
Step 9
Let the painted area dry completely before adding more layers.
- 10
Step 10
Use a drier brush and a darker mix to paint shadow areas and build up layers to show form.
- 11
Step 11
Add small details and brighter highlights with a small brush and lift colour with a clean damp brush or paper towel if you need lighter spots.
- 12
Step 12
Allow your whole painting to dry completely before finishing.
- 13
Step 13
Sign your name in a corner of the painting to show you made it.
- 14
Step 14
Share your finished watercolour painting on DIY.org.
Fun facts
How do you make a watercolour painting using wet-on-wet, washes, and layering?
Start by stretching and taping watercolour paper to a board. Wet the paper for wet-on-wet backgrounds, then drop diluted pigments to let colours blend and bloom. Use flat washes for even backgrounds—load a brush and sweep across. Practice brush control with varied pressure for thin or thick strokes. Let layers dry, then add transparent glazes to build depth and suggest light and shadow. Finish by lifting highlights with a clean damp brush where needed.
What materials do I need for a child’s watercolour painting session?
You’ll need student or artist watercolour paints (tubes or pans), a selection of round and flat brushes, heavyweight watercolour paper (140 lb/300 gsm), a palette for mixing, two jars of clean water, masking tape to stretch paper, paper towels, pencil and eraser for light sketching, and optional tools like salt, a spray bottle, sponges, or masking fluid for texture and effects.
What ages is watercolour art suitable for and how should I adapt it?
This activity suits many ages: preschoolers (3–5) can explore wet-on-wet colour mixing with close supervision and simple shapes; school-age kids (6–10) can practise brush control, washes and layering; older children and teens (11+) can work on advanced techniques and detailed compositions. Always supervise younger kids, use non-toxic paints, and adapt complexity, tool size, and session length to each child’s attention and fine-motor skills.
What are the benefits of watercolour painting for children?
Watercolour painting builds fine motor skills, colour awareness, and observation of light and shadow while encouraging creativity and patience. Wet-on-wet experiments teach cause and effect; layering develops planning and problem-solving. It’s calming and supports emotional expression, focus, and confidence. Keep sessions short for younger kids, provide aprons, and keep water jars stable to reduce spills—safe, tidy setups help children enjoy and learn more.
Watch & Learn
Need help?
What can I use if I don't have watercolor paper, masking tape, a clean jar, or a palette?
Use heavyweight mixed‑media paper or 300gsm cardstock instead of watercolor paper, low‑tack painter's tape in place of masking tape to tape your paper to a board, any clear cup or jar for the clean water, and a ceramic saucer or plastic plate as your palette to put small amounts of each paint color.
My wet-on-wet colours aren't spreading or the paper is buckling—what should I do?
If the wet-on-wet colours don't spread, re-wet the area with a clean wet brush until the paper looks slightly shiny (step 6), blot excess water with a paper towel to avoid puddles, and let painted areas dry completely (step 9) before adding more layers to prevent buckling and muddying.
How can I change this activity for younger or older kids?
For younger children choose a large simple subject and use bigger brushes with pre-wet larger background areas for easier wet-on-wet (steps 5–8) and supervision when taping, while older kids can practice fine brush control (step 4), build shadows with a drier brush and darker mixes (step 10), and add detailed highlights (step 11).
How can we extend or personalize the watercolor painting once it's finished?
To extend the project, sprinkle table salt or press crumpled cling film onto the still-wet background for texture (step 8), use masking fluid before painting to save highlights, add collage or pen details after the painting is dry (steps 9–11), then sign and share on DIY.org to personalize it.