Make a LEGO® pizza
Build a LEGO pizza using colorful bricks, arrange removable toppings, learn about fractions and symmetry, and customize slices for pretend play and sharing.


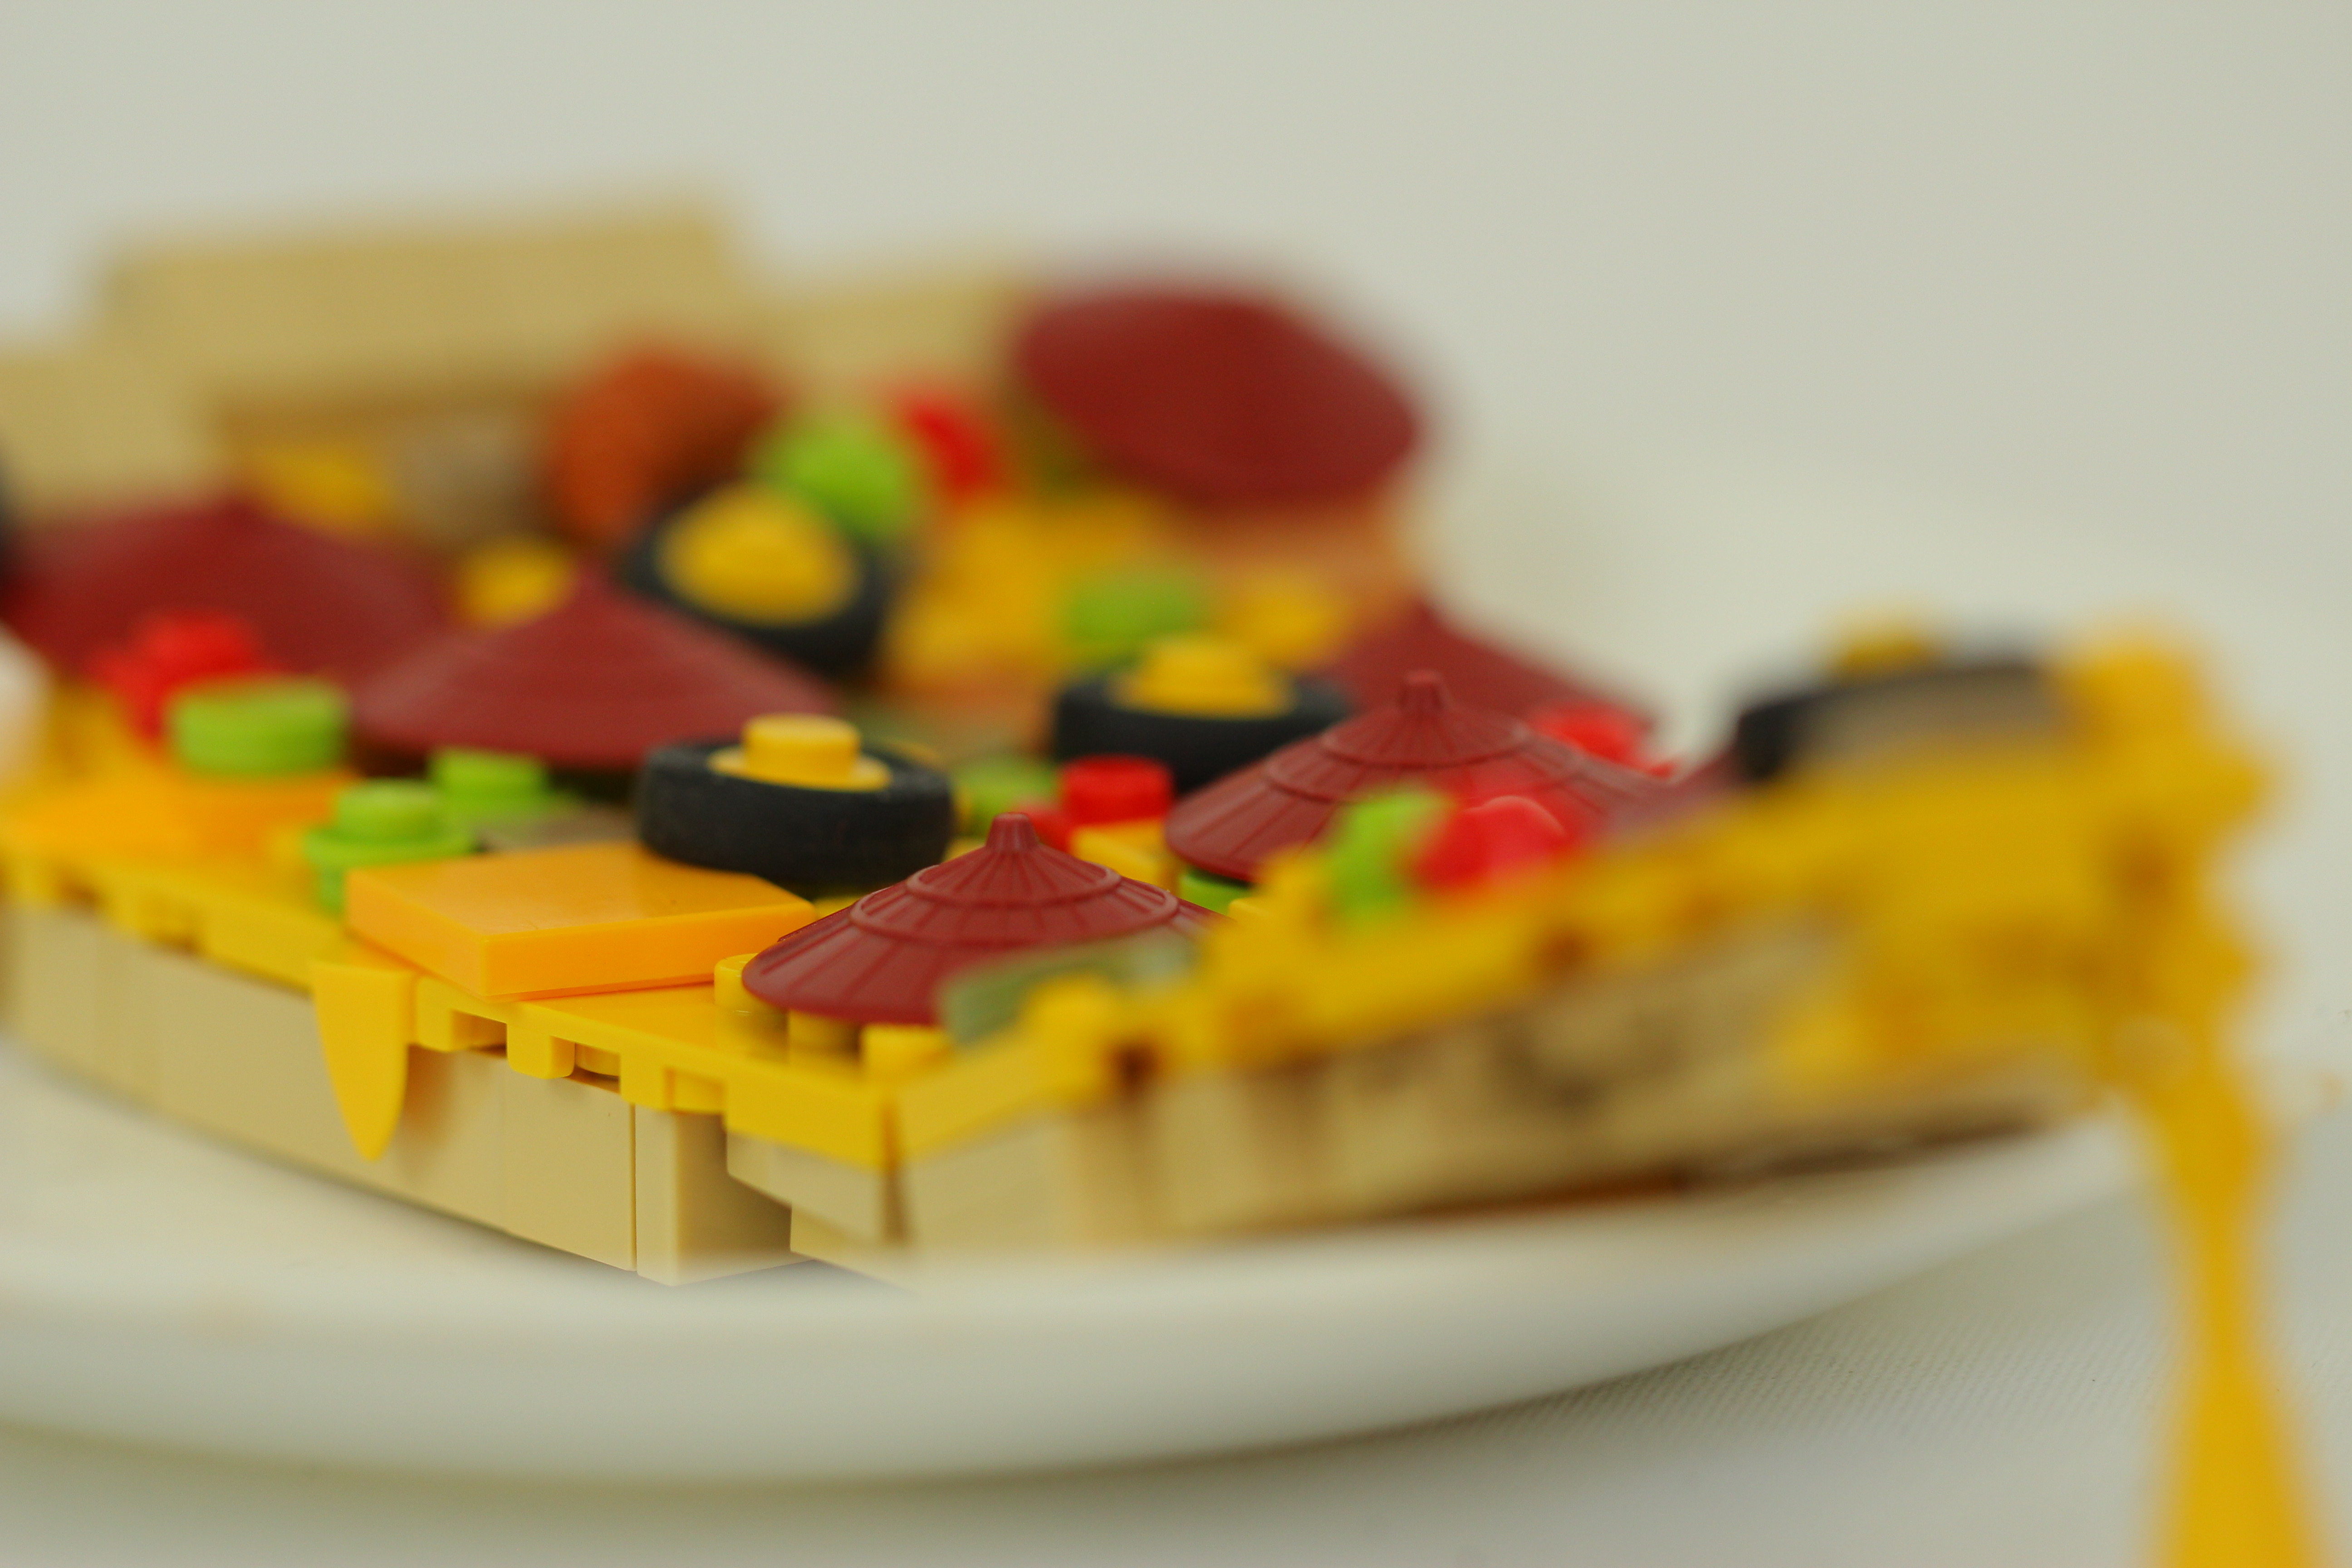

Step-by-step guide to make a LEGO® pizza
Step 1
Gather all Materials Needed and bring them to a clear work surface.
Step 2
Place the baseplate flat in the middle of your workspace.
Step 3
Build a crust ring around the outside edge of the baseplate using tan or brown bricks.
Step 4
Fill the inside of the crust with yellow plates to make the pizza "cheese."
Step 5
Create eight equal slice dividers by placing thin plates from the center out to the crust at even angles.
Step 6
Make removable toppings by building small pieces with 1x1 round tiles or studs for pepperoni olives and herbs.
Step 7
Place the toppings on the pizza so each topping can be lifted off easily.
Step 8
Arrange toppings symmetrically by matching the same toppings on slices opposite each other.
Step 9
Cut small paper labels and write fraction names like 1/8 1/4 and 1/2 with your marker.
Step 10
Put the fraction labels next to the matching number of slices to show how fractions work.
Step 11
Customize a few slices with special toppings for pretend play and pretend to share them with friends or toys.
Step 12
Share a photo or description of your finished LEGO pizza and tell how you used fractions and symmetry on DIY.org
Help!?
What can we use if we don't have a baseplate or tan/brown bricks?
If you don't have a baseplate use a large flat LEGO plate or a sturdy cardboard circle as the base, and substitute the tan or brown bricks for the crust ring with any stacked 1x2 or 2x2 bricks in another color to keep the round edge.
Why won't my slice dividers stay straight or lined up, and how can I fix it?
If the thin plates you place from the center to the crust wobble or aren't even, double-stack thin plates for extra stability, press them firmly into the center point, and use a small ruler or align a brick at the crust to make eight equal angles.
How can this activity be adapted for toddlers or older kids?
For toddlers, pre-build the crust ring and cheese with yellow plates and use larger bricks with only four big slices to simplify sharing, while older kids can make 12–16 slices, build detailed removable toppings with 1x1 round tiles or studs, and label 1/8, 1/4, and 1/2 to explore more fractions.
What are some ways to enhance or personalize our LEGO pizza project?
Enhance the pizza by color-coding toppings and matching the paper fraction labels to create fraction games, customizing special slices for pretend play with friends or toys, and sharing a photo that explains how you used symmetry and fractions.
Watch videos on how to make a LEGO® pizza
Let's Build a LEGO Pizza! (Looks Delicious!) 🍕🧱
3 Videos
Let's Build a LEGO Pizza! (Looks Delicious!) 🍕🧱
LEGO Chef Makes Delicious Pizza | Mini Cooking Build
Make a Pizza with LEGO
Facts about LEGO building for kids
🍕 Slicing a pizza into 2, 4, or 8 equal LEGO-slice sections makes fractions like 1/2, 1/4, and 1/8 easy to see and play with.
🧱 The modern LEGO brick's clutch power was patented in 1958, so tiny 'topping' pieces can stick on and be removed again.
🎯 Arranging toppings the same on opposite slices teaches mirror symmetry in a clear, visual way.
🤝 Pretend-play pizza parties are great for practicing sharing, turn-taking, and friendly negotiation over toppings.
🔢 Counting and comparing toppings across slices turns playful building into hands-on addition and fraction practice.
How do you make a LEGO® pizza?
What materials do I need for a LEGO® pizza?
What ages is making a LEGO® pizza suitable for?
What are the benefits of making a LEGO® pizza?
