Build a planetarium dome and projector
Build a cardboard planetarium dome and star projector with adult help, using a flashlight and small holes, then explore constellations and night sky patterns.
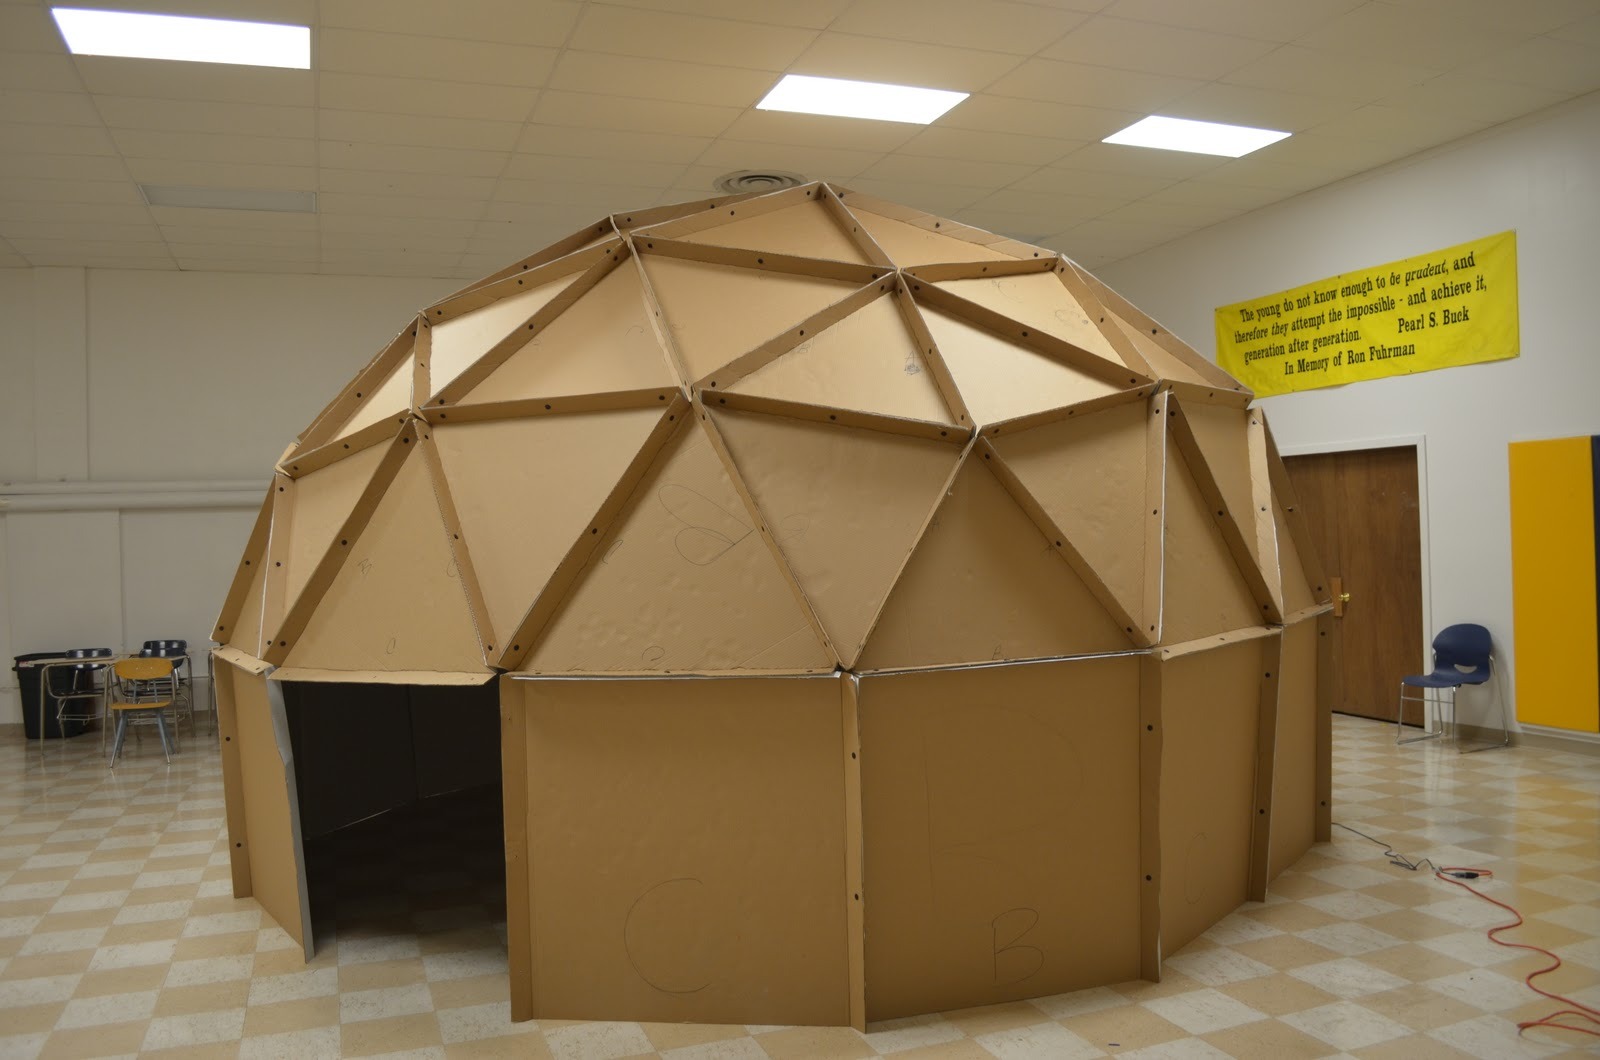
About this activity
Build a cardboard planetarium dome and star projector with adult help, using a flashlight and small holes, then explore constellations and night sky patterns.
What you need
Step by step
- 1
Step 1
Gather all the materials and clear a floor space where you can set up your planetarium.
- 2
Step 2
Turn the cardboard box upside down so the closed top becomes the dome roof.
- 3
Step 3
Use the star map and black marker to draw the outlines or star points of the constellations you want on the dome top.
- 4
Step 4
Use the pushpin to poke a small hole through each star mark so light can shine through the dome.
- 5
Step 5
Ask an adult to carefully widen any holes that need to be a bit bigger using a needle or the tip of a tool.
- 6
Step 6
Ask an adult to cut a small access flap at the open base so you can place and reach the flashlight inside the dome.
- 7
Step 7
Place the dome on the floor beneath the area of ceiling where you want the stars to appear.
- 8
Step 8
Slide the flashlight into the dome through the access flap and point the beam up toward the dome top.
- 9
Step 9
Turn off the room lights and then turn on the flashlight so the stars project onto the ceiling.
- 10
Step 10
Move the dome closer or farther from the ceiling until the star points look clear and sharp.
- 11
Step 11
Use your star map to find and name at least three constellations you can see in the projection.
- 12
Step 12
Share a photo and a short description of your finished planetarium and star projector on DIY.org.
Fun facts
How do I build a cardboard planetarium dome and star projector with my child?
Start by cutting a large cardboard box into a dome shape or use a round container as a template. Paint the inside black and let it dry. Make constellation patterns on black cardstock or directly on the dome using printed star templates. Create a small projector box to hold a flashlight; poke tiny holes in a constellation template placed over the torch so light projects through. Darken the room, position the projector inside the dome, and explore the projected constellations together, adjusting h
What materials do I need to make a homemade planetarium dome and projector?
You’ll need a large cardboard box or round paper-mâché dome, black paint, black cardstock or thick paper, a bright flashlight or small LED torch, a push pin or needle for punching holes, scissors and a utility knife (adult use), tape and glue, constellation templates (printed), and a ruler and pencil. Optional extras: hot glue, a small mirror to angle light, and stickers for labeling constellations. Have spare batteries on hand for the flashlight.
What ages is building a cardboard planetarium suitable for?
This activity suits kids about 5–12 years old with adult help; younger children (3–5) can join for drawing, painting, and spotting stars but need close supervision during cutting and hole-punching. Children 6–9 can help punch holes with supervision and arrange constellations. Ages 10–12 can plan templates, build the projector box, and lead the exploration. Adjust tasks to skill level so everyone contributes safely and enjoys the project.
What are the benefits and safety tips for making a cardboard planetarium with kids?
Benefits include hands-on learning about astronomy, pattern recognition, fine motor skill practice, creativity, and family bonding. It introduces constellation names and seasonal sky patterns. Safety tips: adults should handle cutting tools, hot glue, and heavy-duty punching; keep small punched pieces away from toddlers; use LED flashlights to avoid heat; check batteries for leaks; and ensure the dark room is free of tripping hazards. Supervise younger children at all times.
Watch & Learn
Need help?
What can we use instead of a cardboard box, pushpin, or flashlight if we don't have those materials?
If you don't have a cardboard box, use an overturned laundry basket or large mixing bowl as the dome, replace the pushpin with a sharpened pencil or paper clip to poke holes, and use a phone flashlight or a small LED torch in place of the flashlight.
Why are some projected stars blurry or missing and how do we fix that?
If stars are blurry or dim, follow the instruction to move the dome closer or farther from the ceiling until points look clear and sharp, widen any tiny holes carefully with a needle per the adult step, and steady the flashlight inside the dome with folded cardboard so the beam points straight.
How can we adapt the activity for younger children or for older kids who want more challenge?
For younger children, have an adult pre-poke larger holes and use glow-in-the-dark star stickers instead of a pushpin, while older kids can use the star map to draw more detailed constellations and make finer holes with a needle for sharper projections.
How can we enhance or personalize our planetarium before sharing the photo on DIY.org?
Paint the dome interior black to reduce stray light, tape colored cellophane over the flashlight to change star colors, and label three constellations on the ceiling with removable sticky notes before taking your photo and short description for DIY.org.