Make a boat
Build a simple floating boat from recycled materials like cardboard, tape, and plastic, then test stability and buoyancy in water safely.


Step-by-step guide to make a boat
Simple Science Project | How to Make a Steam Boat | School Science Project | POP POP Boat
Step 1
Gather all materials onto a clean flat workspace.
Step 2
Choose one plastic bottle or small container to be the boat hull.
Step 3
Place the chosen bottle on the cardboard and trace its outline with the marker.
Step 4
Cut out a cardboard piece sized to cover the top of the bottle.
Step 5
Fold up small edges on the cardboard piece to make shallow sides for the deck.
Step 6
Tape the cardboard deck securely to the bottle so it sits centered and stable.
Step 7
Reinforce all seams and joints with extra tape to help keep water out.
Step 8
Decorate the deck with markers or colouring materials if you want.
Step 9
Fill a sink or bathtub with a few inches of calm water for testing.
Step 10
Gently place your boat in the water and watch whether it floats.
Step 11
Add small weights one at a time to the center of the deck to test stability and buoyancy.
Step 12
If the boat tips or takes on water add more tape or attach a second small sealed bottle for extra flotation.
Step 13
Put the boat back in the water to see if your adjustments improved float and stability.
Step 14
Share a photo and what you learned about buoyancy and stability on DIY.org.
Help!?
What can I use instead of a plastic bottle if I can't find one?
If you don't have a plastic bottle you can use a sealed juice carton, empty yogurt tub with a tight lid, or any small sealed food container as the hull and follow the same 'trace on cardboard' and taping steps.
My boat keeps tipping or taking on water — what should I try next?
If the boat tips or takes on water, reinforce seams and joints with extra tape, make sure the cardboard deck is centered and has folded edges, or attach a second small sealed bottle for extra flotation as the instructions suggest.
How can I adapt this activity for different age groups?
For younger children have an adult do the cutting and handle the tape while they pick a bottle, trace and decorate the deck and test it in the water, while older kids can design different hull shapes, add a second sealed bottle for flotation, measure how many weights the boat holds, and record results.
What are simple ways to extend or personalize the boat project?
To extend the activity, personalize the deck with markers or paint, add a sail from a straw and paper, attach a small rudder or extra sealed bottle for stability, and then share a photo plus your buoyancy observations on DIY.org.
Watch videos on how to make a boat
Self-Paddle Boat | STEM Project
4 Videos

Self-Paddle Boat | STEM Project
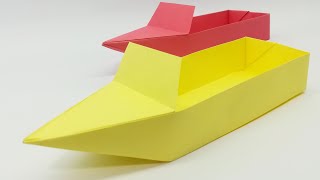
How To Make A Paper Boat For School Project | Origami Boat | Easy Origami Tutorial
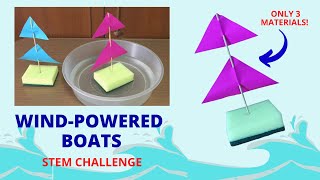
WIND-POWERED BOAT | How to Make a Boat for STEM Project | Wind Boat in 5 Easy Steps |
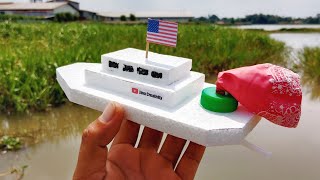
How To Make Balloon Powered Boat For School Project, AirBoat Science Project Working Model
Facts about buoyancy and boat building
🧠 Archimedes' principle: an object floats when it displaces a weight of water equal to its own weight—try measuring water rise to see it in action!
📦 Cardboard can float surprisingly well if kept dry and sealed—many schools host cardboard boat races where kids paddle their creations.
⚓️ Big metal ships float because their overall density (including trapped air) is less than water—shape and volume matter, not just material.
♻️ Upcycling win: turning old cardboard and plastic into projects reduces waste—recycling one ton of corrugated cardboard can save about 17 trees.
🌊 Stability tip: a wider, lower hull and placing weight near the center and low down helps prevent tipping and keeps your boat steady.
How do you make a simple floating boat for kids?
What materials do I need to make a recycled cardboard boat?
What ages is making a cardboard boat suitable for?
What are safety tips and fun variations for building and testing homemade boats?
