Sketch a product design
Sketch a simple product design: choose an everyday object, draw views, label features, add measurements and color to communicate your idea clearly.
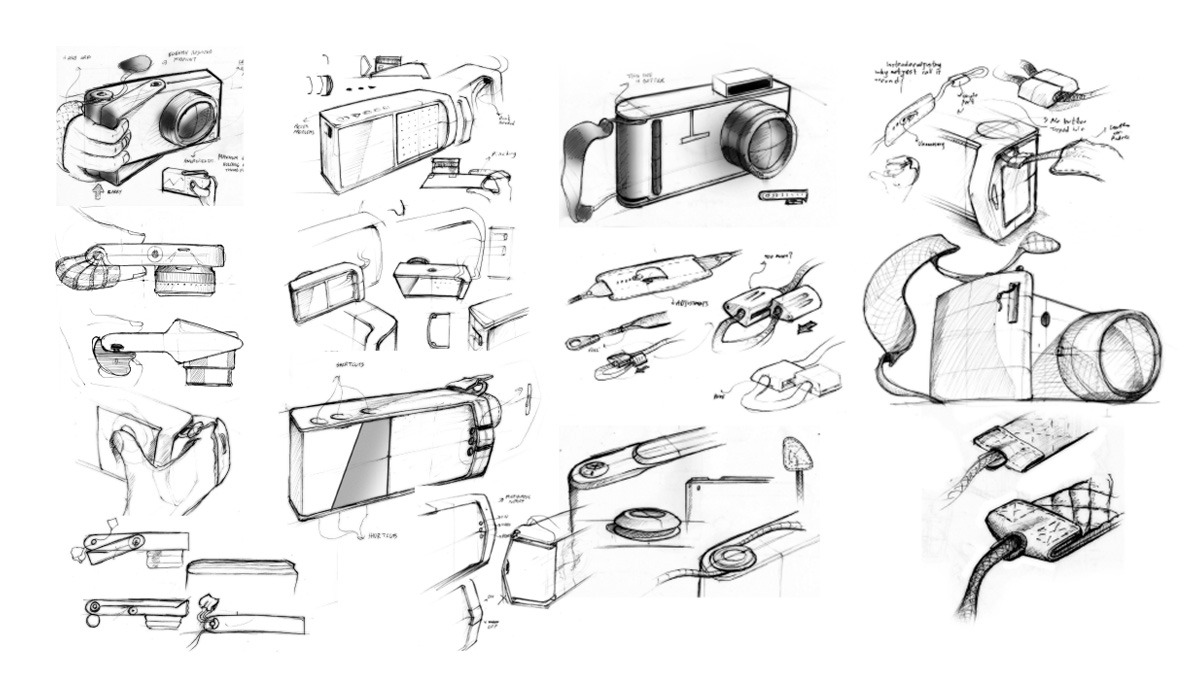
About this activity
Sketch a simple product design: choose an everyday object, draw views, label features, add measurements and color to communicate your idea clearly.
What you need
Step by step
- 1
Step 1
Choose one everyday object you want to design such as a water bottle a chair or a toothbrush.
- 2
Step 2
Put the object in front of you and look at it for one minute to notice shape size and special parts.
- 3
Step 3
Lightly draw the front view of the object on your paper using simple shapes.
- 4
Step 4
Draw the side view of the object next to the front view using the same scale.
- 5
Step 5
Draw the top view of the object above the front view using the same scale.
- 6
Step 6
Use your ruler to measure the real object and write the height on the front view.
- 7
Step 7
Use your ruler to measure and write the width on the front view and the depth on the side view.
- 8
Step 8
Draw arrows from the picture to label four important features (for example handle lid button or texture).
- 9
Step 9
Write a short note about the materials each part could be made from or if any part moves.
- 10
Step 10
Lightly erase extra sketch lines so your drawing looks clean.
- 11
Step 11
Trace your final lines with the thin black marker to make the drawing bold.
- 12
Step 12
Color your design to show different materials finishes or parts.
- 13
Step 13
Add a title scale (for example 1 cm = 1 inch) and the date to your drawing.
- 14
Step 14
Share your finished product design sketch on DIY.org
Fun facts
How do I guide my child to sketch a simple product design?
Start by choosing an everyday object together and observing it from different angles. Decide which views to draw (front, side, top), make light construction lines, then sketch the main shapes. Label key features and add simple measurements with a ruler. Use colored pencils or markers to show materials or finishes, and write a short note about how it works. Encourage erasing and refining so the idea communicates clearly.
What materials do I need for a child’s product design sketch?
Gather basic drawing supplies: plain or graph paper, pencils (HB and softer), eraser, sharpener, ruler, and colored pencils or markers. Optional extras: fine-tip pen for final lines, protractor or compass for circles, sticky notes for ideas, and a tape measure for real object dimensions. Use child-safe scissors and blunt tools if cutting is involved. Keep materials simple and sized for small hands.
What ages is sketching a product design suitable for?
This activity can be adapted by age: preschoolers (4–6) can do simple outline sketches and color-coded labels with adult help; elementary kids (7–10) can draw multiple views, label parts, and add basic measurements; tweens and teens (11+) can work on proportion, scale, annotations, and more precise measurements. Adjust expectations, provide guidance, and focus on exploration rather than perfection.
What are the benefits of having my child sketch product designs?
Sketching product designs strengthens observation, spatial reasoning, fine motor skills, and visual communication. It encourages problem solving, creativity, and attention to detail while teaching how to express ideas clearly. Kids learn measurement and labeling, which supports math and vocabulary. The activity also builds confidence through iterative improvement and offers a low-cost, screen-free way to explore engineering and art concepts together.
Watch & Learn
Need help?
What can we use if we don't have a thin black marker, ruler, or colored pencils?
If you don't have a thin black marker or a ruler you can trace final lines with a dark ballpoint pen, use a book or a credit card as a straight edge to measure and write the height, width and depth on your front and side views, and color with crayons or markers you do have.
My front, side and top views look different sizes — how can I fix the proportions?
If your views aren't matching, lightly redraw them in pencil, re-measure the real object with your ruler, apply the same scale to each view as you place them (top above front, side next to front), and then erase extra sketch lines before tracing.
How can I adapt the activity for a younger child or make it harder for an older kid?
For younger children simplify by drawing only the front view, labeling two main features and using bold marker and stickers, while older kids should add precise scaled measurements, detailed material notes for each part and an extra exploded or technical detail view before tracing.
What are some ways to extend or personalize the product design sketch?
Turn your sketch into a mini prototype by cutting cardboard to the measured height, width and depth, attach moving parts you labeled, add color-coded finishes and materials notes, then photograph the finished design to share on DIY.org.