Measure vital signs
Measure vital signs by taking a pulse, counting breaths, using a thermometer, and recording results to learn how body signals change with activity.
About this activity
Measure vital signs by taking a pulse, counting breaths, using a thermometer, and recording results to learn how body signals change with activity.
What you need
Step by step
- 1
Step 1
Bring your materials to a quiet spot where you can sit comfortably.
- 2
Step 2
Sit quietly for five minutes so your body is at rest.
- 3
Step 3
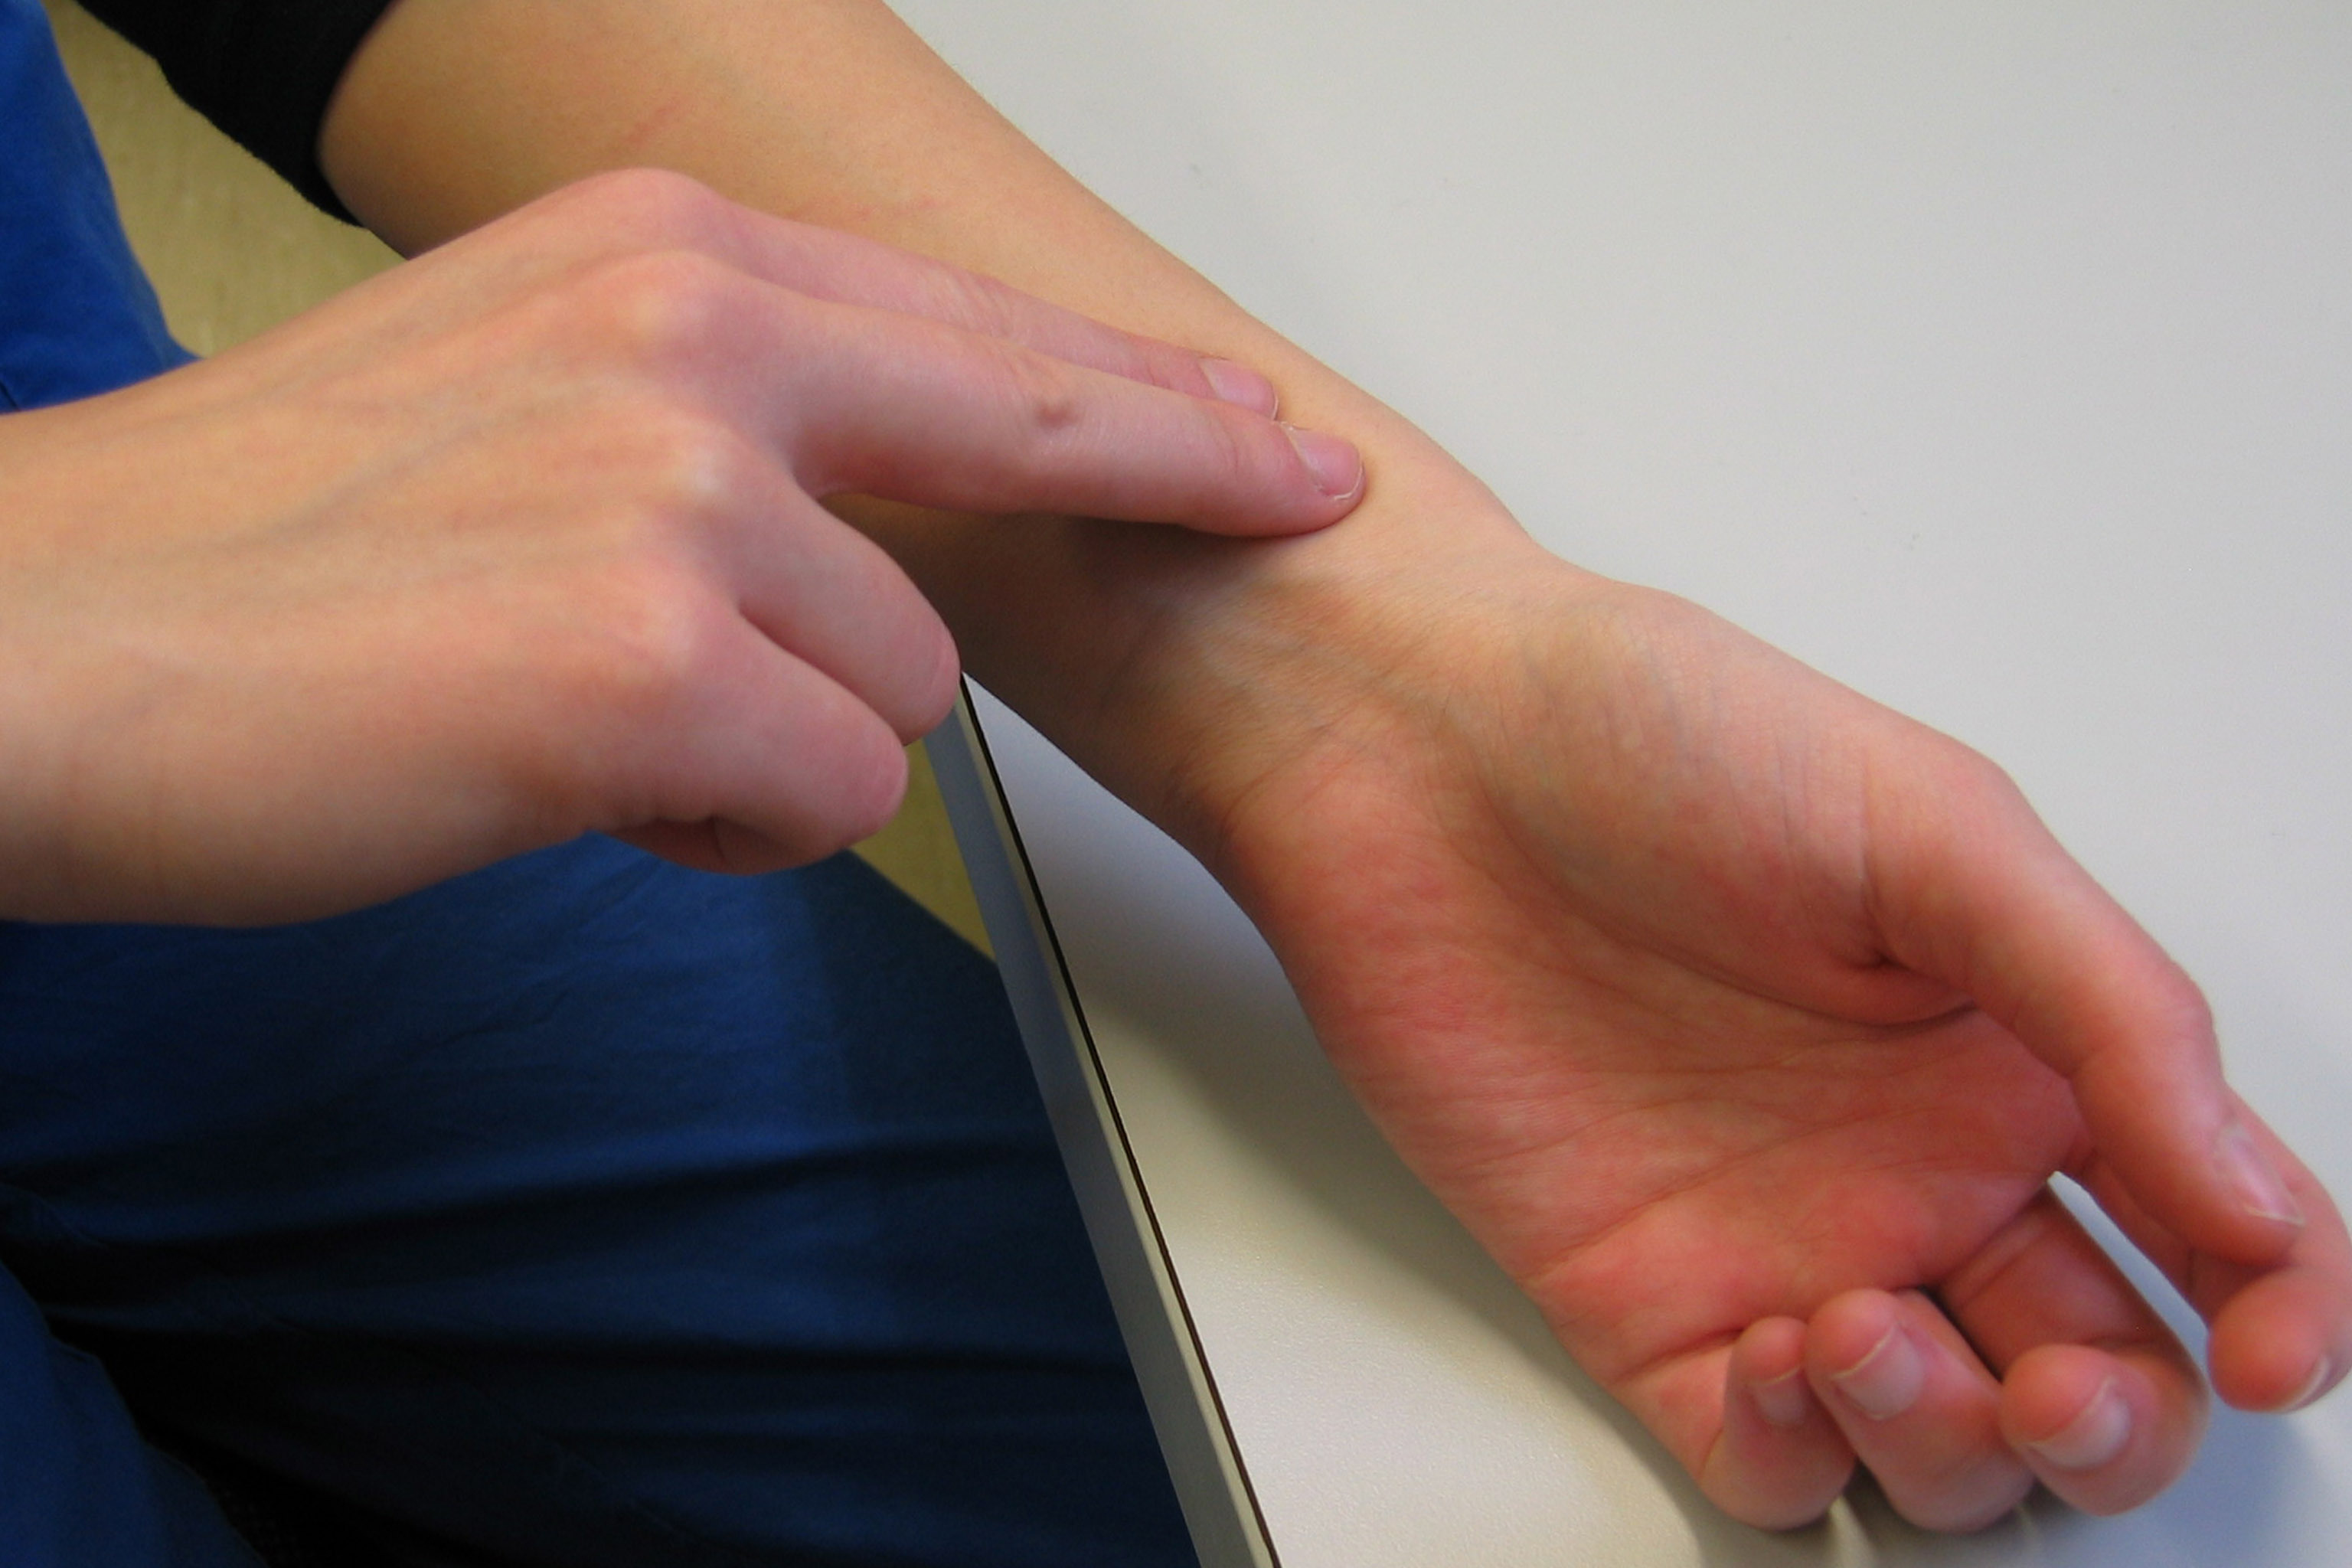
Place two fingers on the inside of your wrist below your thumb to find your pulse.
- 4
Step 4
Use the stopwatch to count how many pulse beats you feel in 30 seconds and remember the number.
- 5
Step 5
Write the 30-second pulse count in your notebook.
- 6
Step 6
Multiply that number by 2 to calculate your beats per minute.
- 7
Step 7
Put your hand on your chest and watch for chest rises to find your breathing.
- 8
Step 8
Use the stopwatch to count how many breaths you take in 30 seconds and remember the number.
- 9
Step 9
Write the 30-second breath count in your notebook.
- 10
Step 10
Multiply that breath number by 2 to calculate your breaths per minute.
- 11
Step 11
Use the digital thermometer under your armpit until it beeps and remember the number it shows.
- 12
Step 12
Write your beats per minute breaths per minute and temperature in your notebook.
- 13
Step 13
Do two minutes of energetic activity like jumping jacks running on the spot or dancing your favorite song.
- 14
Step 14
Sit quietly for one minute then repeat steps 3 through 11 to measure how your pulse breaths and temperature changed and record the new numbers.
- 15
Step 15
Share your finished results and what you learned on DIY.org
Fun facts
How do you measure vital signs with a child?
Start with a calm baseline: have the child sit quietly for five minutes. To take pulse, place two fingers on the wrist or neck and count beats for 30 seconds, then double for bpm. Count breaths for 30 seconds similarly. Use a digital thermometer per instructions (oral, axillary, or ear). Record results on a chart, then have the child do light activity (jumping jacks or a walk) and repeat measurements to compare how their body signals change with exertion.
What materials do I need to measure a child’s vital signs?
Gather a digital thermometer (ear, oral, or temporal), a clock or timer with a second hand, a simple chart or notebook and pen, a clean surface or mat, and optional stethoscope. Have hand sanitizer or wipes for hygiene, and a chair for resting. If you want to make it fun, include stickers or a reward chart to track results. Always follow thermometer manufacturer instructions and supervise young children during measurements.
What ages is measuring vital signs suitable for?
This activity suits children roughly ages 4 and up, with different levels of assistance: preschoolers (4–5) can learn to count breaths and watch the pulse with adult help; school-age kids (6–12) can try taking pulses and recording with close supervision; teens can perform all steps independently. Adjust complexity and safety guidance to the child’s attention span and motor skills, and always supervise any use of thermometers or equipment.
What safety tips should I follow when measuring kids’ vital signs?
Keep it safe: sanitize thermometers between uses, avoid forcing oral or ear readings on uncooperative children, and follow manufacturer instructions. Don’t interpret results as medical diagnoses—seek a doctor if temperature is high, breathing is fast or labored, or pulse is unusually slow/fast. Stop the activity if a child feels dizzy, faint, or unwell. Supervise closely and teach gentle technique so measurements are accurate and comfortable.
Watch & Learn
Need help?
What can we use instead of a stopwatch, digital thermometer, or notebook if we don't have them?
Use a smartphone's timer app for the stopwatch in steps 4 and 8, a forehead/temporal or oral thermometer with adult help instead of the digital armpit thermometer in step 11, and a piece of paper or voice memo to record counts instead of the notebook.
I can't feel my pulse — what should I do?
If you can't feel your wrist pulse in step 3, move your two fingers slightly toward the thumb and press lightly or try the carotid pulse on the neck, then use the stopwatch to count for a full 30 seconds in step 4.
How can I adapt the activity for younger or older kids?
For younger children, have an adult help with step 3 and step 11 and shorten counts to 10 seconds (then multiply by 6 for steps 5 and 9) with shorter energetic bursts in step 12, while older kids can repeat measurements three times and average the results for more accuracy.
How can we extend or personalize the experiment?
After step 12, make a table and simple bar graph in your notebook of beats per minute, breaths per minute, and temperature before and after the activity, compare different energetic activities from step 12 (like jumping jacks vs dancing), and share your results on DIY.org.