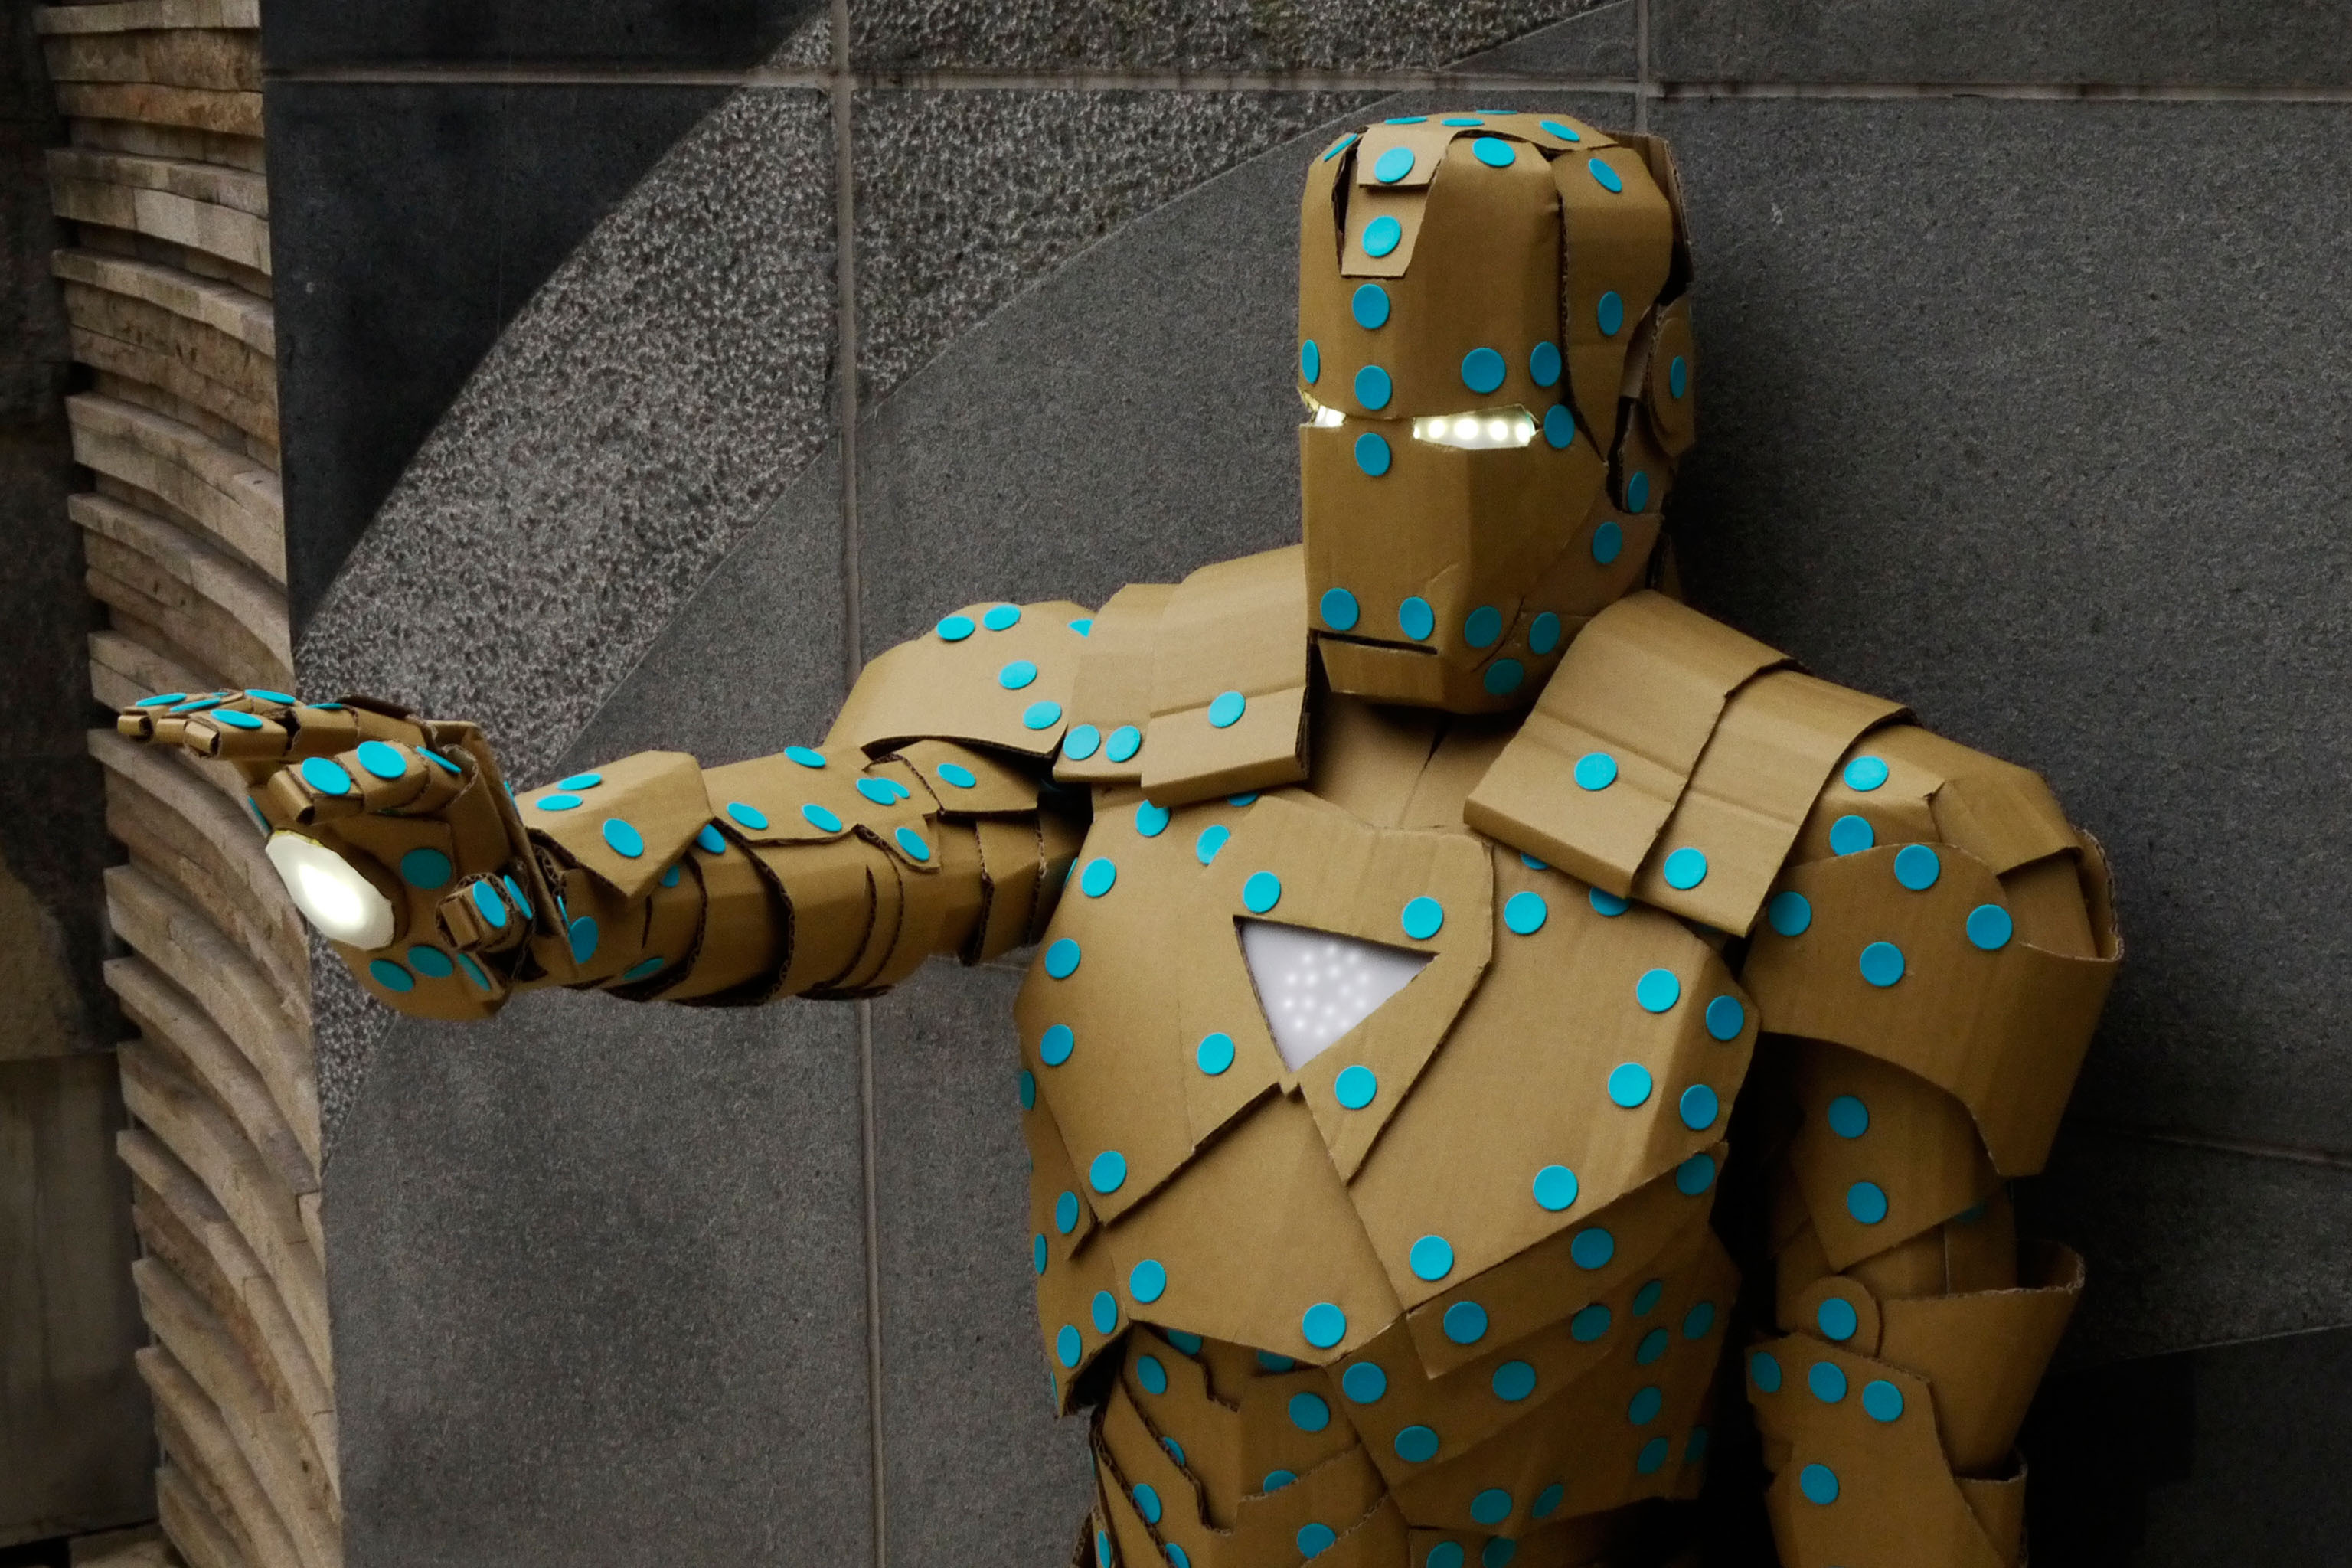
Make a cardboard costume
Create a wearable cardboard costume from recycled boxes using safe scissors, tape, paint, and straps, measuring and decorating to fit and express your ideas.


Step-by-step guide to make a cardboard costume
How to make a Cardboard Unicorn Costume
Step 1
Gather all the materials from the list and place them on a clean table.
Step 2
Lay down newspaper or a drop cloth to protect the work surface.
Step 3
Use the ruler or measuring tape to measure your shoulder width and torso length so the costume will fit.
Step 4
Fold a cardboard box flat and use the pencil to draw a front panel and a matching back panel sized from your measurements.
Step 5
Cut out the front and back panels along the drawn lines using safe scissors.
Step 6
Place one panel on your shoulders and mark where the head and arm openings should be.
Step 7
Cut the head hole and armholes carefully on both panels following your marks.
Step 8
Tape the front and back panels together at the shoulders and along the sides leaving room for arms to move.
Step 9
Attach straps or elastic bands to the inside of the shoulder area with tape so the costume stays on securely.
Step 10
Reinforce any weak seams and edges with extra tape for strength and comfort.
Step 11
Paint a base color on the costume and wait for it to dry completely.
Step 12
Add details and decorations with paintbrushes or markers to show your creative design.
Step 13
Try on the costume and ask an adult to help trim or re-tape any parts that need adjusting for comfort.
Step 14
Take a photo of your finished cardboard costume and share it on DIY.org
Help!?
I don't have elastic bands or straps — what can I use instead to keep the costume on?
If you don't have elastic bands, use ribbon, fabric strips, an old belt, or a cut strip from an old T‑shirt taped to the inside of the shoulder area as straps to keep the costume on.
My cardboard keeps tearing where I taped it together — how can I fix that?
If seams tear, reinforce the weak seams and edges with extra tape as the instructions say, glue or tape a cardboard patch inside the torn area, and add straps or elastic bands taped to the shoulder area for extra support.
How can I adapt this costume-making project for a 4-year-old versus a 10-year-old?
For a 4‑year‑old, have an adult do the measuring, fold the box flat, and cut the front/back panels and the head and armholes, while a 10‑year‑old can measure themselves, cut the panels, and add detailed decorations with paintbrushes or markers.
How can we make the costume more creative or durable after finishing it?
To enhance the costume, reinforce seams with extra tape, glue on recycled decorations or foam shapes before painting, add elastic straps for comfort, and take a photo of your finished cardboard costume to share on DIY.org.
Watch videos on how to make a cardboard costume
How to make a cardboard Gingerbread Man Costume
3 Videos
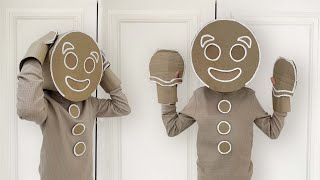
How to make a cardboard Gingerbread Man Costume
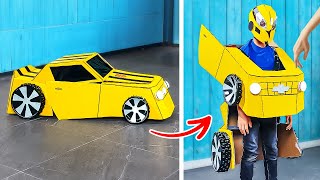
DIY CARDBOARD CAR COSTUME🚕 AMAZING PAPER CRAFTS FOR YOU!
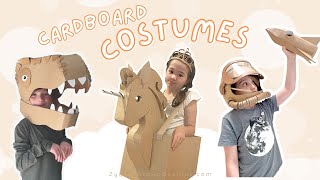
Make a Cardboard Costume with Zygote Brown Designs
Facts about cardboard crafts for kids
✂️ Child-safe scissors can cut most single- and double-wall cardboard easily, making costume shapes simple for kids to make.
📦 Corrugated cardboard has a fluted middle layer that adds strength—perfect for making wearable armor or helmets that hold their shape.
🎨 Tempera (poster) paints are kid-friendly and wash out of many clothes more easily than permanent paints, great for decorating costumes.
♻️ Upcycling a used box into a costume gives new life to materials and helps reduce waste — a fun eco-friendly craft!
📏 Making a paper or cardboard template and measuring first helps the costume fit better and avoids cutting mistakes.
How do I make a wearable cardboard costume from recycled boxes?
What materials do I need to make a cardboard costume?
What ages is making a cardboard costume suitable for?
What are the benefits, safety tips, or fun variations for a cardboard costume project?
