Teach us how to make a craft
Make a decorated paper bookmark using cardstock, markers, stickers, and ribbon. Practice measuring, cutting, and decorating while learning fine motor skills.


Step-by-step guide to make a decorated paper bookmark using cardstock, markers, stickers, and ribbon
10 Easy Shape Crafts for Kids | DIY Paper Toys
Step 1
Choose a brightly colored piece of cardstock you like for your bookmark.
Step 2
Use the ruler and pencil to mark a rectangle 6 inches by 2 inches (15 cm by 5 cm) on the cardstock.
Step 3
Draw straight lines along your marks with the ruler to outline the bookmark.
Step 4
Cut out the rectangle carefully along the lines with scissors.
Step 5
Trim the corners into gentle curves by snipping small arcs with the scissors.
Step 6
Draw fun designs on the bookmark with your markers using steady strokes.
Step 7
Add stickers to decorate your bookmark where you like.
Step 8
Place the hole punch about half an inch from the top center and punch a hole.
Step 9
Cut a piece of ribbon about 12 inches (30 cm) long with the scissors.
Step 10
Thread the ribbon through the punched hole and pull both ends through the loop.
Step 11
Tie a neat knot or bow in the ribbon to finish the top of the bookmark.
Step 12
Share your finished bookmark on DIY.org
Help!?
What can we use if we don't have cardstock or ribbon?
If you don't have cardstock, use sturdy construction paper or a clean cereal-box panel cut to the 6 inch by 2 inch rectangle, and swap the 12-inch ribbon for yarn, a shoelace, or baker's twine when threading through the punched hole.
My lines or cuts aren't straight—how can we fix that?
If your rectangle edges from steps 2–4 are uneven, press the ruler firmly as a cutting guide and have an adult trim along the ruler with sharp scissors or a craft knife, then re-round the corners in step 5 to match.
How can we adapt the activity for younger or older children?
For preschoolers, pre-measure and pre-cut the 6x2 inch rectangles and pre-punch the hole so they can focus on drawing and stickers (steps 6–8), while older kids can add detailed marker art, stamping, or hand-lettering and tie decorative bows in the 12-inch ribbon (steps 9–11).
How can we make the bookmark more durable or fancy?
After decorating in step 6 and adding stickers in step 7, cover the bookmark with clear packing tape or a self-adhesive laminating sheet, trim the edges, punch the hole again, and thread the 12-inch ribbon with optional beads before tying the bow in step 11.
Watch videos on how to make a decorated paper bookmark using cardstock, markers, stickers, and ribbon
10 Creative and Easy Kids Craft | Fun Crafts for Kids | Handmeyd Treasures
4 Videos
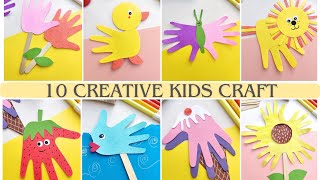
10 Creative and Easy Kids Craft | Fun Crafts for Kids | Handmeyd Treasures

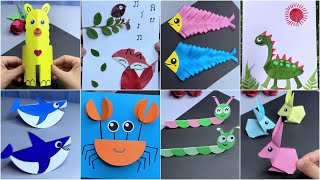
10 Easy Paper Crafts for Kids | Paper Circle Crafts | DIY Paper Toys
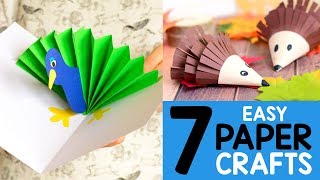
Paper Craft ideas for Kids - 7 simple crafts for kids
Creative Paper Craft Ideas for Kids | Fun and Easy Step by Step Craft Projects
Facts about paper crafts for kids
🎨 Papercraft can turn almost any scrap—like old cards or cereal boxes—into a colorful bookmark.
✂️ Using child-safe scissors and cutting fun shapes helps kids build fine motor control and confidence.
📏 A classic bookmark size is about 2 × 6 inches (5 × 15 cm), which is great for practicing measuring and simple fractions.
🖊️ Marker pens come in chisel, bullet, and fine tips—try different tips for bold patterns or tiny lettering.
🎀 Tassels and ribbons make bookmarks easier to find and have been used for centuries as decorative book markers.
How do I make a decorated paper bookmark using cardstock, markers, stickers, and ribbon?
What materials do I need to make a paper bookmark?
What ages is this decorated bookmark activity suitable for?
What are the benefits and safe variations of making paper bookmarks?
