Design an awesome bookmark
Design and decorate a personalized bookmark using paper, markers, stickers, and laminating tape. Practice measuring, cutting, and creative decision-making skills.


Step-by-step guide to design a personalized bookmark
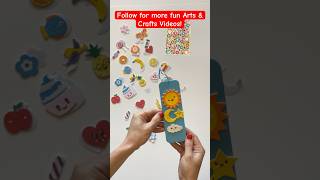
Cute Bookmarks DIY for Kids | Draw, Color, Cut & Tape | Fun Arts and Crafts Tutorial!
Step 1
Gather all Materials Needed and find a clean flat workspace.
Step 2
Measure and mark a rectangle 6 inches long and 2 inches wide or 15 cm long and 5 cm wide on the cardstock.
Step 3
Cut along your pencil lines to make the bookmark shape.
Step 4
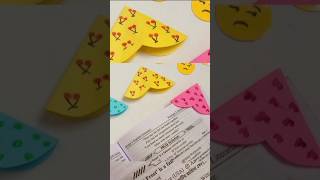
Choose a design theme or color palette for your bookmark.
Step 5
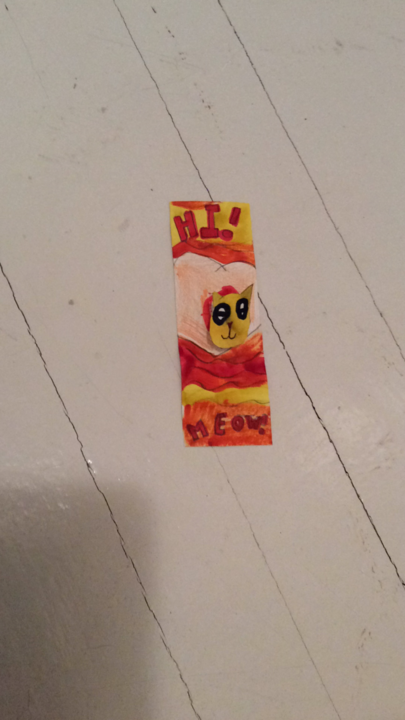
Decorate the front of the bookmark using coloring materials and stickers.
Step 6
Write your name or a short favorite quote neatly on the back with a marker.
Step 7
Cut two strips of laminating tape each slightly longer than your bookmark.
Step 8
Stick the first strip of tape sticky side down onto your work surface.
Step 9
Place the bookmark face up onto the first strip of tape so it sticks.
Step 10
Cover the top of the bookmark with the second strip of tape to seal it.
Step 11
Smooth the tape gently from the center outward to remove air bubbles.
Step 12
Trim the tape around the bookmark leaving a tiny clear border to keep it sealed.
Step 13
Punch a hole near the top center about 1 cm from the edge.
Step 14
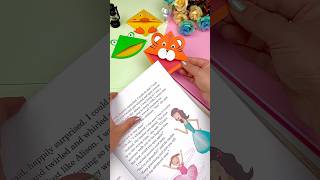
Thread ribbon or yarn through the hole and tie a knot to make a tassel.
Step 15
Share your finished bookmark on DIY.org
Help!?
What can I use instead of cardstock or laminating tape if I can't find them?
If you don't have cardstock or laminating tape, use a cereal-box cardboard cut to 6 inches by 2 inches (or 15×5 cm) and seal it with clear contact paper or wide packing tape instead of the laminating tape.
My bookmark has bubbles or shifts when I put the laminating tape on—how do I fix that?
If air bubbles or shifting occur while sealing with the two strips of laminating tape, lift the top strip, reposition the bookmark face up on the bottom strip, then smooth the tape gently from the center outward with a ruler or credit card and trim leaving a tiny clear border.
How can I adapt this project for a 4-year-old or a preteen?
For a 4-year-old, pre-measure and pre-cut the 6×2 inch rectangle and help with the hole punch and tying the ribbon, while a preteen can follow all steps independently and add extra decorations or beads to the tassel after punching the hole 1 cm from the edge.
How can we make the finished bookmark more special or longer-lasting?
To personalize and strengthen the bookmark, add hole-reinforcer stickers after punching, tie beads or charms to the ribbon tassel, use metallic markers or layered stickers on the front, and then share a photo of the finished bookmark on DIY.org.
Watch videos on how to design a personalized bookmark
How to Make Beautiful Bookmark With Paper | DIY Craft for School | DIY Easy Cute Origami bookmarks
4 Videos
How to Make Beautiful Bookmark With Paper | DIY Craft for School | DIY Easy Cute Origami bookmarks
DIY Paper Bookmarks | Easy & Creative Bookmarks Tutorial 📚✨
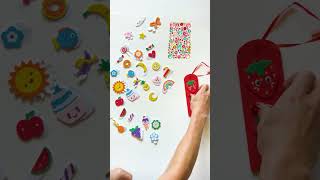
Craft the Cutest Bookmarks using Fruit Stickers! Arts & Crafts for Kids #shorts #kidslearning
Craft the Cutest Bookmarks using Weather Stickers! Arts & Crafts for Kids #shorts #kidslearning
Facts about paper crafts for kids
📚 Bookmarks have been used for centuries — some early examples date back to the 1st century AD.
📏 A common bookmark size is about 2 × 6 inches (5 × 15 cm), a handy fit for most books.
✂️ Laminating tape helps make paper bookmarks water-resistant and much more durable.
🎨 Permanent markers can bleed through thin paper, so cardstock or lamination keeps your art crisp.
✨ Layering stickers and cut paper creates fun 3D textures that make bookmarks extra special.
How do I make a personalized bookmark step-by-step?
What materials do I need to make a personalized bookmark?
What ages is the bookmark-making activity suitable for?
What are the benefits of making personalized bookmarks (and some variations)?
