Create a diorama
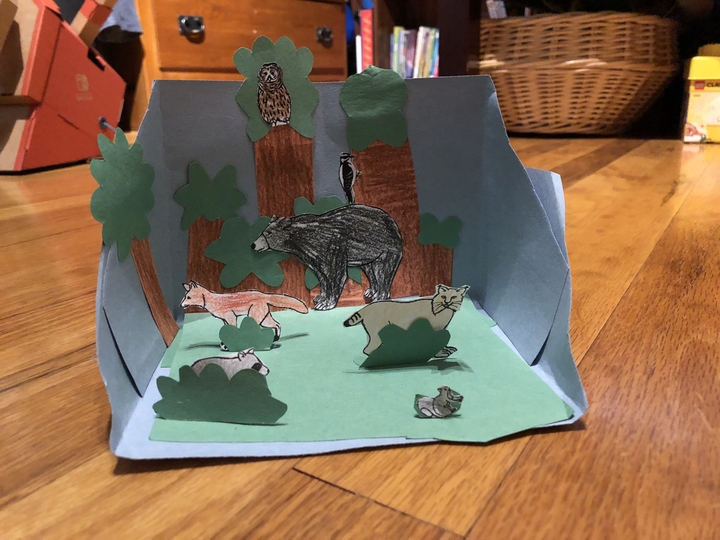
Build a shoebox diorama of a habitat using simple materials like paper, paint, toy figures, and glue to explore ecosystems and storytelling.


Step-by-step guide to build a shoebox diorama of a habitat
Art Project For Kids: How To Design A Diorama
Step 1
Choose which habitat you want to create such as forest desert ocean pond or Arctic and imagine the story that will happen there.
Step 2
Place the shoebox on a table with the open side facing you.
Step 3
Paint the inside back wall to create the main background like sky water or rock.
Step 4
Let the paint dry completely.
Step 5
Cut shapes from colored paper for background details like sun clouds seaweed or mountains.
Step 6
Glue the paper shapes to the painted back wall.
Step 7
Crumple a sheet of brown paper to make floor texture like soil sand or sea bottom.
Step 8
Glue the crumpled paper to the bottom of the box.
Step 9
Cut paper shapes to make trees plants coral or rocks.
Step 10
Attach the paper plants or natural materials like leaves and twigs to the base with glue or tape.
Step 11
Position your toy figures or paper animal cutouts where they belong in the habitat.
Step 12
Write short name labels for one or two animals on small paper strips.
Step 13
Stick the name labels near the animals using tape or glue.
Step 14
Let all glued and taped parts dry and set before moving the diorama.
Step 15
Share your finished diorama on DIY.org.
Help!?
What can we use if we don't have a shoebox, paint, or colored paper?
Use a cereal or pizza box instead of a shoebox, color the inside back wall with washable markers or crayons instead of paint, and cut shapes from magazine pages, tissue paper, or wrapping paper in place of colored paper.
My pieces keep falling off because paint or glue isn't dry—how can we fix that?
Make sure you let the paint on the inside back wall and the crumpled brown-paper floor dry completely, apply thinner coats, speed drying with a hairdryer on low, and secure plants or animal cutouts with stronger double-sided tape or tacky craft glue while holding them in place until set.
How can we adapt this diorama activity for different ages?
For preschoolers use a larger box, pre-cut big paper shapes, stickers and glue dots for the crumpled brown-paper floor; for elementary kids have them paint the inside back wall, cut plants and write name labels themselves; and for older kids add movable animals with brads, layered backgrounds, or LED lights and a written habitat story to share on DIY.org.
What are simple ways to enhance or personalize the finished diorama?
Add real sand or small pebbles glued to the crumpled brown-paper floor for texture, create pop-up trees or layered cardstock foregrounds so toy figures can move, laminate the name labels for durability, and photograph the scene to post on DIY.org.
Watch videos on how to build a shoebox diorama of a habitat
Basic Diorama Building Techniques (Part 1) - School Project | Scene-A-Rama
4 Videos
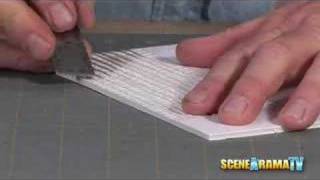
Basic Diorama Building Techniques (Part 1) - School Project | Scene-A-Rama
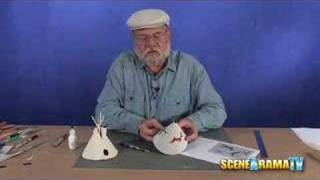
How To Build A Tepee Diorama - School Project | Scene-A-Rama
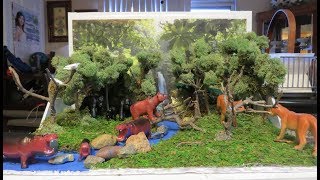
HOW TO MAKE A RAINFOREST DIORAMA (6th Grader project)
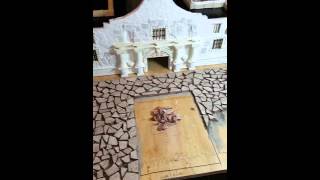
Video 7 - Building the Alamo diorama for a school project
Facts about ecosystems and habitats
🏞️ The modern diorama was popularized in the 1820s by Louis Daguerre and Charles‑Marie Bouton as a theatrical spectacle.
📦 A typical shoebox is about 13 x 7.5 x 4.5 inches (33 x 19 x 11 cm) — a perfect size for a compact habitat diorama.
🐝 Scientists estimate there are around 8.7 million species on Earth, giving you tons of choices for plants and animals to include.
🌿 In ecosystems, producers like plants and algae make their own food and form the base of every food web.
🎨 Making a hands-on diorama helps kids learn and remember facts better because building and storytelling boost creativity and memory.
How do I build a shoebox diorama of a habitat?
What materials do I need to make a shoebox habitat diorama?
What ages is a shoebox diorama activity suitable for?
What are the benefits of making a shoebox habitat diorama?
