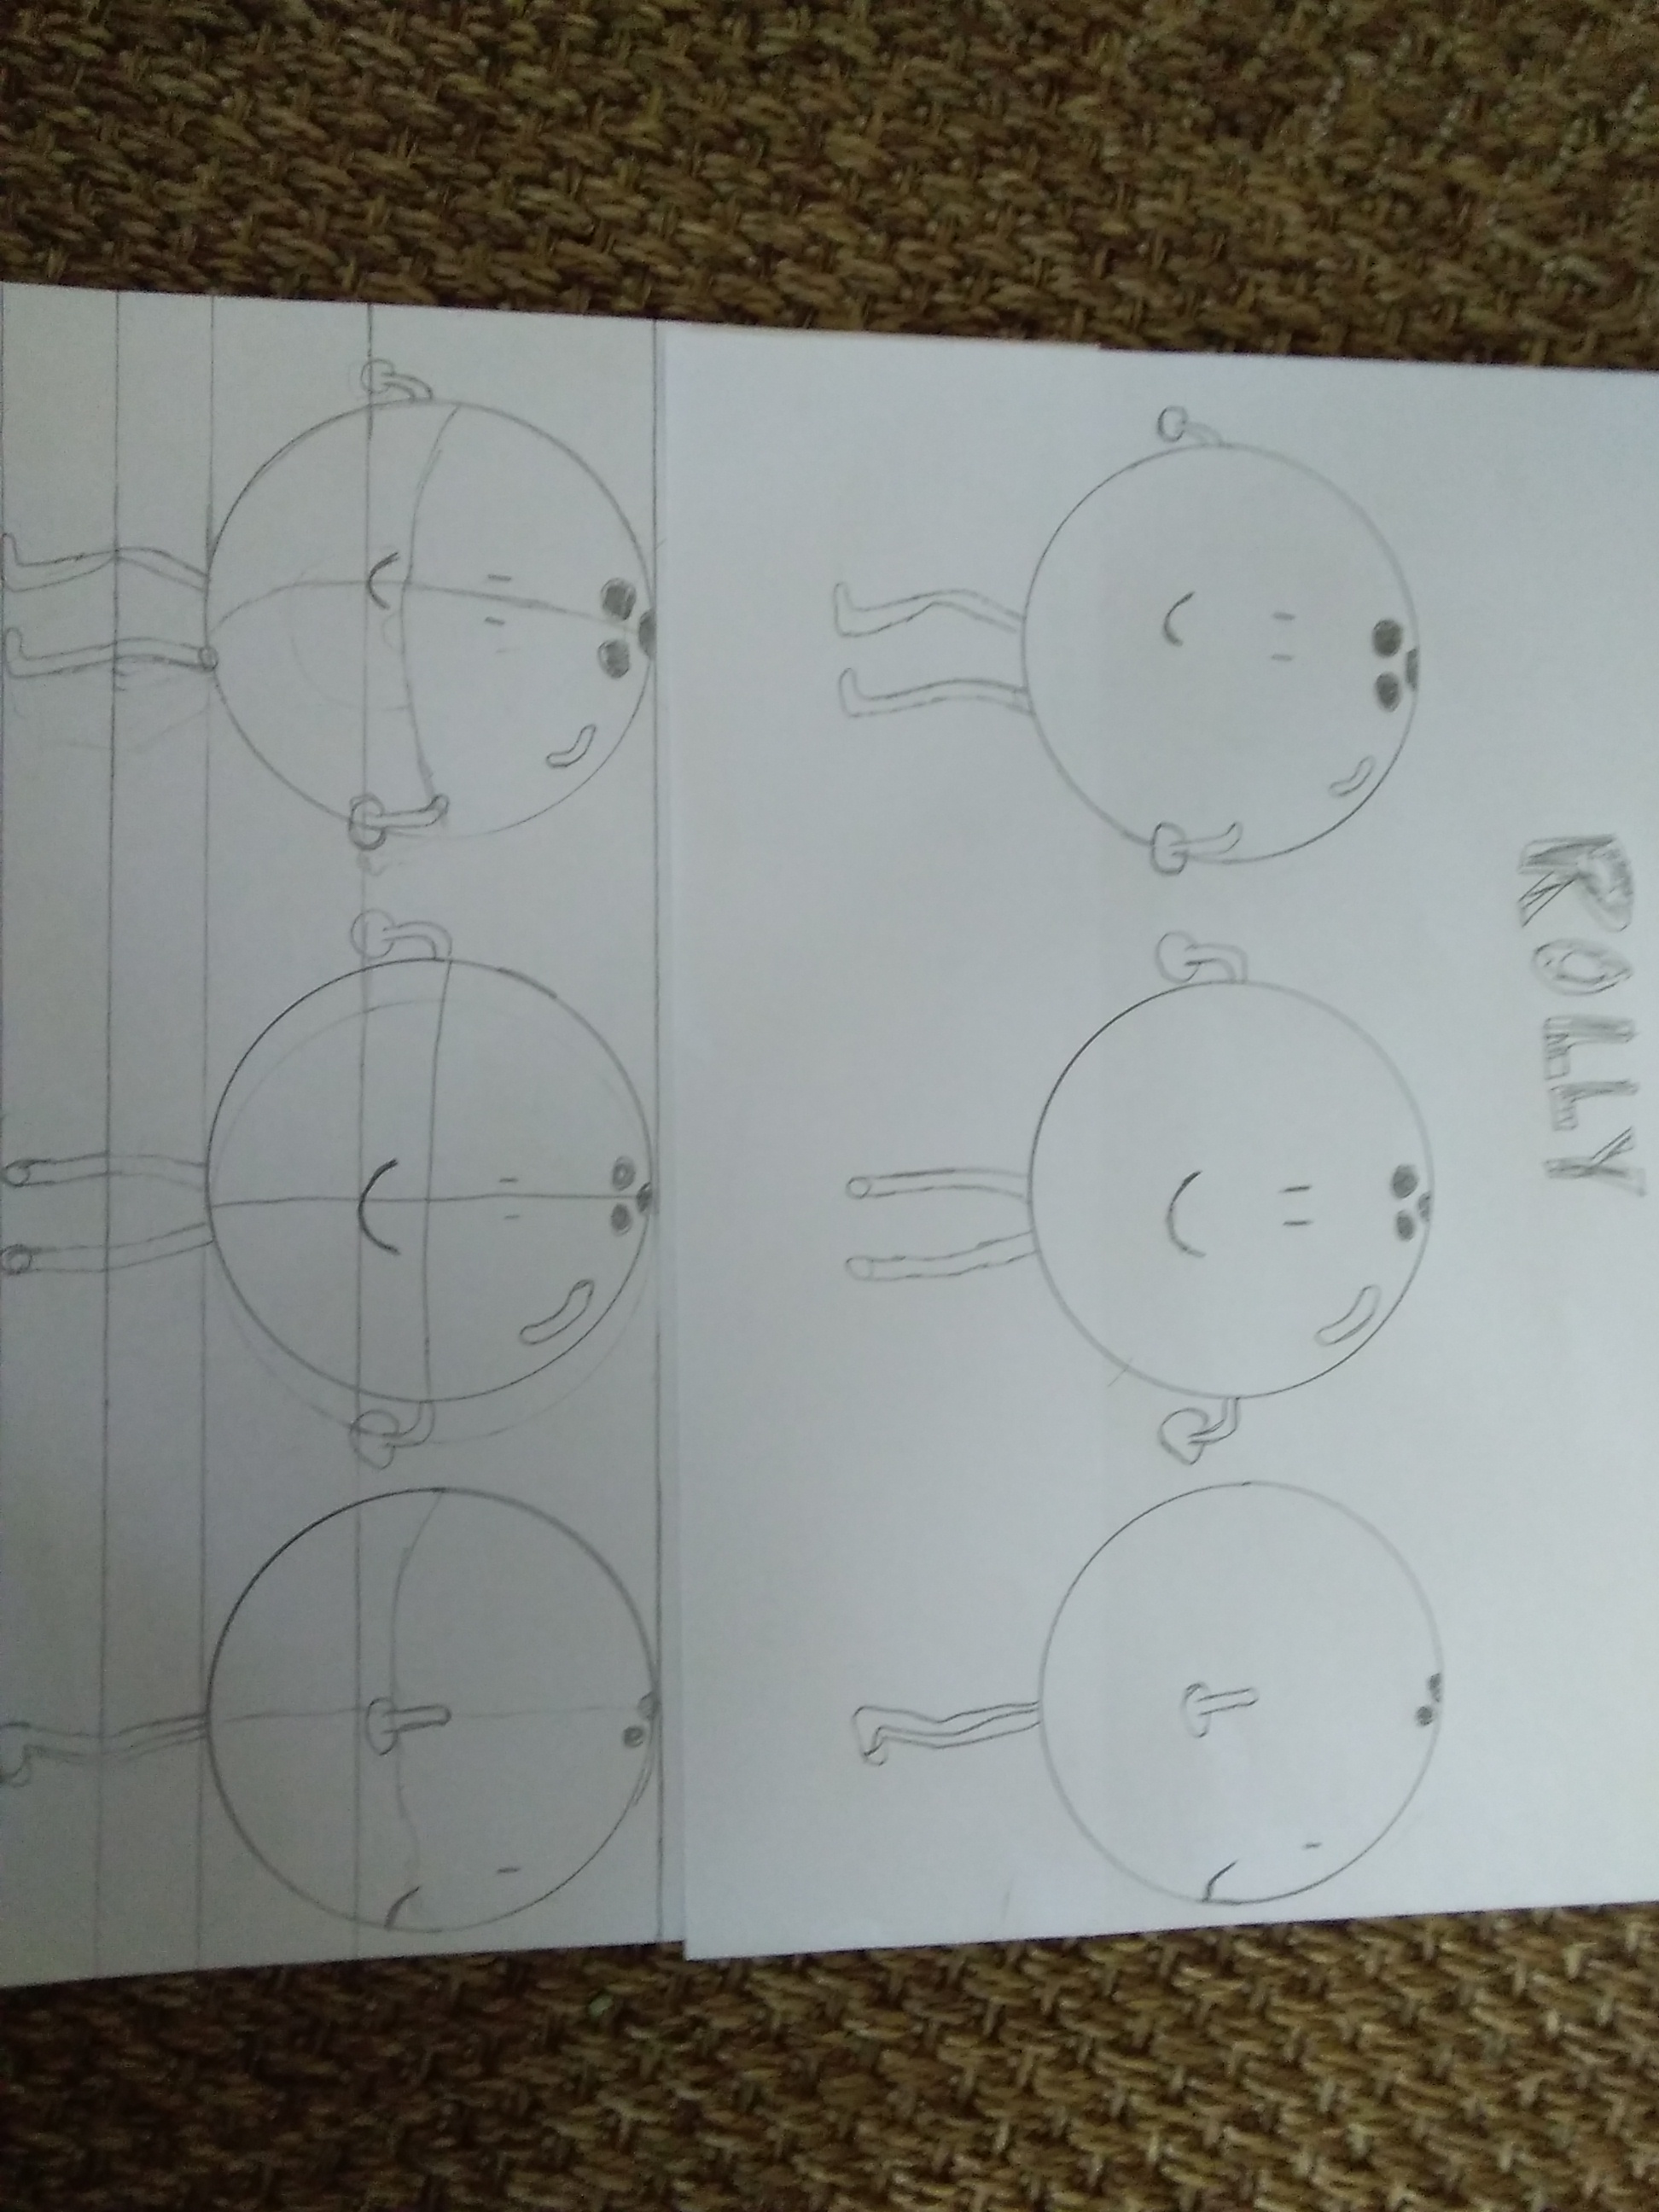
Create a character turnaround sheet
Draw a character turnaround sheet by sketching front, side, back, and three quarter views. Practice proportions, consistency, and simple labeling to guide animation.

Drawing Apps
Step-by-step guide to create a character turnaround sheet
Step 1
Clear a flat workspace and place your paper and materials where you can reach them.
Step 2
Decide how many "head units" tall your character will be (for example six heads tall).
Step 3
Use your ruler to mark that many small horizontal ticks down the left edge of the paper.
Step 4
Draw four equal boxes side-by-side across the page to make spaces for Front 3/4 Side and Back views.
Step 5
In each box draw a light oval near the top to mark the head position.
Step 6
Draw a light vertical centerline through each box to show the body's center.
Step 7
Use the head-unit ticks to add light horizontal guides in each box for shoulders waist hips knees and ankles.
Step 8
In the front-view box sketch the whole body using simple shapes so the head to feet match your guides.
Step 9
In the 3/4-view box sketch the whole body turned slightly so the torso and limbs show perspective.
Step 10
In the side-view box sketch the profile of the head and body aligned to the same guides.
Step 11
In the back-view box sketch the full body from behind mirroring the front proportions.
Step 12
Carefully erase extra construction lines and stray marks from each box.
Step 13
Trace or darken the final outlines in each view using pencil or your black pen.
Step 14
Add simple facial features hair and clothing details and write short labels under each box like "Front" "3/4" "Side" and "Back" plus the head-height number.
Step 15
Take a photo or scan your finished character turnaround and share it on DIY.org.
Help!?
What can we use if we don't have a ruler or a black pen?
Use a straight-edged book or the long edge of a cereal box to mark your head-unit ticks and draw the four equal boxes, and darken final outlines with a sharpened pencil if you don't have a black pen.
My front, side, and back views don't line up—what should I check or fix?
Compare each box to the left-edge head-unit ticks and the vertical centerlines, then lightly erase and redraw the shoulder, waist, and hip guides so the front, 3/4, side, and back align before you trace the final outlines.
How can I adapt this activity for different ages?
For younger kids pre-draw the four boxes, ovals, and head-unit guide lines so they can fill simple shapes, while older kids can increase head units, refine the 3/4 perspective, and ink details with a black pen.
How can we extend or personalize the character turnaround after finishing it?
After you trace or darken the final outlines, add color and clothing patterns, create a second row with alternate outfits or expressions, label each view and head-height number as instructed, then photograph or scan the sheet to share on DIY.org.
Watch videos on how to create a character turnaround sheet
TURNAROUND - Character turnaround sheet in Blender with Grease Pencil | Course Trailer
4 Videos
TURNAROUND - Character turnaround sheet in Blender with Grease Pencil | Course Trailer
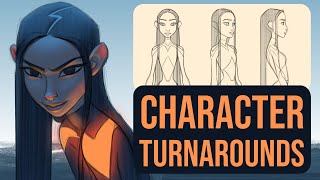
How to draw a Cartoon Character turnaround Model Sheet | Character Design
Creating a Character Turnaround from a Concept Piece
How to draw CHARACTER TURNAROUNDS (The EASY WAY)
Facts about character design and animation
🎭 Model sheets help different artists draw the same character so they look consistent in shows and comics.
✏️ A character turnaround typically includes front, three-quarter, side, and back views to show every angle.
📐 Artists often measure characters in 'head counts' — cartoons can be 3–6 heads tall; realistic adults are about 7–8.
🏰 Early animation studios like Disney relied on model sheets to keep characters identical across many drawings.
🎨 The three-quarter view is prized because it shows facial features and body depth, making characters feel alive.
How do I draw a character turnaround sheet for animation?
What materials do I need to draw a character turnaround sheet?
What ages is a character turnaround sheet activity suitable for?
What are the benefits, safety tips, and variations for a character turnaround sheet?
