Build an iron farm in Minecraft
Build a working iron farm in Minecraft using villagers, beds, and water channels; automate golem spawns to collect iron and explore game mechanics.


Step-by-step guide to build an iron farm in Minecraft
Step 1
Pick a flat area away from villages to build your iron farm so you don’t interfere with other villagers.
Step 2
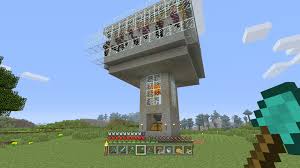
Build a raised platform about 9 by 9 blocks as the villager pod floor so you have room to place beds and workstations.
Step 3
Put three beds on one side of the platform so each villager will have a place to sleep.
Step 4
Place three workstation blocks near the beds so the villagers can have jobs and keep their schedules.
Step 5
Bring three villagers onto the platform and make sure each villager links to one bed and one workstation.
Step 6
Build a small fenced or boat-secured holding spot at the platform edge and trap a zombie there so villagers can see it but cannot be hurt.
Step 7
Build a golem spawning platform directly below the villager platform with a flat open floor where iron golems can appear.
Step 8
Dig water-channel gutters on the spawning platform and place water sources so any spawned golems get pushed toward one exit.
Step 9
Lead the water channels to a single collection point and place hoppers there to catch dropped items.
Step 10
Place a chest connected to the hoppers so iron ingots and poppies automatically collect in one container.
Step 11
Add a safe killing mechanism at the collection point such as a controlled lava blade held by signs so golems die and drop items into the hoppers.
Step 12
Watch the villagers see the zombie to trigger golem spawning and check that iron and poppies flow into your chest.
Step 13
Tweak bed spacing workstations water flow or zombie distance if golems aren’t spawning reliably.
Step 14
Share a screenshot or video of your finished iron farm on DIY.org
Help!?
If I can't find a zombie or boats to secure it, what can I substitute?
If you can't get a zombie or boats, trap a zombie in a fenced holding spot as the instructions suggest or use a minecart on rails to keep the zombie visible but safe from the villagers.
Golems aren't spawning — what's the most common troubleshooting step I should try?
Make sure each of the three villagers on the 9x9 raised platform is linked to one bed and one workstation and that the zombie is close enough to be seen but fenced off so it cannot reach them, then tweak bed spacing, workstation placement, or zombie distance as the instructions recommend.
How can I adapt this iron farm for younger children or older kids?
For younger kids, simplify by building in a flat world in Creative mode and use glass to enclose the zombie and villagers on the 9x9 platform with pre-placed beds and workstations, while older kids can add redstone automation like a dispenser-controlled lava blade or duplicate spawning platforms for higher output.
What are some ways to extend or personalize the finished farm?
After confirming iron and poppies reach the chest, personalize the build by adding an item sorter and extra storage to the hopper-to-chest system, decorate the villager pod with glass for viewing, or add additional golem spawning layers to increase ingot production.
Watch videos on how to build an iron farm in Minecraft
BEST IRON FARM Minecraft Tutorial - NEXT/GEN! - 100% Stable!
4 Videos
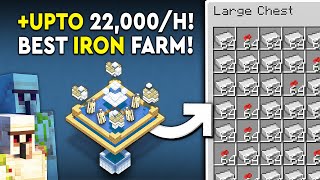
BEST IRON FARM Minecraft Tutorial - NEXT/GEN! - 100% Stable!
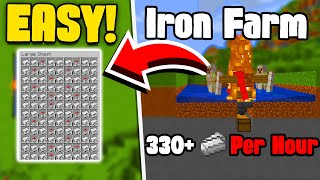
How to Build EASY Iron Farm in Minecraft 1.21+ | Java Edition
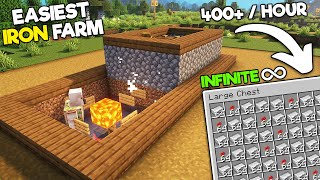
Minecraft 1.21+ EASIEST IRON Farm Tutorial - 400+ Per Hour

How to Build EASY Iron Farm in Minecraft 1.21+ | Java Edition
Facts about mob farms and automation in Minecraft
🛡️ Iron Golems drop 3–5 iron ingots (and 0–2 poppies) when defeated — that’s why players build iron farms!
🧑🌾 Villagers need beds and job site blocks to claim roles and take part in village mechanics used by farms.
🛏️ Beds define a villager's home; placing or removing beds changes village population and breeding behavior.
🌊 Water streams are perfect for safely moving villagers, mobs, and items into collection zones.
⚙️ Redstone components like comparators and repeaters let you automate timers, item sorting, and collection.
How do I build a working iron farm in Minecraft?
What materials do I need to build an iron farm in Minecraft?
What ages is building an iron farm suitable for?
What are the benefits, safety tips, and variations for building an iron farm?
