Use a Minecraft enchantment or potion
Brew a Minecraft potion or enchant an item, then test its effects in game to learn ingredients, steps, and practical uses.

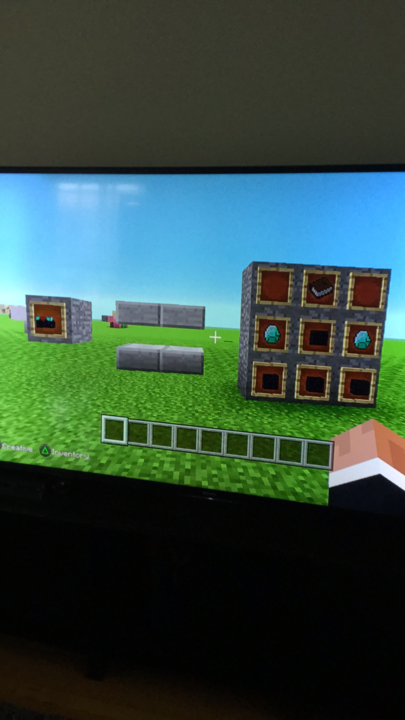
Step-by-step guide to brew a Minecraft potion or enchant an item
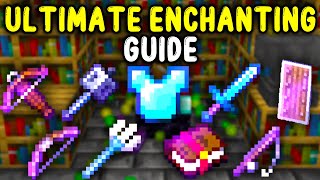
The Ultimate Minecraft 1.21 Enchanting Guide | Anvil, Enchants Explained, Enchantment Table & More!
Step 1
Choose whether you will brew a potion or enchant an item in Minecraft.
Step 2
Gather the in-game materials you need from the Materials Needed list for the choice you picked.
Step 3
If you chose potion brewing place your Brewing Stand on the ground; if you chose enchanting place your Enchanting Table and arrange Bookshelves around it.
Step 4
If you chose potion brewing open the Brewing Stand and put Blaze Powder in the fuel slot; if you chose enchanting put Lapis Lazuli in the Enchanting Table lapis slot.
Step 5
If you chose potion brewing fill Water Bottles and place them in the bottle slots of the Brewing Stand; if you chose enchanting place the item you want to enchant into the item slot.
Step 6
If you chose potion brewing add Nether Wart to the ingredient slot and brew to make Awkward Potions; if you chose enchanting pick an enchantment option based on your experience levels and click to enchant.
Step 7
If you chose potion brewing add your main ingredient (for example Sugar for Swiftness or Glistering Melon for Healing) and brew again to create the target potion.
Step 8
If you chose potion brewing optionally add Redstone to extend duration or Glowstone to increase strength or Gunpowder to make it a splash potion and brew; if you chose enchanting optionally use an Anvil with an enchanted book to apply a specific enchantment.
Step 9
If you brewed a potion test it by drinking it or throwing a splash potion at a mob in a safe area in the game.
Step 10
If you enchanted an item equip it and perform a simple action like mining or hitting a mob to see the enchantment work.
Step 11
Observe and note which ingredients and steps produced each effect and think of at least one practical use for your potion or enchantment in the game.
Step 12
Share a screenshot and a short description of your finished potion or enchanted item and what you learned on DIY.org.
Help!?
What can we use if key materials like Blaze Powder, Nether Wart, Lapis Lazuli, or Glistering Melon are hard to find in survival?
If you can't find Blaze Powder, Nether Wart, Lapis Lazuli, or ingredients like Glistering Melon or Sugar, switch to Creative mode or use the /give command to obtain those items, or choose enchanting (which relies on Lapis) instead of brewing.
Why won't my potions brew or my enchanting show options, and how do I fix it?
If brewing doesn't start, make sure Blaze Powder is in the Brewing Stand fuel slot, Water Bottles are in the bottle slots, and Nether Wart was brewed first to create Awkward Potions before adding your main ingredient, and if enchanting shows no choices check that Bookshelves are arranged correctly around the Enchanting Table, Lapis Lazuli is in the lapis slot, and you have enough experience levels.
How can we adapt this activity for younger or older kids?
For younger kids use Creative mode or have an adult place the Brewing Stand/Enchanting Table and add Water Bottles or Lapis while they press brew or pick an enchantment, and for older kids challenge them to experiment with Redstone, Glowstone, and Gunpowder modifiers and to use an Anvil with enchanted books to apply specific enchantments and record outcomes.
How can we extend or personalize our potion or enchanted item beyond the basic instructions?
Extend the activity by adding Redstone to extend duration, Glowstone to increase strength, or Gunpowder to make a splash potion, combine or apply specific enchantments on an Anvil with enchanted books and name the item on the Anvil, then test by throwing at a mob or equipping it and share a screenshot and description on DIY.org.
Watch videos on how to brew a Minecraft potion or enchant an item
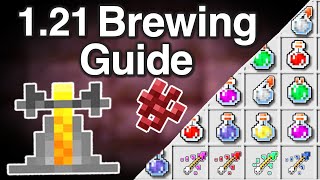
The Ultimate Minecraft 1.21 Potion Brewing Guide | How to make all Potions, Auto Brewer and More!
4 Videos
The Ultimate Minecraft 1.21 Potion Brewing Guide | How to make all Potions, Auto Brewer and More!
NEW Ultimate Minecraft Enchanting Guide 1.21 | Best Enchantments for EVERY Weapon, Tool, Armor
The ONLY ENCHANTING GUIDE You Will Need! 1.21 Minecraft
Ultimate Minecraft Brewing Guide Minecraft 1.21 | New Potions in 1.21 & How to Brew Every Potion
Facts about Minecraft potions and enchantments
🧪 Nether wart is the base ingredient for Awkward Potions — the starting point for most Minecraft brewing recipes.
🔥 Brewing Stands need blaze powder as their fuel to brew potions in-game.
✨ Enchanting Tables require lapis lazuli plus player experience levels to add enchantments to tools and armor.
🧨 Add gunpowder to a finished potion to turn it into a Splash Potion you can throw, or add dragon's breath to make a lingering potion.
⏱️ Redstone dust lengthens potion duration, glowstone increases potency, and fermented spider eye can corrupt or change potion effects.
How do you brew a Minecraft potion or enchant an item and test its effects in-game?
What materials do I need to brew potions or enchant items in Minecraft?
What ages is potion brewing and enchanting suitable for in Minecraft?
What are the benefits and safety tips for doing potion and enchantment experiments in Minecraft?
