Trade with a villager in Minecraft
Open Minecraft, find and interact with a village villager, learn to trade using emeralds, compare offers, and plan smart exchanges.

Step-by-step guide to trade with a villager in Minecraft
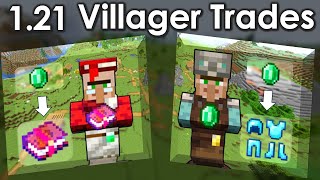
The Ultimate Minecraft 1.21 Guide To Villager Trading | Workstations, Best Trades & Professions!
Step 1
Open Minecraft and load the saved world that has a village.
Step 2
Travel to the village until you can see houses and villagers.
Step 3
Look for a villager with a profession by spotting their workstation or special clothing.
Step 4
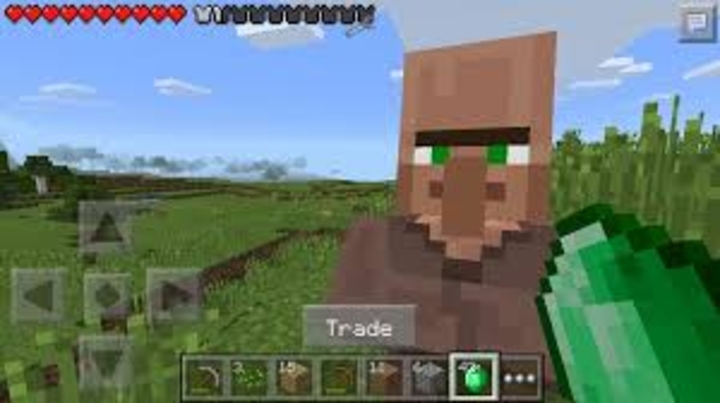
Stand next to that villager and press the interact button to open their trade screen.
Step 5
Read the trade offer to see which item the villager wants and which item they will give.
Step 6
Open your inventory and count how many emeralds you have available.
Step 7
Find at least one other villager and open their trade screen to compare offers.
Step 8
Write each villager’s emerald cost and the item you get in your notebook.
Step 9
Decide which trade gives you the best item for the fewest emeralds.
Step 10
Put the required emeralds into the trade slot and click to complete the trade.
Step 11
Try the same type of trade a few times or with different villagers to see if prices or rewards change.
Step 12
Share your finished trading plan and what you learned on DIY.org
Help!?
What can we use if emeralds, villagers, or a paper notebook are hard to find for this activity?
If you don't have emeralds, use the /give command to add emeralds to your inventory before Step 6, if there are no villagers create job-site blocks to attract them, and use an in-game book or a phone Notes app instead of a paper notebook to record trades.
What should we do if a villager won't trade or shows no profession when we try to open their trade screen?
If a villager has no profession in Step 3, place the correct workstation (for example a Lectern for a Librarian) next to them so they claim it, and if trades are grayed out wait for the trade cooldown to expire before trying to put emeralds into the trade slot in Step 11.
How can I adapt the steps for younger or older children?
For ages 5–7 simplify Steps 6–9 by helping them count emeralds and pick one best item while writing a single line in the notebook, and for ages 10+ have them compare multiple villagers' emerald costs, log results over several trades, and build a short trading plan to post on DIY.org.
How can we extend or personalize the trading activity after completing the basic steps?
Extend the activity by building a labeled trading hall near the village, assigning villagers to specific workstations, recording emerald cost changes over repeated trades in your notebook or a spreadsheet, and then sharing that trading plan and findings on DIY.org.
Watch videos on how to trade with a villager in Minecraft
The Ultimate Minecraft 1.21 Villager Trading Guide | Best Trades, Trading Hall, Zombifying & More
4 Videos
The Ultimate Minecraft 1.21 Villager Trading Guide | Best Trades, Trading Hall, Zombifying & More
How to get the BEST VILLAGER TRADES in Minecraft! Villager Trading Tips & Tricks Tutorial!
NEW Ultimate Minecraft Villager Trading Guide 1.21 | Best Trades, Librarian, Discounts Covered
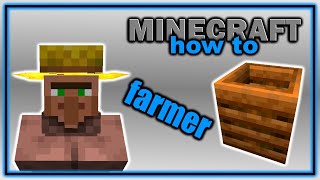
Complete Guide to Farmer Villager Trades! | Easy Minecraft Villager Guide
Facts about Minecraft trading and resource management
💎 Emeralds are Minecraft’s main villager currency — you can mine emerald ore (mostly in mountain biomes) or earn them by trading.
🧑🌾 Villagers have professions (farmer, librarian, blacksmith, etc.) and a job site block that determines the trades they offer.
🔄 Villagers restock many of their trades during the day when they access their job site, so timing your visits can help you plan trades.
🧪 Curing a zombie villager (weakness potion + golden apple) can give you big, permanent discounts on their trades.
📚 High-level villager trades can offer rare goodies like enchanted books, name tags, and maps — compare offers to get the best value.
How do I trade with a villager in Minecraft?
What materials do I need to trade with Minecraft villagers?
What ages is villager trading in Minecraft suitable for?
What are the benefits of trading with villagers in Minecraft?
