Create your own farm in Minecraft
Design and build your own farm in Minecraft: plan fields, plant crops, raise animals, add pathways and simple redstone irrigation for efficient harvests.


Step-by-step guide to create your own farm in Minecraft
Step 1
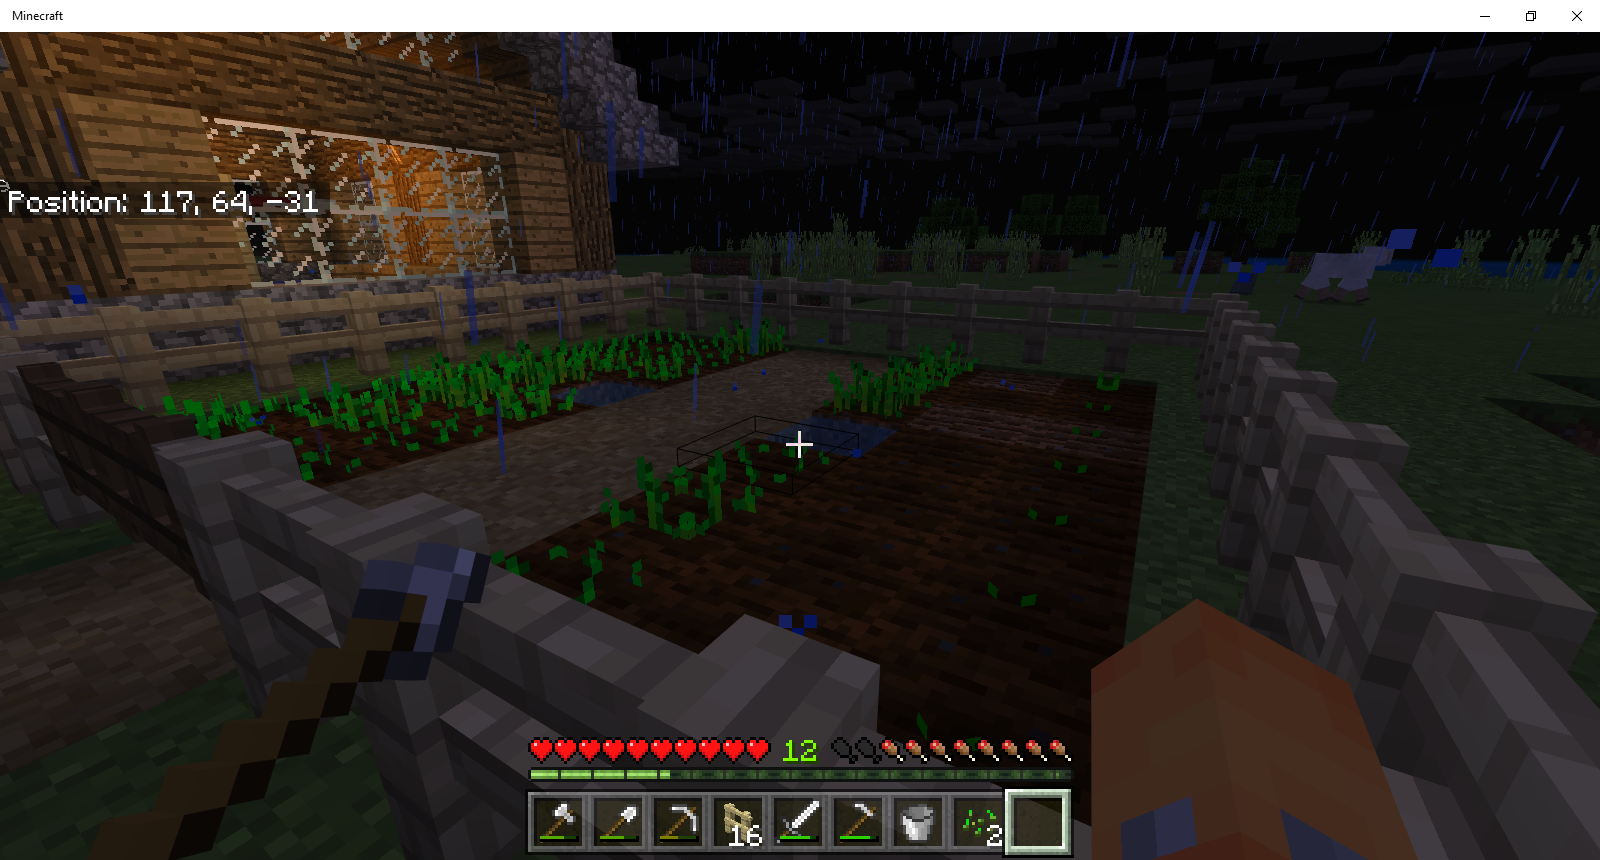
Walk around your Minecraft world and choose a flat spot near water to build your farm.
Step 2
Clear plants trees and blocks from a 15 by 15 area using your shovel or by hand.
Step 3
Use any blocks to outline where your crop fields animal pens house and storage will go.
Step 4
Use your hoe to till the soil inside the field outlines in neat rows.
Step 5
Place water sources every 4 blocks so the tilled soil stays hydrated.
Step 6
Plant your seeds by right-clicking them onto the tilled soil.
Step 7
Build fences around the areas you want as animal pens.
Step 8
Place gates in the fenced pens so you can enter and exit.
Step 9
Lure two animals into a pen using the correct food for that animal.
Step 10
Feed two animals their breeding food to make baby animals.
Step 11
Place dispensers facing your fields at the edge where water can flow across the furrows.
Step 12
Put water buckets inside each dispenser by right-clicking the dispenser with the bucket.
Step 13
Lay redstone dust from each dispenser to a nearby control spot in a clear line.
Step 14
Place a lever or button at the control spot and flip or press it to test the water release and retraction for irrigation.
Step 15
Take screenshots or a short tour of your finished Minecraft farm and share your creation on DIY.org.
Help!?
What can we use if we don't have dispensers or enough redstone dust for the irrigation step?
If you can't find dispensers or enough redstone dust, skip automation and place water source blocks every 4 blocks manually with water buckets while still using your shovel and hoe to clear and till the 15×15 area.
Why won't my water flow from the dispensers or why do my tilled blocks turn back to dirt, and how do I fix it?
If irrigation doesn't work or soil reverts to dirt, make sure each dispenser actually contains water buckets, that redstone dust forms a continuous line to your lever or button at the control spot, and re-till any soil you or animals have trampled with your hoe.
How can I change this activity to fit different ages or skill levels?
For younger kids reduce the build to a 7×7 plot, skip dispensers and redstone and place water sources by hand every 4 blocks, while older kids can keep the full 15×15, add dispensers filled with buckets, redstone dust lines, and hoppers or timers for more automation.
What are some ways to extend or personalize our Minecraft farm after finishing the basic steps?
To personalize and extend your farm, build a themed house and barn near your storage outline using different blocks, add labeled chests, create decorative paths and flower borders around the fenced pens, install hoppers under harvest areas for auto-collection, and set redstone clocks to automate dispenser irrigation before taking screenshots to share on DIY.org.
Watch videos on how to create your own farm in Minecraft
8 Quick and Easy Minecraft Farm Designs
4 Videos
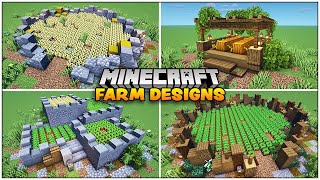
8 Quick and Easy Minecraft Farm Designs
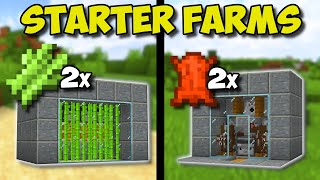
Top 5 Minecraft STARTER FARMS That You NEED To Build!!!
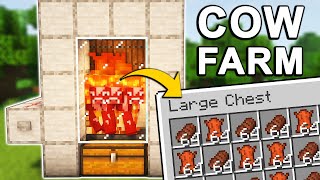
The BEST Cow Farm in Minecraft 1.21+ (Tutorial)
Minecraft: How to build a Compact Farm (Tutorial)
Facts about Minecraft farming and redstone basics
🌾 Wheat in Minecraft goes through 8 growth stages and you can speed it up instantly with bone meal.
💧 A single water block hydrates farmland up to 4 blocks away — enough to irrigate a 9×9 field.
🐄 Cows and sheep can be bred using wheat, letting you grow your herd sustainably.
🧑🌾 Villagers can harvest and replant crops on their own if there are seeds and farmland nearby.
⚡ Redstone power travels up to 15 blocks, so simple irrigation timers and dispenser systems are easy to make.
How do I create a farm in Minecraft?
What materials do I need to build a Minecraft farm?
What ages is building a Minecraft farm suitable for?
What are the benefits, safety tips, and variations for a Minecraft farm?
