Build an animal with LEGO®
Design and build a LEGO animal model using bricks, wheels, and hinges; experiment with symmetry, balance, and simple moving parts to learn basic engineering.


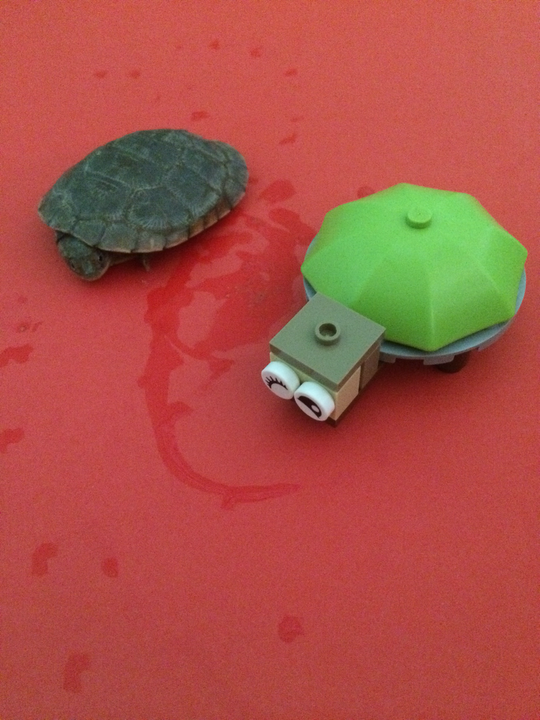

Step-by-step guide to build an animal with LEGO
LEGO Creator Deer (31166) from Beautiful Horse | Step-by-Step Building Instructions | TBB
Step 1
Gather all your LEGO bricks wheels and hinge pieces and place them on a flat surface so you can see everything.
Step 2
Pick one animal you want to build and say its name out loud to get excited.
Step 3
Draw a quick simple sketch of your animal showing the body head legs and any moving parts you want.
Step 4
Choose the bricks you will use for the main body and put them in a small pile.
Step 5
Snap the chosen bricks together to build the main body shape of your animal.
Step 6
Build one leg or wheel assembly for one side using the bricks wheels or hinges.
Step 7
Make a matching leg or wheel assembly that looks the same as the first to keep symmetry.
Step 8
Attach the legs or wheel assemblies to the body in mirrored positions so both sides match.
Step 9
Stack bricks to build the head and add eye pieces or other face parts.
Step 10
Attach the head to the front of the body so it sits securely.
Step 11
Add a hinge piece to the jaw or tail so that part can move.
Step 12
Place your model on a flat surface to see if it stands without tipping.
Step 13
Gently move the hinged part and roll the model to check that moving parts and wheels work smoothly.
Step 14
Add extra decorative pieces to finish the look of your animal.
Step 15
Take a photo or video and share your finished LEGO animal creation on DIY.org
Help!?
What can we use if we don't have hinge pieces or wheels?
If you don't have hinge pieces or wheels, substitute clip-and-bar pieces or small Technic pin connectors to create a moving jaw or tail and use round tiles, train wheels, or stacked small round bricks as wheel assemblies.
Why does my LEGO animal tip over or wheels not roll, and how do we fix it?
If your model tips when you place it on a flat surface or wheels won't roll, check that the leg or wheel assemblies you made are symmetrical and attached in mirrored positions, widen or lower the main body pile to improve balance, and make sure wheel axles are straight and unobstructed.
How can I change the steps for younger or older children?
For younger children, pre-sort larger bricks and have an adult snap the matching leg/wheel assembly together while they pick colors and sketch, and for older kids, encourage a more detailed sketch, complex hinge mechanisms for the jaw or tail, and extra stacked-brick techniques for a sturdier main body.
What are fun ways to extend or personalize our finished LEGO animal?
Extend and personalize by adding extra decorative pieces, building a habitat from additional bricks, creating a matching herd of animals with mirrored leg assemblies, or making a stop-motion video of the hinged jaw or tail and sharing the photo or video on DIY.org.
Watch videos on how to build an animal with LEGO
How to Build: Adorable Lego Cat | Tutorial Video (HD)
4 Videos
How to Build: Adorable Lego Cat | Tutorial Video (HD)
LEGO Easy Tutorial How to Build Camel Animals Lego Basic Instruction
Lego Dog - How to Build a Lego Dog
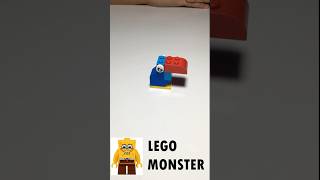
Cute LEGO Parrot Build 🦜 | Fun & Easy LEGO Classic Animal #shorts
Facts about LEGO building and basic engineering for kids
🧱 Since 1958 LEGO bricks have used the same stud-and-tube design, so bricks from decades ago still snap together with new ones.
⚙️ The wheel-and-axle — which you can build with LEGO wheels — is one of the six classic simple machines that helps make work easier.
🦋 Many animals show bilateral symmetry (matching left and right sides), a helpful design principle for balance in LEGO animal models.
🔩 Adding a hinge or a single rotating axle can create a simple moving part like flapping wings or a wagging tail with just one joint.
🧠 Hands-on building play like LEGO has been shown to boost spatial skills and problem-solving in kids — engineering practice disguised as play.
How do I design and build a LEGO animal model step by step?
What materials and LEGO pieces do I need to build an animal with moving parts?
What ages is building a LEGO animal suitable for?
What are the benefits, safety tips, and fun variations for LEGO animal builds?
