Invent something new and awesome
Invent a simple Rube Goldberg machine using household items to complete a small task, test designs, and learn about energy and cause and effect.


Step-by-step guide to invent a simple Rube Goldberg machine
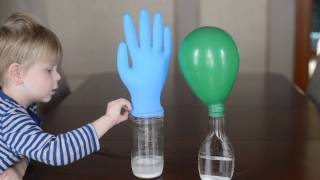
25 COOLEST Science Experiments You Can Do at Home for Kids
Step 1
Pick one small task your machine will do such as landing a marble in a bowl or tipping a cup to drop a toy.
Step 2
Gather the Materials Needed and bring them to a clear table or floor space.
Step 3
Draw a quick plan showing at least three steps where one thing will hit or move the next.
Step 4
Make a ramp by leaning a piece of cardboard against a book and taping it so a marble can roll down.
Step 5
Set up a line of dominoes or small blocks so the last block will knock into another part.
Step 6
Attach the string between a clothespin and the cup so the clothespin can hold the cup in place.
Step 7
Position the cup above the bowl so tipping the cup will drop the toy into the bowl.
Step 8
Place the marble at the top of the ramp as your starting object.
Step 9
Release the marble to test if it rolls down the ramp and knocks the dominoes.
Step 10
Move or tape any parts that miss so each link hits the next more reliably.
Step 11
Run the full machine from start to finish to see if it completes your chosen task.
Step 12
Change one thing like the ramp angle or the domino spacing to try a new design.
Step 13
Run the full machine again to test how your change affected the result.
Step 14
Share your finished Rube Goldberg machine on DIY.org
Help!?
What can we use if we don't have a small marble or dominoes?
Use a ping-pong ball or small toy car as the starting object and line up stacked coins or LEGO bricks in place of the dominoes so the 'Place the marble' and 'Set up a line of dominoes' steps still work.
The marble didn't knock over the blocks—what should we try?
Re-tape the cardboard to the book to make the ramp sturdier, increase the ramp angle or move the dominoes closer so the marble gains more speed and follows the 'Release the marble' and 'Move or tape any parts that miss' steps reliably.
How can I make this activity easier for preschoolers or more challenging for older kids?
For preschoolers, use a larger ball, pre-set the blocks and help with taping and the clothespin setup, and for older kids add extra steps or sensors when you 'Draw a quick plan' and experiment with the 'Change one thing' step.
What are simple ways to improve or personalize our finished machine?
Decorate the cardboard ramp and cup, add extra steps like a pulley or second ramp, tweak ramp angle or domino spacing as in the 'Change one thing' step, and film the machine to share on DIY.org.
Watch videos on how to invent a simple Rube Goldberg machine
EASY SCIENCE EXPERIMENTS TO DO AT HOME
4 Videos

EASY SCIENCE EXPERIMENTS TO DO AT HOME

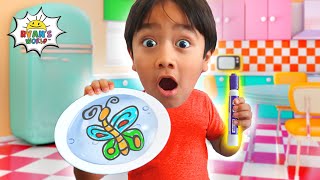
Top 5 Easy Science Experiments for kids to do at home with Ryan's World!
10 Easy Science Experiments - That Will Amaze Kids
TOP 10 DIY Science Experiment for kids to do at home with Ryan's World!
Facts about engineering and physics for kids
🛠️ Rube Goldberg was a cartoonist whose funny drawings of over-complicated machines gave us the name for today’s creative chain-reaction projects.
🧩 Simple machines like levers, pulleys, and ramps let you move heavier things with less effort — perfect tricks for Rube Goldberg steps.
🔁 Domino lines and rolling marbles are classic ways to show a chain reaction: one tiny push can make lots of motion happen.
🔋 When a marble rolls down a ramp, stored (potential) energy turns into moving (kinetic) energy you can see and measure.
🎯 Good engineers test, tweak, and try again — most Rube Goldberg machines need several redesigns before every step works reliably.
How do you make a simple Rube Goldberg machine to complete a small task?
What household materials do I need to build a child-friendly Rube Goldberg machine?
What ages is inventing a simple Rube Goldberg machine suitable for?
What are the benefits of having kids invent a Rube Goldberg machine?
