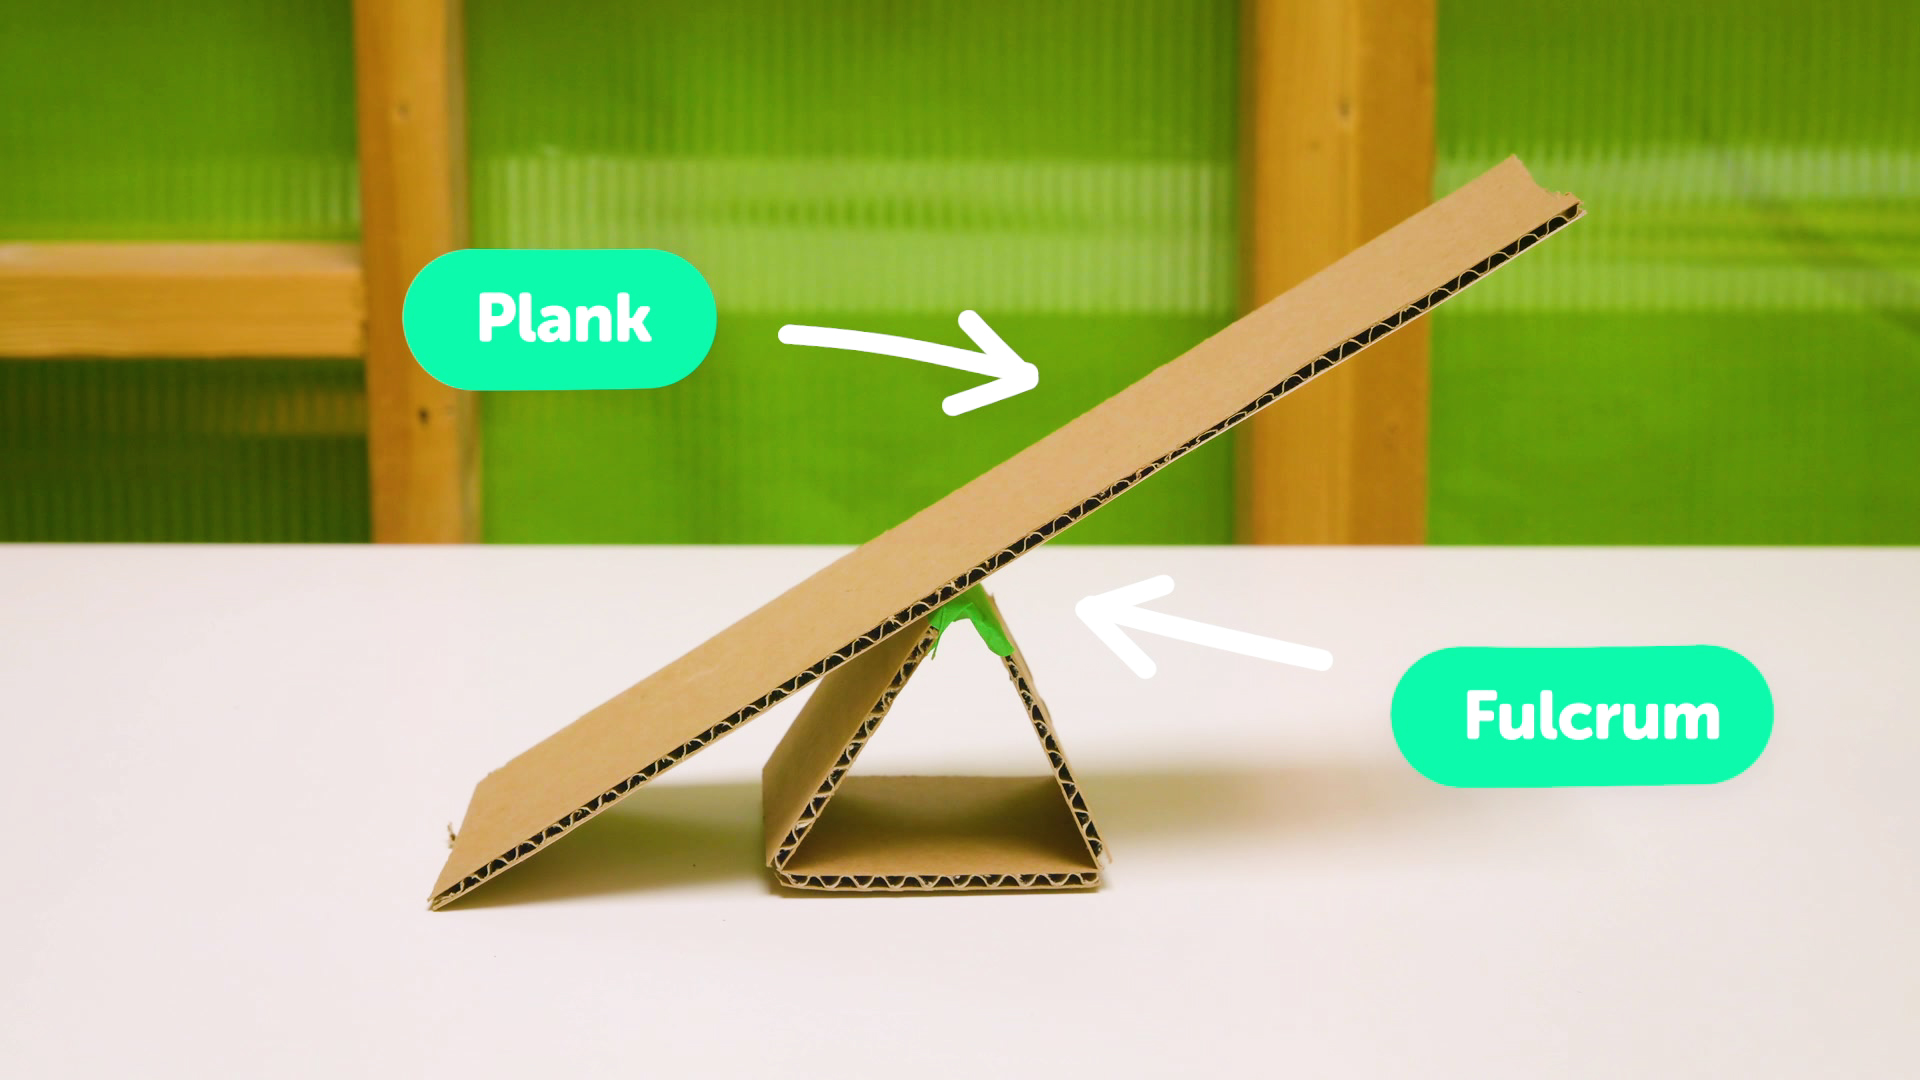
Build a lever
Build a simple lever using a ruler, pencil, and small weights. Test balance, measure effort, and learn how levers make work easier.


Step-by-step guide to build a simple lever
Step 1
Put the eraser on a flat table to act as the fulcrum.
Step 2
Lay the ruler across the eraser so the ruler can rock back and forth.
Step 3
Adjust the ruler until it sits level with no weights on it.
Step 4
Use the pencil to mark the exact point on the ruler that touches the eraser (this is the pivot).
Step 5
Measure 3 cm to the left of the pivot using the ruler.
Step 6
Mark the left 3 cm spot with your pencil.
Step 7
Place one coin on the left mark and tape it down so it stays in place.
Step 8
Measure 3 cm to the right of the pivot using the ruler.
Step 9
Mark the right 3 cm spot with your pencil.
Step 10
Place one coin on the right mark (do not tape this coin yet).
Step 11
Slide the right coin along the ruler until the ruler balances level again.
Step 12
Measure the distance from the pivot to each coin and note the numbers.
Step 13
Write the distances and how many coins are on each side on your paper.
Step 14
Multiply each side’s number of coins by its distance from the pivot to compare the turning effects (this shows how the lever changes effort).
Step 15
Share a photo and what you learned about balancing levers on DIY.org.
Help!?
What can I use instead of the eraser if I don't have one for the fulcrum?
If you don't have an eraser, use a small cork, a bottle cap, a stack of coins, or a folded piece of cardboard as the fulcrum under the ruler so it can rock back and forth.
The ruler won't balance even after I slide the right coin—what should I check or fix?
Check that your pivot mark is exactly where the ruler touches the fulcrum, press or replace the fulcrum so it doesn't move, tape the left coin securely, and then slide the right coin again until the ruler sits level.
How can I adapt this lever activity for younger or older kids?
For younger children pre-mark the 3 cm spots and tape the left coin so they only slide the right coin to learn balancing, while older kids can vary coin counts and distances and calculate the coin×distance products from the instructions.
How can we extend or personalize the lever experiment after balancing it once?
Try different fulcrum heights (stacked erasers), use different coins or stacks to compare turning effects by recording distances and multiplying coin counts by distance, then take photos and share your results and explanations on DIY.org.
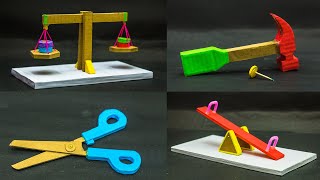
Watch videos on how to build a simple lever
First Class Lever Science Projects
3 Videos
First Class Lever Science Projects
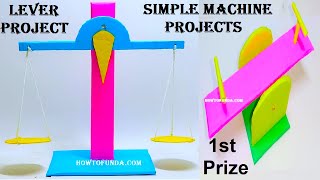
lever science project(simple machine) working model 3d | seesaw - weighing balance | howtofunda
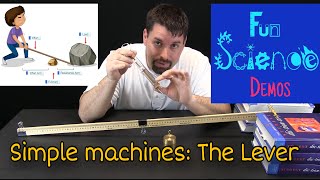
Simple Machines: The Lever
Facts about levers and simple machines
🏛️ Archimedes famously said, “Give me a place to stand…” to explain how levers let you move huge loads with small forces.
⚖️ There are three classes of levers — first, second, and third — based on the positions of the fulcrum, load, and effort.
📏 Mechanical advantage of a lever = length of the effort arm ÷ length of the load arm, so longer effort arms make work easier.
📐 Try this: on a 30 cm ruler, placing the fulcrum 5 cm from the load gives a 5× advantage (25 ÷ 5 = 5).
🏗️ Simple levers were used in ancient construction and mining — people have been using lever ideas for thousands of years.
How do I build a simple lever with a ruler, pencil, and small weights?
What materials do I need to build a child-friendly lever?
What ages is this lever activity suitable for?
What are the educational benefits of building a simple lever?
