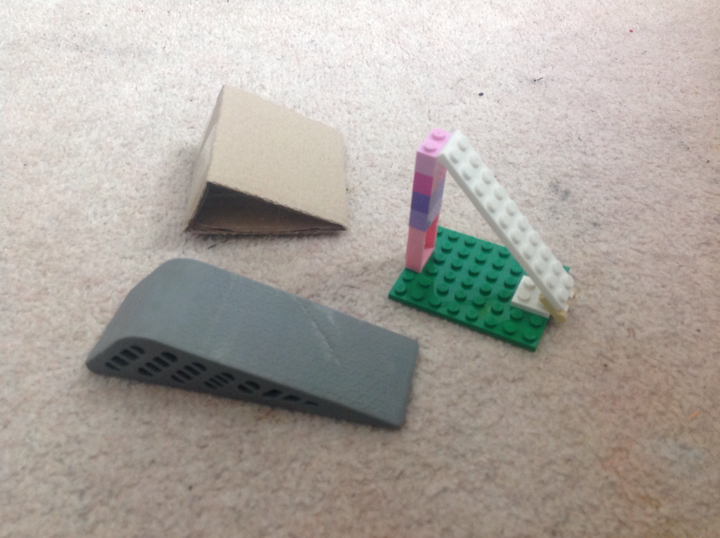
Find or build a wedge
Find or build a simple wedge from cardboard or wood, test how it lifts or separates lightweight materials, and explore how wedge angle affects force.


Step-by-step guide to build and test a simple wedge
What is a Wedge: Unlocking the Secrets of Simple Machines. Science for Grades 3-5.
Step 1
Gather all your materials and put them on a clear flat workspace.
Step 2
Use the ruler and protractor to draw three wedge outlines on the cardboard or thin wood with angles about 20° 40° and 60° and a base about 8 to 10 cm long.
Step 3
Cut out the three wedges carefully using scissors or ask an adult to help with the craft knife.
Step 4
Label each wedge with its angle using the pencil so you can tell them apart.
Step 5
Put your small toy or eraser on the table and make a pile of coins or washers nearby to use as weights.
Step 6
Place the 20° wedge with its thin edge toward the toy and push the wedge slowly under the toy until the toy lifts or the wedge slips.
Step 7
If the toy lifts, add one coin to the toy and try pushing the wedge under again; repeat adding one coin and testing until the wedge can no longer lift the toy.
Step 8
Count and write down how many coins the 20° wedge could lift.
Step 9
Repeat Steps 6 to 8 for the 40° wedge and then for the 60° wedge, testing each wedge the same way.
Step 10
Look at the three coin counts and decide which wedge lifted the most weight and which lifted the least.
Step 11
Draw a quick picture or write one short sentence explaining how the wedge angle seemed to change how hard it was to lift the toy.
Step 12
Share your finished wedges and your test results on DIY.org
Help!?
What can we use instead of cardboard, a protractor, or coins if those are hard to find?
Use a cereal box or thick paper instead of cardboard, a printable protractor or phone app instead of a physical protractor, and pennies, bottle caps, or stacked paper squares in place of coins/washers while following Steps 1–3 and Steps 6–8.
What should we do if a wedge won’t slide under the toy or keeps breaking when we try to lift it?
If the wedge won’t slide in Step 6, carefully trim or sand the thin edge from Step 3 to make a finer bevel or slide a folded paper under the toy as a starter so the wedge can get under, and if the material tears, switch to thicker cardboard or thin wood per Step 2.
How can we adapt this wedge activity for younger kids or older kids?
For younger children, pre-cut and label the wedges from Step 3 and use big toys and large counters for Steps 6–8, while older kids can draw more precise angles with the ruler and protractor in Step 2, record coin counts and calculate how angle affected lifting for Step 10.
How can we make the experiment more interesting or personalized after finishing the basic tests?
Enhance the activity by decorating and labeling each wedge, testing different base lengths (8 vs 10 cm) or table surfaces, graphing the coin counts from Steps 8–9, and then sharing your picture and results on DIY.org as in the final step.
Watch videos on how to build and test a simple wedge
Simple Machine Projects | Wedge | Axe
4 Videos
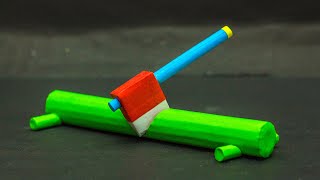
Simple Machine Projects | Wedge | Axe
Simple Machines - Wedges!
Simple Machines | Animation

Simple Machines STEM Song for Kids | Wedge, Lever, Wheel & Axle, Inclined Plane, Pulley and Screws
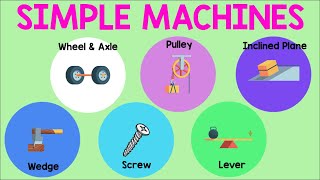
Facts about wedges and simple machines
🪓 A wedge is basically two inclined planes back-to-back — everyday tools like knives and axes are wedges that turn a push into a splitting force!
📐 Shallower (skinnier) wedge angles give more mechanical advantage: they need less push but must travel farther to get the same separation.
🏺 Ancient builders used wooden and metal wedges to split stone and lift huge blocks when building temples and pyramids.
📦 Cardboard wedges are perfect for kid experiments because they’re quick to build and test, while wooden wedges hold up better for heavier materials.
⚖️ You can measure how wedge angle affects force with a simple spring scale — steeper wedges usually require a bigger push to separate materials.
How do I build and test a simple wedge to explore how angle affects force?
What materials do I need to make a cardboard or wooden wedge activity?
What ages is this wedge activity suitable for?
What are the benefits of the wedge experiment and important safety tips?
