Build an inclined plane
Build an inclined plane from cardboard, books, and tape and test how different objects roll or slide at various angles to explore friction and gravity.


Step-by-step guide to build an inclined plane from cardboard, books, and tape
Step 1
Gather all the materials and bring them to a clear spot on the floor.
Step 2
Clear a flat area near a wall so rolling objects won't go far.
Step 3
Choose your three test objects and place them beside your workspace.
Step 4
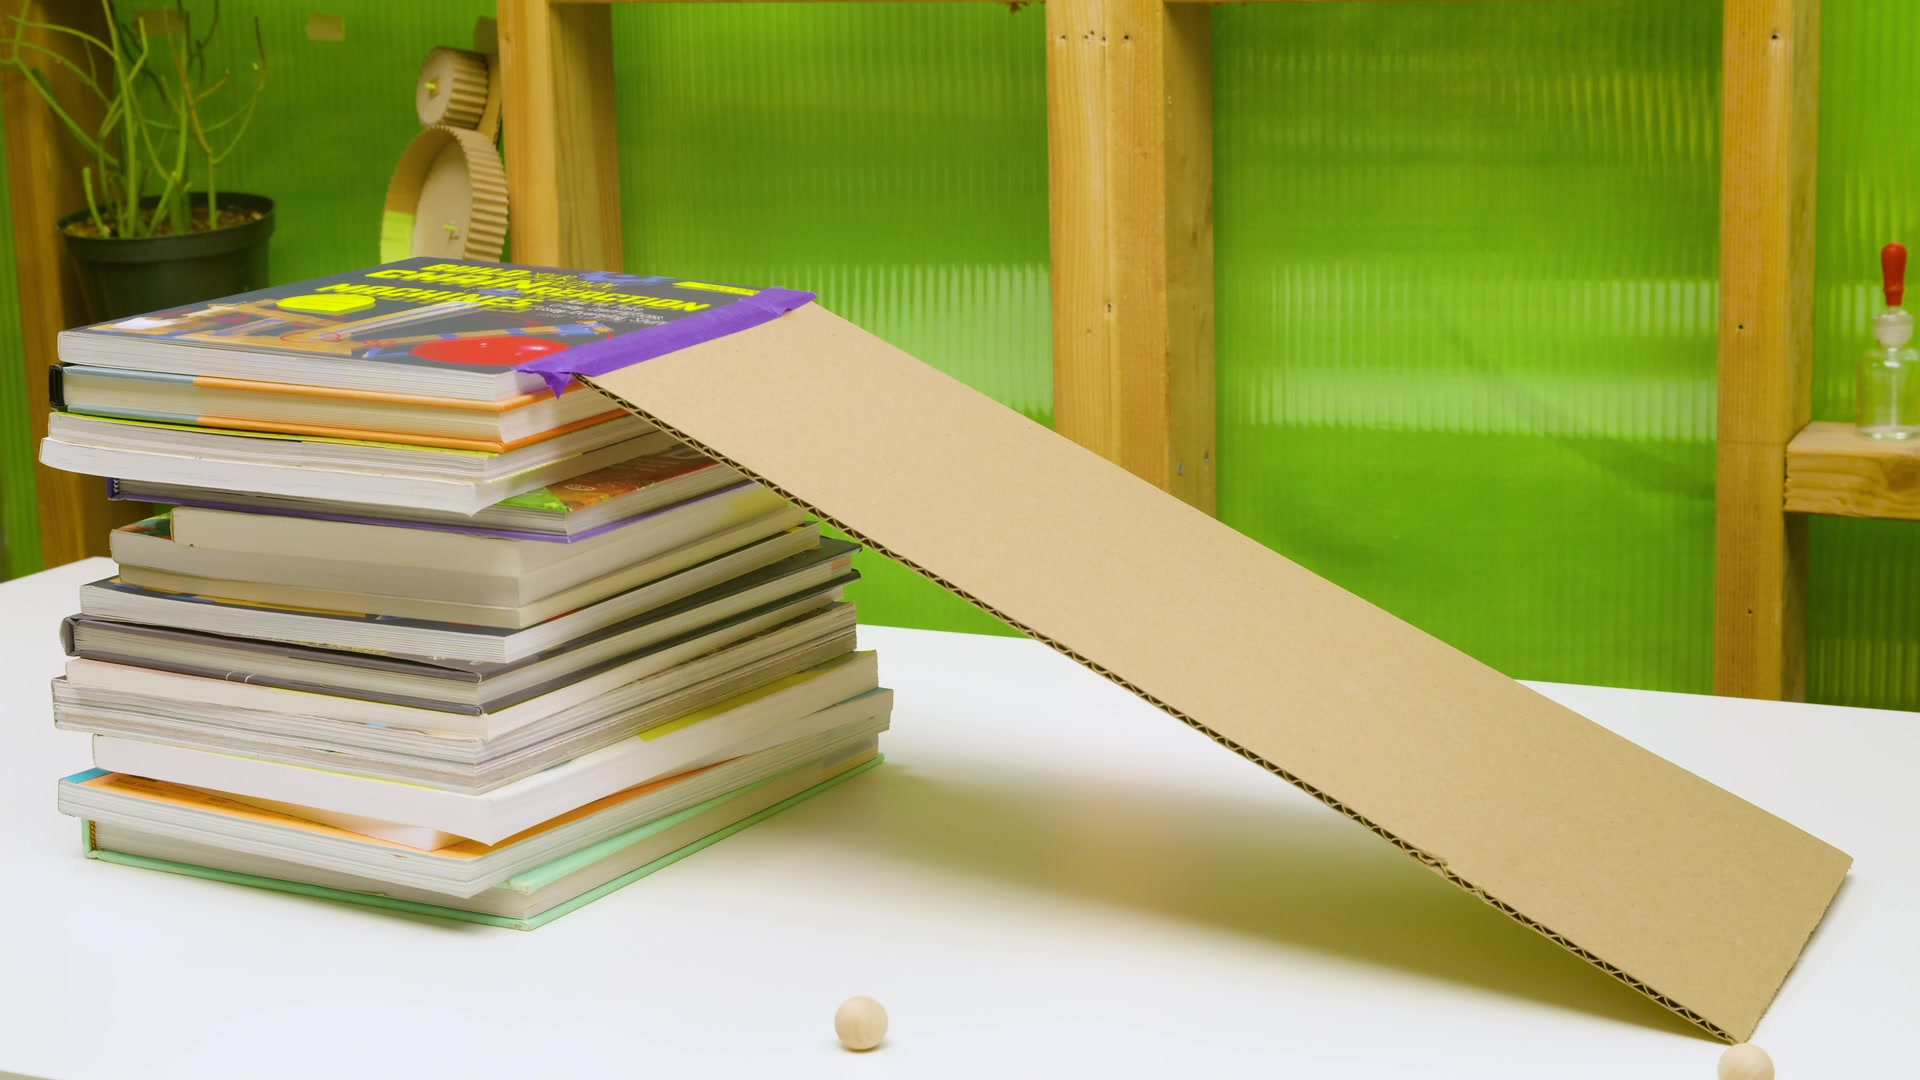
Cut the cardboard into a rectangle about as long as two stacked books.
Step 5
Stack one book where the top of your ramp will be to make a low angle support.
Step 6
Put one end of the cardboard on the stacked book and the other end on the floor to form the ramp.
Step 7
Tape the top edge of the cardboard to the top book so the ramp stays steady.
Step 8
Measure the vertical height from the floor to the top of the ramp with the ruler and write the height in your notebook.
Step 9
Put the first test object at the top edge of the ramp and hold it steady.
Step 10
Let go of the object without pushing so it can roll or slide down by itself.
Step 11
Measure how far the object traveled from the ramp end and write the distance and whether it rolled or slid in your notebook.
Step 12
Add another book under the top of the ramp to increase the angle.
Step 13
Repeat Steps 9 to 11 for each object at the new angle and for any other angles you try.
Step 14
Look through your notes and decide which object rolled fastest which slid more and how the angle changed the result.
Step 15
Share your finished inclined plane and your test notes on DIY.org.
Help!?
What can I use if I don't have cardboard or tape for the ramp?
If sturdy cardboard from step 4 is hard to find, substitute a thin wooden board, stiff poster board, or several cereal-box layers taped together and use the same setup in steps 6–7 to form and secure the ramp.
The ramp keeps slipping or the object won't move—what should we try?
If the ramp slips or the cardboard bends when you release an object in step 10, add another book under the top per step 12, retape the top edge as in step 7, or place a heavy object at the ramp base to keep the ramp steady.
How can we change this activity for different ages?
For preschoolers, simplify by using one soft ball and letting them release and count rolls while skipping the ruler and notebook, while older kids should follow steps 8–11 to measure height, distance, and roll/slide and analyze results in step 14.
How can we extend or personalize the inclined plane experiment?
To extend the activity, test different ramp surfaces by covering the cardboard from step 6 with sandpaper, cloth, or foil, time runs when measuring distance in step 11 to calculate speed, graph the outcomes from step 13, and share photos and notes on DIY.org in step 15.
Watch videos on how to build an inclined plane from cardboard, books, and tape
Simple Machines - Inclined Planes
4 Videos
Simple Machines - Inclined Planes

Simple Machines: Inclined Planes - Make Work Easier
Inclined Plane (Experiment) for Class 11 Practical
Inclined Plane Physics (Force to Push Object and Distance Explained)
Facts about simple machines and forces for kids
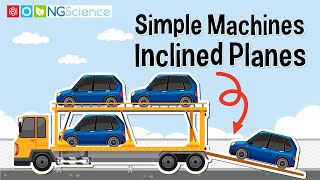
🛝 An inclined plane is one of the six classical simple machines and helps move heavy things with less force.
🎯 A small change in the ramp angle changes how fast objects slide — steeper means faster!
🔬 For most sliding surfaces, friction depends more on the types of materials and how hard they press together than on contact area.
🌕 On the Moon, objects would slide more easily because lunar gravity is only about 1/6th of Earth's.
🏗️ Ancient builders used ramps (inclined planes) to help move huge stones when constructing pyramids and temples.
How do I build an inclined plane from cardboard, books, and tape and test different objects?
What materials do I need to build a cardboard inclined plane experiment?
What ages is the inclined plane activity suitable for?
What are the benefits and safety tips for the inclined plane activity?
