Make Your Own Claymation Video
Create clay characters and simple sets, then film frame by frame using a phone or tablet to make a short claymation video with sound.


Step-by-step guide to make your own claymation video
HOW TO MAKE A CLAYMATION | | For Kids!
Step 1
Lay out all your materials on a clean table so everything is easy to reach.
Step 2
Think of a tiny story in one sentence and draw a three-box storyboard to plan beginning middle and end.
Step 3
Sculpt simple clay characters using different colors and give each one a clear feature like eyes or a hat.
Step 4
Build a small set on the cardboard base and stick a colored paper backdrop behind it.
Step 5
Tape small props down so they won’t slide while you film.
Step 6
Put the set on a steady table and position a stack of books or a stand to hold your device steady.
Step 7
Turn on a lamp or choose a bright spot of daylight so the set has even light and no harsh shadows.
Step 8
Take a test photo with your device to check that everything is in frame and in focus.
Step 9
Place your characters in the starting pose for the first scene.
Step 10
Take a photo for the first frame.
Step 11
Move the characters a tiny amount then take another photo and repeat moving-and-photographing until your storyboard is finished.
Step 12
Import the photos into a stop-motion or video app and add or record sound effects and dialogue.
Step 13
Export your finished claymation video and share it on DIY.org
Help!?
What can we use if we don't have clay or a cardboard base?
If air-dry clay isn't available, substitute Play-Doh, rolled-up aluminum foil covered with masking tape, or small toy characters for the sculpted figures and use a stiff cereal box, foam board, or a hardcover book instead of the cardboard base.
My characters keep falling over or the photos are blurry—what should I check?
Make sure you follow the step to tape small props down and press characters gently into the cardboard (or substitute base), put the set on a steady table and steady your device with a stack of books or a stand, take the test photo to check focus, and use a timer or remote shutter so you don't move the camera while taking each frame.
How can we change the activity for different ages?
For younger children simplify the story to two boxes and use larger Play-Doh figures and bigger moves with fewer frames, while older kids can keep the three-box storyboard, sculpt finer details like eyes or hats, and make tinier movements for smoother animation.
What are some ways to make the claymation more polished or unique?
Enhance the project by adding a colored paper backdrop with LED or diffused lamp backlighting, inserting thin wire armatures into clay characters for better poses, importing the photos into the stop-motion app to layer recorded sound effects and dialogue, and export the finished video to share on DIY.org with a custom title card.
Watch videos on how to make your own claymation video
How to make a Claymation film! An online tutorial
4 Videos
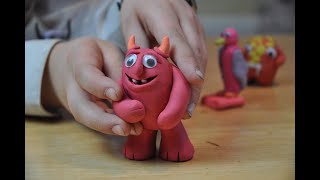
How to make a Claymation film! An online tutorial
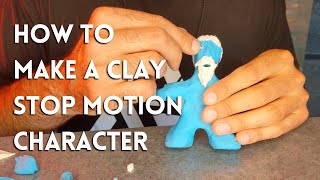
Claymation Characters: From Concept to Character - with 3d Printed Armature Stop Motion Tutorial
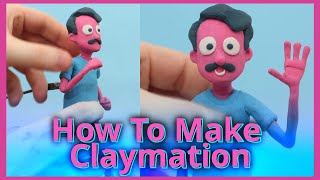
How to Make a Claymation Character | Easy Stop Motion Tutorial
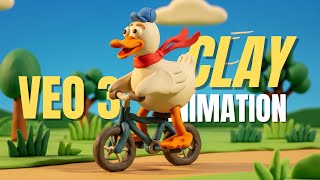
How to Make Clay Animation with AI | Easy Stop Motion Tutorial Using Veo 3
Facts about stop-motion animation for kids
🎬 Will Vinton coined and trademarked the term "Claymation" in the late 1970s.
🧱 Plasticine, a popular modeling clay for stop-motion, was invented by William Harbutt in 1897.
🏆 Nick Park and Aardman Animations have won Academy Awards for clay stop-motion shorts like The Wrong Trousers.
⏱️ A 2-minute claymation filmed at 12 frames per second needs about 1,440 individual photos — patience makes magic!
🪡 Many stop-motion artists put a simple wire armature inside clay figures so they can hold poses between frames.
How do you make a claymation video at home?
What materials do I need to make a claymation video?
What ages is making a claymation video suitable for?
What are the benefits of making claymation videos and easy variations to try?
