Draw ANYTHING
Draw anything you imagine using simple shapes, lines, and colors; practice observation, composition, and shading to express ideas and build drawing skills.


Drawing Apps
Step-by-step guide to draw anything
How to Draw Simple Landscape Picture | Glitter Painting for Kids | HooplaKidz How To
Step 1
Choose a comfortable spot to sit where you can spread out your paper and supplies.
Step 2
Place your paper flat in front of you and put your pencil and eraser next to it.
Step 3
Think of one thing you want to draw and picture it clearly in your mind.
Step 4
Lightly sketch simple shapes to map the main parts of your idea.
Step 5
Turn the simple shapes into clearer outlines of the objects by drawing over them with smoother lines.
Step 6
Add small details like eyes textures buttons windows or leaves to make your picture interesting.
Step 7
Decide where the light is coming from and draw a small arrow outside your picture to mark it.
Step 8
Shade the areas that are away from the light using gentle pencil strokes to create shadows.
Step 9
Use a tissue or your finger to softly blend the shaded areas for smoother tones.
Step 10
Erase any extra guide lines so your drawing looks clean and neat.
Step 11
Color your picture using light and dark tones to make it bright and lively.
Step 12
Write your name and the date in a corner so everyone knows you made it.
Step 13
Share your finished creation on DIY.org
Help!?
I don’t have a pencil, eraser, or tissue—what can I use instead?
Use a ballpoint pen or colored pencil to sketch if you lack a pencil, a piece of white vinyl or the sticky side of tape for small corrections if you don't have an eraser, and a cotton swab or your fingertip to softly blend shaded areas instead of a tissue.
My simple shapes look wrong when I try to turn them into outlines—how can I fix that?
Lightly erase only the mismatched guide lines and redraw smoother outlines over the remaining shapes while holding your pencil at an angle for confident curves so the final outline matches the intended form before adding details.
How can I adapt the activity for a 3-year-old, a 7-year-old, and a 12-year-old?
For a 3-year-old provide large crayons and pre-drawn simple shapes to color in, for a 7-year-old encourage them to lightly sketch shapes and add small details like eyes or leaves, and for a 12-year-old ask them to mark the light direction with an arrow, practice blended shading, and refine textures before coloring.
What are some ways to enhance or personalize the finished drawing?
Create a series showing the same subject under different light directions to practice shading, glue textured paper or tissue accents when coloring, mount the completed drawing on colored cardstock after erasing guide lines, and add a title with your name and date before sharing on DIY.org.
Watch videos on how to draw anything
10 Easy Animal Drawings for Kids Vol. 1 | Step by Step Drawing Tutorials | How to Draw Cute Animals
4 Videos
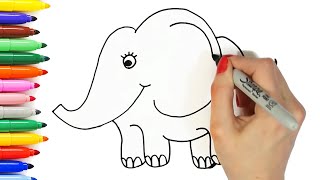
10 Easy Animal Drawings for Kids Vol. 1 | Step by Step Drawing Tutorials | How to Draw Cute Animals
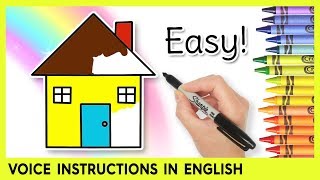
Easy HOUSE Drawing for Kids! Step by Step Lessons
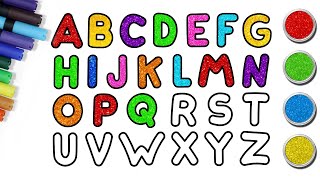
How To Draw ABC Alphabets And More✏️ | Step By Step Drawing | Easy Drawing For Kids | Chiki Doodle

How to Draw Flowers | Simple Drawing Lesson for Kids | Step By Step
Facts about drawing fundamentals for kids
🎨 Humans have been drawing for tens of thousands of years — some cave drawings date back about 30,000–40,000 years.
✏️ A typical graphite pencil can draw a continuous line roughly 35 miles (56 km) long if you never lift it!
👁️ The human eye can distinguish about 10 million different colors, giving you lots of choices for your drawings.
🔲 The 'rule of thirds' (a 3×3 grid) is a simple composition trick that helps make drawings look balanced and interesting.
🕯️ 'Chiaroscuro' is Italian for 'light–dark' — artists like Rembrandt used it to make flat images look three-dimensional.
How do you do the Draw ANYTHING activity?
What materials do I need for Draw ANYTHING?
What ages is Draw ANYTHING suitable for?
What are the benefits and variations of Draw ANYTHING?
