Design a Mad Science film set
Design and build a miniature "mad scientist" film set using cardboard, LED lights, props, and a smartphone to film spooky short scenes.


Step-by-step guide to design a Mad Science film set
5 Top New Science Project Ideas for School - Easy Science Project Compilation
Step 1
Clear a flat workspace and gather all materials so everything is easy to reach.
Step 2
Draw a simple floor plan showing where the lab table lights and camera will go.
Step 3
Cut a cardboard base to the size you want your miniature set to be.
Step 4
Cut cardboard pieces for three or four walls to make a small room.
Step 5
Fold the wall pieces and glue or tape them upright to the base to form the room.
Step 6
Cut and fold extra cardboard to make a lab table then glue it to the base.
Step 7
Decorate the walls and furniture using colouring materials and pieces of foil for metallic effects.
Step 8
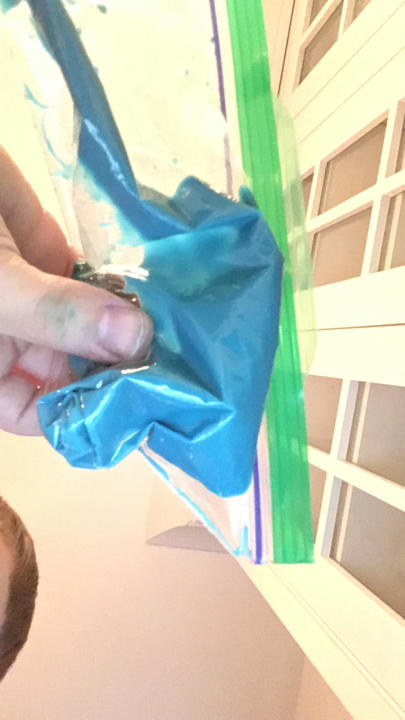
Make potion bottles by covering small plastic bottles with foil and adding paper labels.
Step 9
Arrange the potion bottles and other props on the lab table where they look spooky.
Step 10
Tease small pieces of cotton wool to look like smoke and tuck them behind or around props.
Step 11
Position LED lights behind or under props and secure them with tape so the glow shines through the cotton wool.
Step 12
With adult supervision connect the LED lights to the battery pack and test that the lights work.
Step 13
Set your smartphone on a steady support and film short spooky scenes of your miniature set.
Step 14
Share your finished mad scientist film set and a short clip on DIY.org
Help!?
What can we use instead of small plastic bottles, foil, or LED lights if we can't find them?
If you don't have the small plastic bottles for potions use empty spice jars or cut-down yogurt pots, replace foil for metallic effects with silver-painted paper or aluminum tape, and swap battery-powered LED lights for small flashlight LEDs or a string of fairy lights positioned under props.
My cardboard walls keep falling over or the corners look messy—how can we make the room sturdy?
Reinforce the folded wall tabs by gluing or taping them to the base and add small folded-card braces glued into each corner before you attach the walls to the base so the room stays upright.
How can we adapt the project for younger children or older kids who want more challenge?
For younger kids have an adult cut the cardboard and let them color walls, stick foil, arrange potion bottles and tease the cotton wool, while older kids can draw the floor plan, cut and fold walls, build the lab table, wire LED lights to the battery pack with supervision, and film scenes with a smartphone.
What are some fun ways to extend or personalize our mad scientist film set after finishing the basic build?
Enhance the set by adding colored cellophane over LEDs for spooky lighting, create a fake bubbling effect with a tiny battery fan behind teased cotton wool, add handwritten labels to potion bottles, and try stop-motion or sound effects when filming with your smartphone.
Watch videos on how to design a Mad Science film set
Mad Science shows us experiments kids can do at home
4 Videos
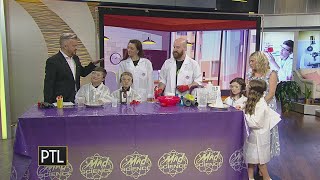
Mad Science shows us experiments kids can do at home
10 Top New Science Project Ideas for School - Easy Science Project Compilation
15 Awesome Science Project Ideas
Top 10 High School Science Projects
Facts about filmmaking and set design for kids
🧪 The "mad scientist" idea goes back to Mary Shelley's Frankenstein (1818) — one of fiction's earliest famous lab villains!
🎬 Filmmakers often build miniature sets to make huge scenes look real — Star Wars models were so detailed they were filmed like full-size sets!
💡 LEDs can last 25,000–50,000 hours and run cool, making them great and safe for tiny cardboard sets powered by small batteries.
📱 Many smartphones can shoot 4K video and slow motion, so kids can capture crisp, spooky mini-movie moments without fancy gear.
📐 Scale modeling uses common ratios (like 1:12 or 1:24) so small props and furniture look convincing on camera.
How do I design and build a miniature mad scientist film set?
What materials do I need to make a mad scientist mini film set?
What ages is this mad scientist film set activity suitable for?
What are the benefits of making a mad scientist film set with kids?
