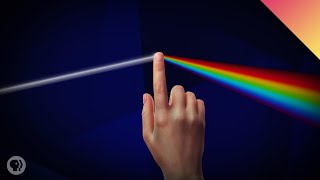
Bend and split light
Build a simple spectroscope from a cardboard tube and a CD to bend and split light into colors, then observe different light sources.


Step-by-step guide to build a simple spectroscope
Step 1
Gather your materials and bring them to a clean well-lit table.
Step 2
Use the ruler and pencil to draw a 1 cm long vertical line near one end of the tube where the light slit will go.
Step 3
With adult help carefully cut a narrow slit along the marked line using the craft knife or scissors.
Step 4
Cut a strip of black construction paper about the length of the inside of the tube.
Step 5
Tape the black paper inside the tube to make the interior dark and reduce stray light.
Step 6
Cut a small round viewing hole about 1.5 cm across at the opposite end of the tube.
Step 7
With adult help carefully break or cut a small rectangular piece from the CD about 4 cm by 2 cm.
Step 8
Cover the sharp edges of the CD piece with clear tape so it is safe to handle.
Step 9
With adult help cut a diagonal slot on the side of the tube about 2 cm from the viewing hole.
Step 10
Slide the CD piece into the diagonal slot so it sits at about a 45 degree angle with the shiny side facing the slit.
Step 11
Tape the CD piece securely in place so it does not move.
Step 12
Point the slit toward a safe light source such as a lamp or bright window but never look directly at the sun.
Step 13
Look through the round viewing hole and slowly rotate or tilt the tube until you see colored bands appear.
Step 14
Point the slit at different light sources one at a time and draw or write the colors you see for each light on a sheet of paper.
Step 15
Share a photo or description of your finished spectroscope and what you discovered on DIY.org.
Help!?
What can we use if we don't have a CD or a cardboard tube?
If you don't have a CD, use a piece from an old DVD or a thin reflective plastic cut to about 4 cm by 2 cm and covered with clear tape as in the CD step, and if you lack a tube use a paper towel roll or roll and tape cardstock into a tube before lining it with black construction paper.
Why can't I see any colors when I look through the viewing hole?
If no colors appear, make the slit narrow (follow the 1 cm mark and cut a thin slit), confirm the CD piece sits at about a 45° angle in the diagonal slot and is taped securely, and ensure the interior is dark with the black construction paper to block stray light.
How can we adapt this activity for younger or older children?
For younger kids have an adult do the craft knife cuts (slit, diagonal slot, CD piece) and let them slide and tape parts and point the slit, while older kids can precisely measure and cut the 1 cm slit, vary the CD angle, try diffraction gratings, and record spectra for different light sources.
How can we improve or personalize the spectroscope?
You can personalize and improve it by decorating the tube, adding a second slit or mounting the CD piece on a small hinge in the diagonal slot to adjust the angle for sharper bands, or replacing the CD with a proper diffraction grating before writing down your color observations on paper.
Watch videos on how to build a simple spectroscope
How To Bend Light Using Just Your Finger
4 Videos
How To Bend Light Using Just Your Finger
LIGHT 💡 Science for Kids ⚡ Part 1
Easy Science Experiment for Kids and Toddlers | Simple Science Experiments for Kids at Home
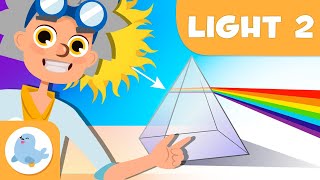
LIGHT: REFLECTION AND REFLACTION 💡 Science for Kids ⚡ Part 2 🌈
Facts about light and simple spectroscopy
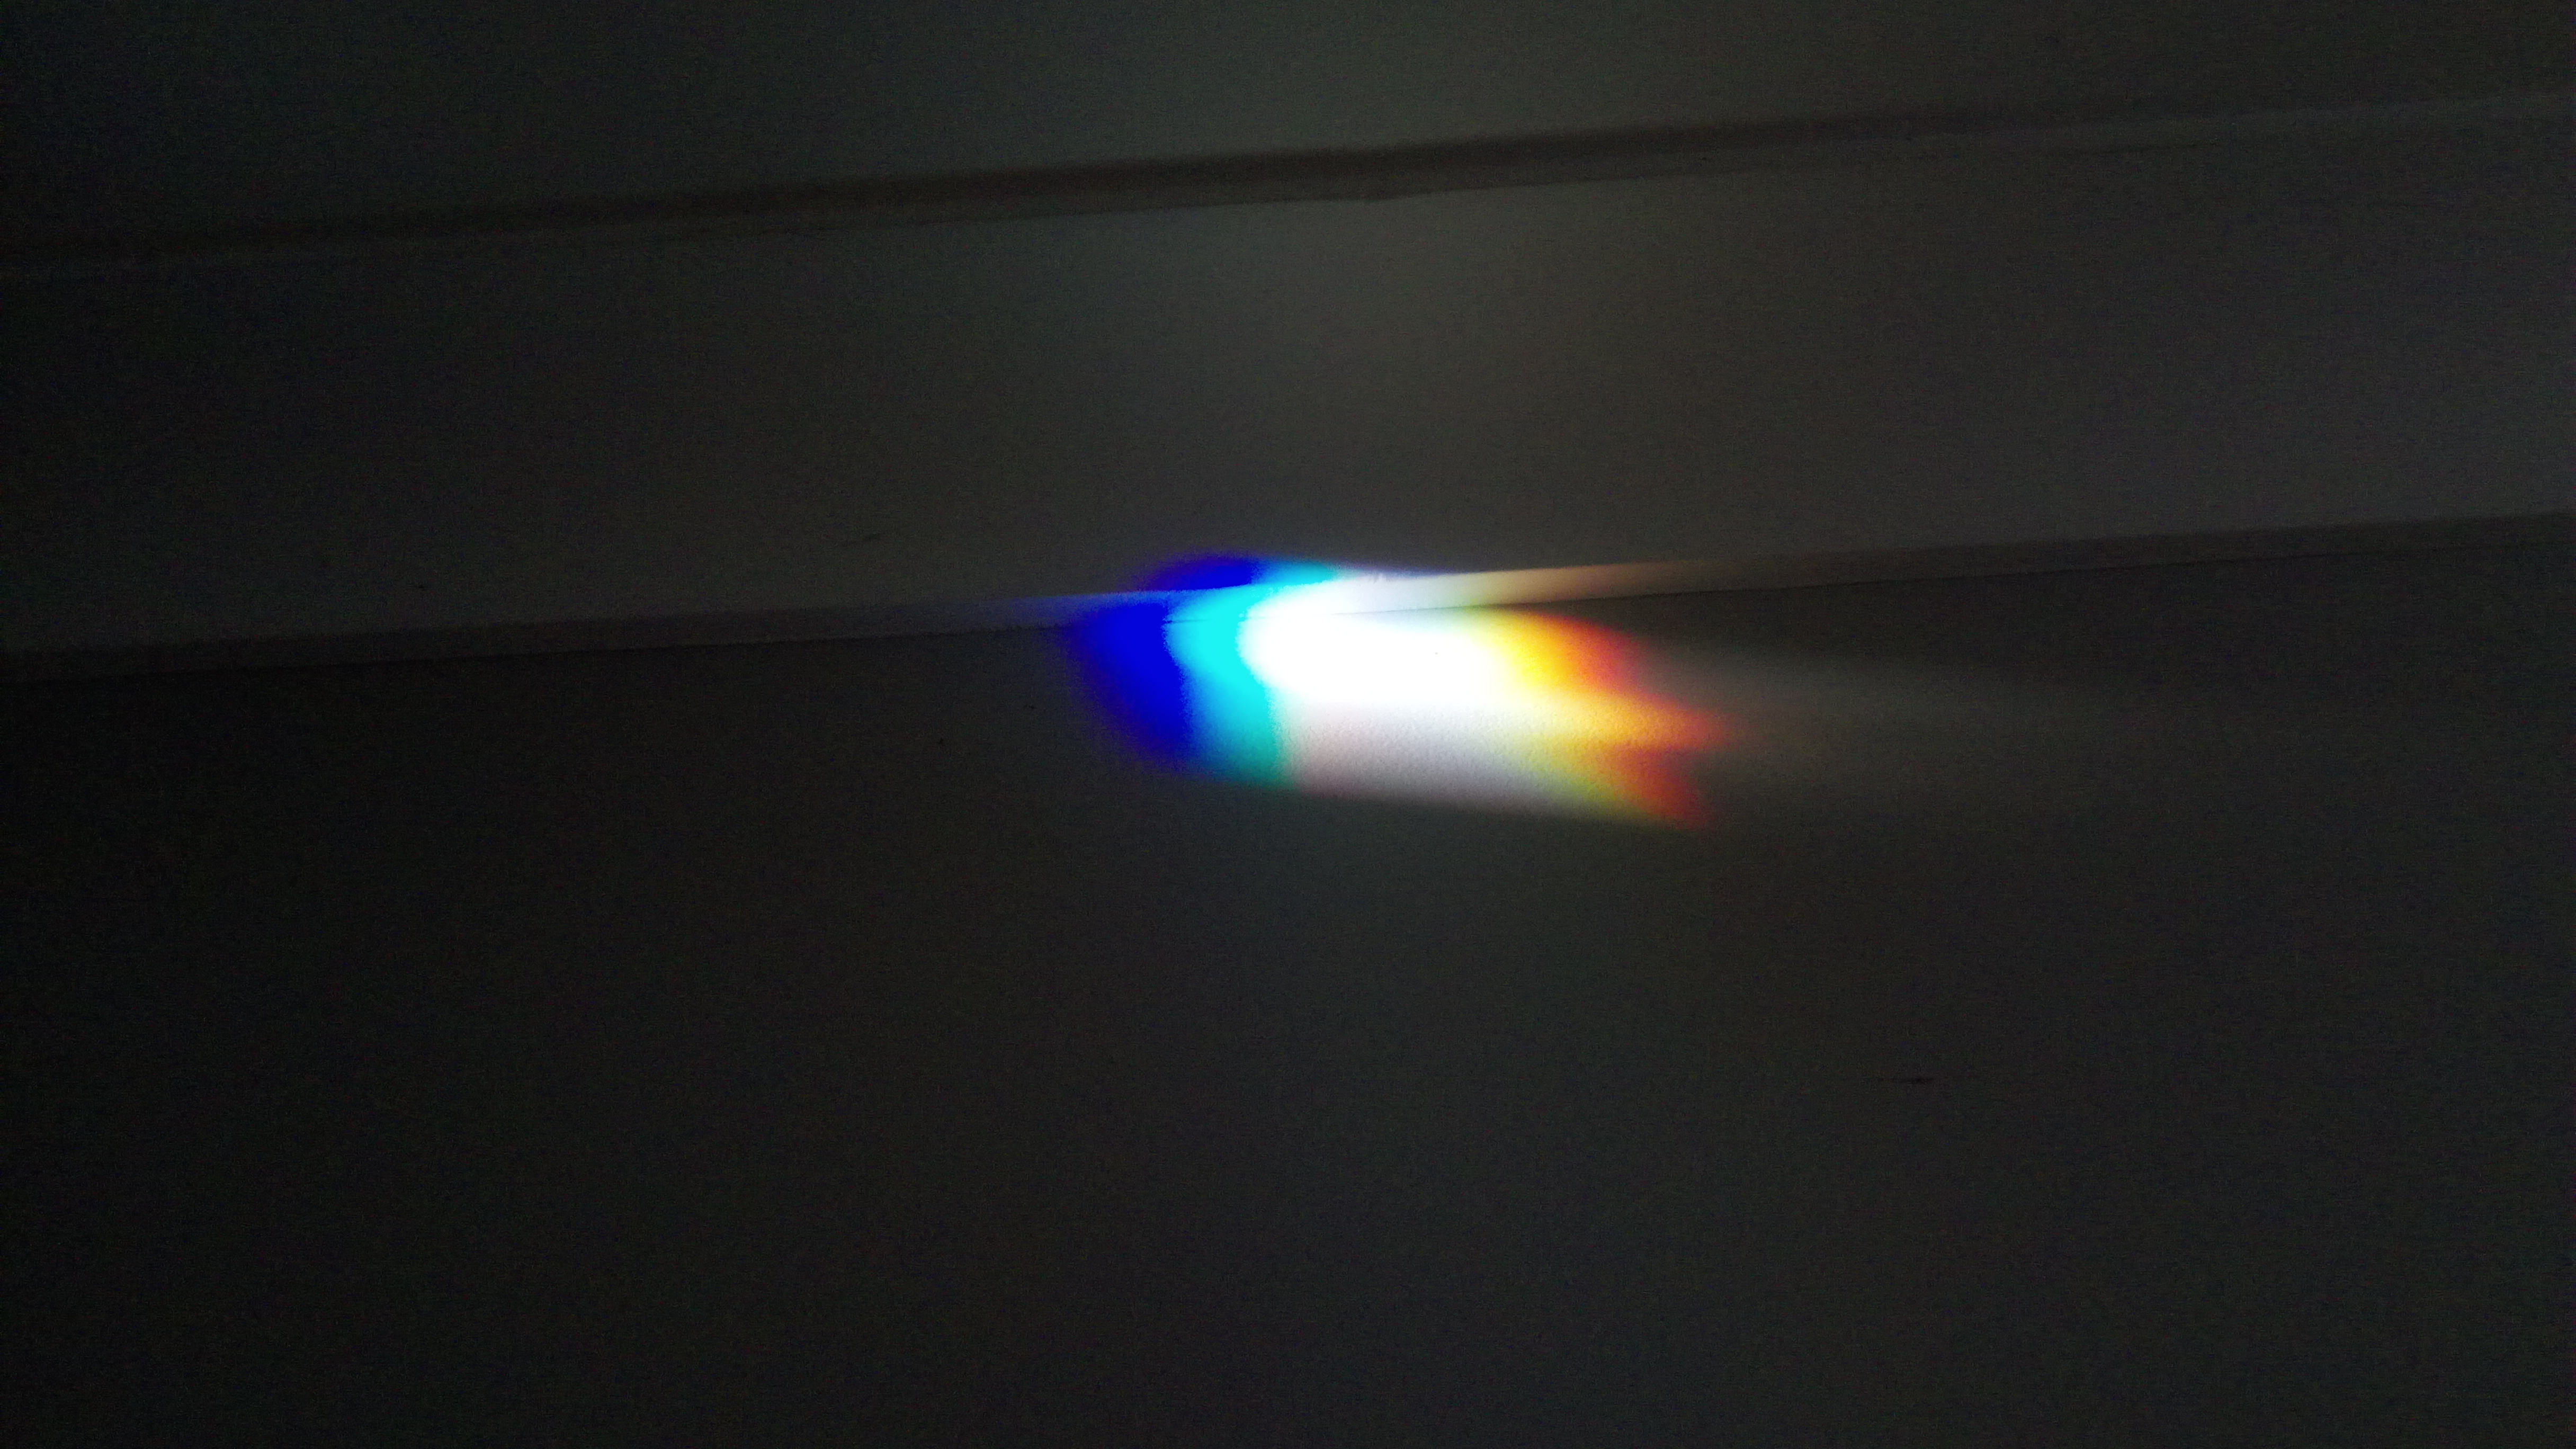
🌈 A CD's shiny surface works like a diffraction grating and can split white light into a rainbow.
💿 The spiral tracks on a compact disc are about 1.6 micrometers apart — tiny enough to bend visible light!
🔬 Spectroscopes help scientists identify elements because each element produces a unique pattern of colored lines.
☀️ Sunlight contains all visible colors; when separated you can see red through violet in order.
🧪 Different light sources (LEDs, fluorescent, sunlight) produce different-looking spectra when viewed through a spectroscope.
How do you build a simple spectroscope from a cardboard tube and a CD?
What materials do I need to make a CD-and-cardboard spectroscope?
What ages are suitable for making and using this spectroscope?
What are the benefits, safety tips, and variations for a homemade spectroscope?
