Make Your Own Instruments
Make simple musical instruments like a rubber band guitar, paper tube flute, and shaker from recycled materials, then explore rhythms and sound differences.


Step-by-step guide to make your own instruments
How to Make Musical Instruments for Kids! | Welcome to Nana's
Step 1
Gather all the materials and clear a workspace where you can make noise.
Step 2
Close the box so the top is flat and ready to hold rubber band strings.
Step 3
Stretch several rubber bands around the box so they sit across the top like guitar strings.
Step 4
Pluck each rubber band once to hear how each one sounds.
Step 5
Cut a small notch or mouth hole at one end of the paper towel tube for blowing.
Step 6
Use a marker to mark five evenly spaced spots along the tube where you will make holes.
Step 7
Poke or cut holes at each marked spot so you can cover them with your fingers.
Step 8
Blow gently across the mouth hole to make the tube sound like a flute.
Step 9
Cover and uncover different holes while blowing to change the pitch.
Step 10
Add a small spoonful of beans or rice into the bottle or jar to make a shaker.
Step 11
Close the bottle or jar lid tightly and tape it shut so nothing falls out.
Step 12
Decorate each instrument with coloring materials and stickers to make them your own.
Step 13
Play each instrument to create at least three different rhythms and listen to how the sounds are different.
Step 14
Share your finished instruments and a short description of your rhythms on DIY.org
Help!?
What can we use instead of a paper towel tube, rubber bands, or beans if we don't have them?
Use an empty toilet paper roll for the flute, substitute hair ties or elastic ponytail bands for the rubber bands around the box, and put dried pasta or beads into a sealed bottle or jar as a shaker instead of beans or rice.
My box guitar or tube flute isn't making a clear sound—what should I check or fix?
If the rubber bands on the closed box are too loose or buzzing, tighten or replace them and move them toward the box edges, and if the paper towel tube won't sound, slightly enlarge the mouth notch and blow across it (not into it), while also ensuring the shaker lid is taped tightly so nothing falls out.
How can I adapt this activity for younger kids or make it more challenging for older kids?
For younger children, pre-stretch the rubber bands on the box, pre-cut or pre-poke the flute holes, and help tape the shaker lid while they decorate, and for older kids, use the marker to precisely mark five evenly spaced holes to experiment with pitch, try different rubber band thicknesses to tune strings, and compose three rhythmic patterns to record for DIY.org.
What are some ways to personalize or extend the instruments and the final performance?
Decorate each instrument with the coloring materials and stickers, add a small paperclip or folded cardboard 'bridge' under the rubber bands to change string height and pitch, layer the flute and shaker to build harmonies, and arrange at least three different rhythms into a short performance to share on DIY.org.
Watch videos on how to make your own instruments
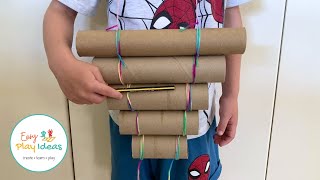
How To Make Drums - 3 EASY DIY Instruments For Kids
3 Videos
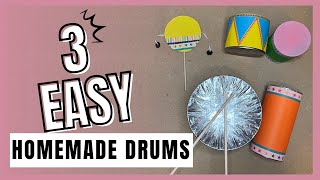
How To Make Drums - 3 EASY DIY Instruments For Kids

5 DIY Musical Instruments That Actually Work - Make Music at Home
How to Make your Own Musical Instruments using Recycled Materials | DIY Musical Instruments
Facts about sound and musical instruments
🎸 Tighter and shorter strings (like on a rubber band guitar) vibrate faster and produce higher pitches.
🎶 A paper-tube flute works because the tube's length sets the note — longer tubes make lower sounds, and opening holes changes the pitch.
🥁 The tiny items inside a shaker (rice, beads, beans) change its sound: small grains make a bright rattle, larger seeds give a deeper thump.
♻️ Everyday recyclables — toilet-paper rolls, bottle caps, cereal boxes and jars — can become real musical tools with simple tweaks.
🔊 Humans sense rhythm very early: babies can detect beats before they learn words, so rhythm-making is great for all ages.
How do I make simple musical instruments like a rubber band guitar, paper tube flute, and shaker with my child?
What materials do I need to make these recycled instruments?
What ages is this activity suitable for?
What are the benefits and safety tips for making homemade instruments?
