Build an amplifier for your phone
Make a simple, safe acoustic amplifier for your phone using cardboard, paper cups, and tape to boost sound and explore how sound waves work.


Step-by-step guide to build an amplifier for your phone
How to make a DIY Wooden amplifier for your phone - Wooden phone stand
Step 1
Lay out all your materials on a clean flat table so everything is easy to reach.
Step 2
Use the pencil and ruler to draw a rectangle on the cardboard about 25 cm by 12 cm.
Step 3
Cut out the rectangle from the cardboard with scissors while an adult helps.
Step 4
Roll the cardboard rectangle from one short end into a cone shape so the wide end will fit a paper cup.
Step 5
Overlap the cone edges and tape the seam so the cone keeps its funnel shape.
Step 6
Cut off the very tip of the cone to make a smooth open hole at the narrow end.
Step 7
Cut a narrow horizontal slot near the wide end of the cone that is as wide as your phone’s thickness so the phone can slide in.
Step 8
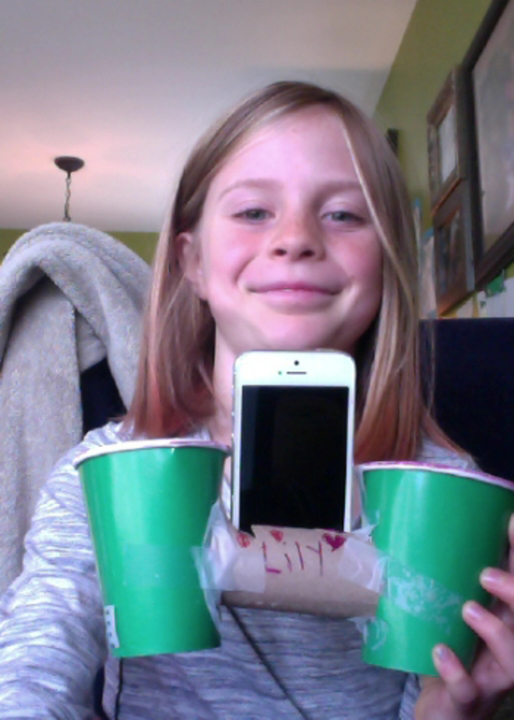
Push the wide end of the cone into the mouth of one paper cup and tape all around the rim to make a snug seal.
Step 9
Slide your phone into the slot with the phone speaker facing into the cone so sound goes into the cup.
Step 10
Play a song at low volume to hear how the cup makes the sound louder.
Step 11
Take a photo or short video and share your finished creation on DIY.org.
Help!?
What can we use if we don't have a paper cup or big cardboard sheet?
Use a sturdy plastic disposable cup instead of the paper cup and cut the cone from a cereal-box or shoebox cardboard large enough to draw the 25 cm by 12 cm rectangle.
The cone keeps unrolling or the sound is weak—what should we check?
Reinforce the overlapped seam and the cup rim with extra tape so the cone keeps its funnel shape and makes a snug seal with the cup, and make sure the horizontal slot near the wide end matches your phone's thickness with the speaker facing into the cone.
How can I adapt this activity for younger or older kids?
For younger children have an adult do the pencil-and-ruler measuring and cutting with scissors while the child tapes the cone and slides the phone into the slot, and for older kids let them measure, cut the 25×12 cm rectangle themselves and experiment with different cup sizes and cone angles.
How can we improve or personalize the amplifier after it's built?
Decorate the cup and cardboard with markers or stickers, line the inside of the cone with aluminum foil before rolling to reflect sound better, or attach a second cup for a stereo effect and then take a before-and-after video to share on DIY.org.
Watch videos on how to build an amplifier for your phone
Make a Simple Passive Amplifier for your phone! DIY!
4 Videos
Make a Simple Passive Amplifier for your phone! DIY!
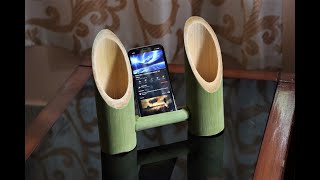
How to Make a Simple Bamboo Phone Amplifier at Home. |DIY|
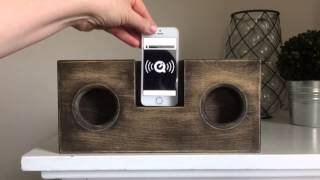
DIY Wooden Phone Amplifier/Speaker (no cord or batteries needed)
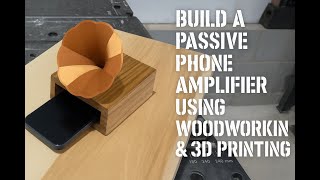
I Built a Gramophone-Style Phone Amplifier (DIY Wood + 3D Print)
Facts about sound and acoustics
📣 A horn-shaped amplifier (like a megaphone) boosts sound by funneling vibrations in one direction without needing electricity!
📦 Cardboard and paper are great for DIY amplifiers because their curved shapes help reflect and focus sound waves.
🥤 The tin-can (or cup) telephone proves sound can travel along materials and be focused — kids once used it to talk across yards!
📱 Phone speakers are tiny and directional, so a simple cup or cardboard horn can make the sound seem much louder by guiding it toward your ear.
🔁 Resonance means certain shapes and sizes naturally make some pitches louder — that's why different cup sizes change how your amplifier sounds.
How do I make a simple acoustic amplifier for my phone using cardboard and paper cups?
What materials do I need to build a DIY phone amplifier with paper cups?
What ages is this phone amplifier activity suitable for?
What are the benefits and safety tips for making a DIY phone amplifier with kids?
