Invent a Sound Transmitter
Build a homemade sound transmitter using cups, string, and simple materials to send and receive vibrations, exploring how sound travels through solids and air.


Step-by-step guide to invent a sound transmitter
Sound transfer... BY LASER : DIY Experiments #3 LASER light music wireless
Step 1
Gather all the materials from the list and bring them to a clear workspace.
Step 2
Cut a piece of string about 3 to 5 meters long using the scissors.
Step 3
Use the scissors to make a small hole in the center of the bottom of both cups.
Step 4
Thread one end of the string through the hole in one cup.
Step 5
Tie a large knot on that end inside the cup so it cannot pull back through the hole.
Step 6
Thread the other end of the string through the hole in the second cup.
Step 7
Tie a large knot on that end inside the second cup so it cannot pull back through the hole.
Step 8
Pull the two cups apart until the string is straight and tight and not touching anything.
Step 9
Place a small piece of tape over each knot inside the cup to secure the string.
Step 10
Hold your cup gently up against your ear so it seals around your ear.
Step 11
Ask a friend to say a short sentence into their cup while you listen quietly.
Step 12
Let the string go slack so it sags toward the ground.
Step 13
Ask your friend to say the same sentence while you listen so you can compare the sound with the slack string.
Step 14
Pull the string tight again and ask your friend to say the sentence one more time to hear the difference.
Step 15
Share your finished sound transmitter on DIY.org
Help!?
What can I use if I don't have paper cups or the exact string called for in the materials list?
Use empty yogurt pots or sturdy toilet-paper-roll tubes instead of cups and yarn or thin fishing line instead of string, but still cut it 3–5 meters, make a small center hole in each cup, and tie and tape the knots inside as the instructions say.
I can barely hear my friend—what common mistakes should I check and how do I fix them?
Check that the hole is only big enough for the string so it doesn't rub, that each end has a large knot and a piece of tape over the knot inside the cup, and that the string is pulled straight and taut and not touching anything while you hold the cup sealed against your ear.
How can I adapt the activity for younger children or make it more challenging for older kids?
For younger kids, have an adult pre-cut the 3–5 meter string, make the cup holes, and tie the knots inside, while older kids can experiment by varying string length, cup materials, or measuring sound differences when the string is slack versus taut.
What are some fun ways to extend or personalize the sound transmitter after finishing the basic steps?
Decorate and label the cups, try different string types and cup materials to compare sounds, build a longer multi-person line to test transmission, and share photos or recordings of your finished sound transmitter on DIY.org.
Watch videos on how to invent a sound transmitter
Building a Super Simple AM Radio Transmitter & Receiver! Keeping Wireless Audio Communication easy!
4 Videos
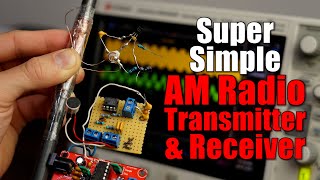
Building a Super Simple AM Radio Transmitter & Receiver! Keeping Wireless Audio Communication easy!
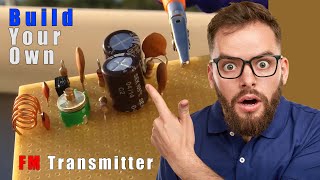
FM Transmitter How To Build Circuit DIY Homemade. Long range home made transmitter radio station.
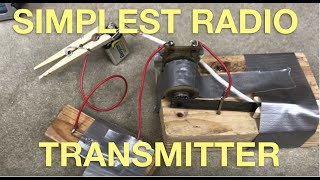
How to build the simplest radio transmitter - the spark gap radio

Weekend Projects - Super Simple FM Transmitter
Facts about sound and vibrations
📞 A tin-can (string) telephone carries your voice's vibrations along the string — it's like a no-electric phone!
⚡ Sound generally travels faster in solids than in air, so vibrations zip along a tight string quicker than through open air.
🎯 Tighter strings and firmer cups make the message clearer because they reduce energy loss while the vibration travels.
🧵 Materials matter: fishing line or thin wire often works better than fluffy yarn because they're less stretchy and damp less sound.
🌡️ Temperature can change sound speed a bit, but for a cup-and-string phone, string tension usually has the biggest effect.
How do I build a homemade sound transmitter with cups and string?
What materials do I need to make a cup-and-string sound transmitter?
What ages is this sound transmitter activity suitable for?
What are the benefits of making a homemade sound transmitter?
