Build your own stomp rocket
Build and launch a stomp rocket using cardboard, plastic bottle, foam cone, and tape, learning about air pressure, force, and safe launching techniques.


Step-by-step guide to Build your own stomp rocket
Step 1
Gather all the materials listed and bring them to your workspace.
Step 2
Find a clear outdoor area with lots of open space to make a safe launch zone.
Step 3
Remove the bottle cap and make sure the bottle is empty and dry.
Step 4
Cut a strip of cardboard about 20 cm long and 5 cm wide to make a launch tube.
Step 5
Roll the cardboard strip into a tight tube that fits over the bottle mouth and tape the seam so it keeps its shape.
Step 6
Fit the rolled launch tube onto the bottle mouth and tape around the join to make a snug seal.
Step 7
Slide the foam cone onto one end of your cardboard rocket body and press it until it fits snugly.
Step 8
Tape the foam cone to the rocket body so it will not fall off during flight.
Step 9
Cut three equal fins from the cardboard sheet.
Step 10
Tape the three fins evenly around the back end of the rocket so they are spaced around the tube.
Step 11
Slide the rocket onto the launch tube, point it away from people and fragile items, and have everyone stand back at least two meters.
Step 12
Stomp down firmly and quickly on the bottle once to force air into the rocket and launch it.
Step 13
If needed adjust the fit or fins and try again after an adult checks your setup.
Step 14
Share a photo or video of your finished stomp rocket on DIY.org
Help!?
What can we use if we can't find a foam cone or the 5 cm wide cardboard strip?
If you don't have a foam cone or a 5 cm cardboard strip, make a cone from a sliced pool noodle or rolled cardstock and use a sturdy mailing-paper tube or a trimmed plastic bottle neck as the launch tube, then tape the seam as instructed.
The rocket either doesn't launch well or wobbles—what should we check and fix?
If it won't launch or veers, re-roll or trim the 20 cm cardboard launch tube so it fits snugly over the bottle mouth, re-tape the join for an airtight seal, and make sure the three cardboard fins are taped evenly around the back as the instructions describe.
How can we adapt this activity for different ages?
For younger kids have an adult handle cutting the strip, rolling the tube, and taping the bottle while the child slides on the foam cone, tapes the fins, and stomps gently, and for older kids let them design different fin shapes, adjust the launch-tube fit, and measure flight distance as mini experiments.
How can we improve performance or personalize our stomp rocket?
To enhance performance and personalize the rocket, paint or add stickers to the cardboard body, reshape or add a small weight to the foam cone for better nose balance, and test different fin sizes or alignments before following the 'adjust the fit or fins' step and trying again.
Watch videos on how to Build your own stomp rocket
Science Sundays: How to make a stomp rocket
4 Videos

Science Sundays: How to make a stomp rocket

Air Powered Rockets Part 1: Easy Stomp Rocket Launcher
Extreme Air Pressure! DIY Rocket Launches and Crushing Experiments | Science Max
DIY Space: Stomp Rockets - Make the Rocket (Part 1)
Facts about air pressure and basic rocketry
🚀 Stomp rockets use a quick blast of air—no fuel needed—to launch a lightweight rocket skyward!
⚖️ Newton's third law (for every action there's an equal and opposite reaction) is why stomping sends the rocket up.
💨 A fast push of air creates thrust, and that short burst is what accelerates the rocket away from the launcher.
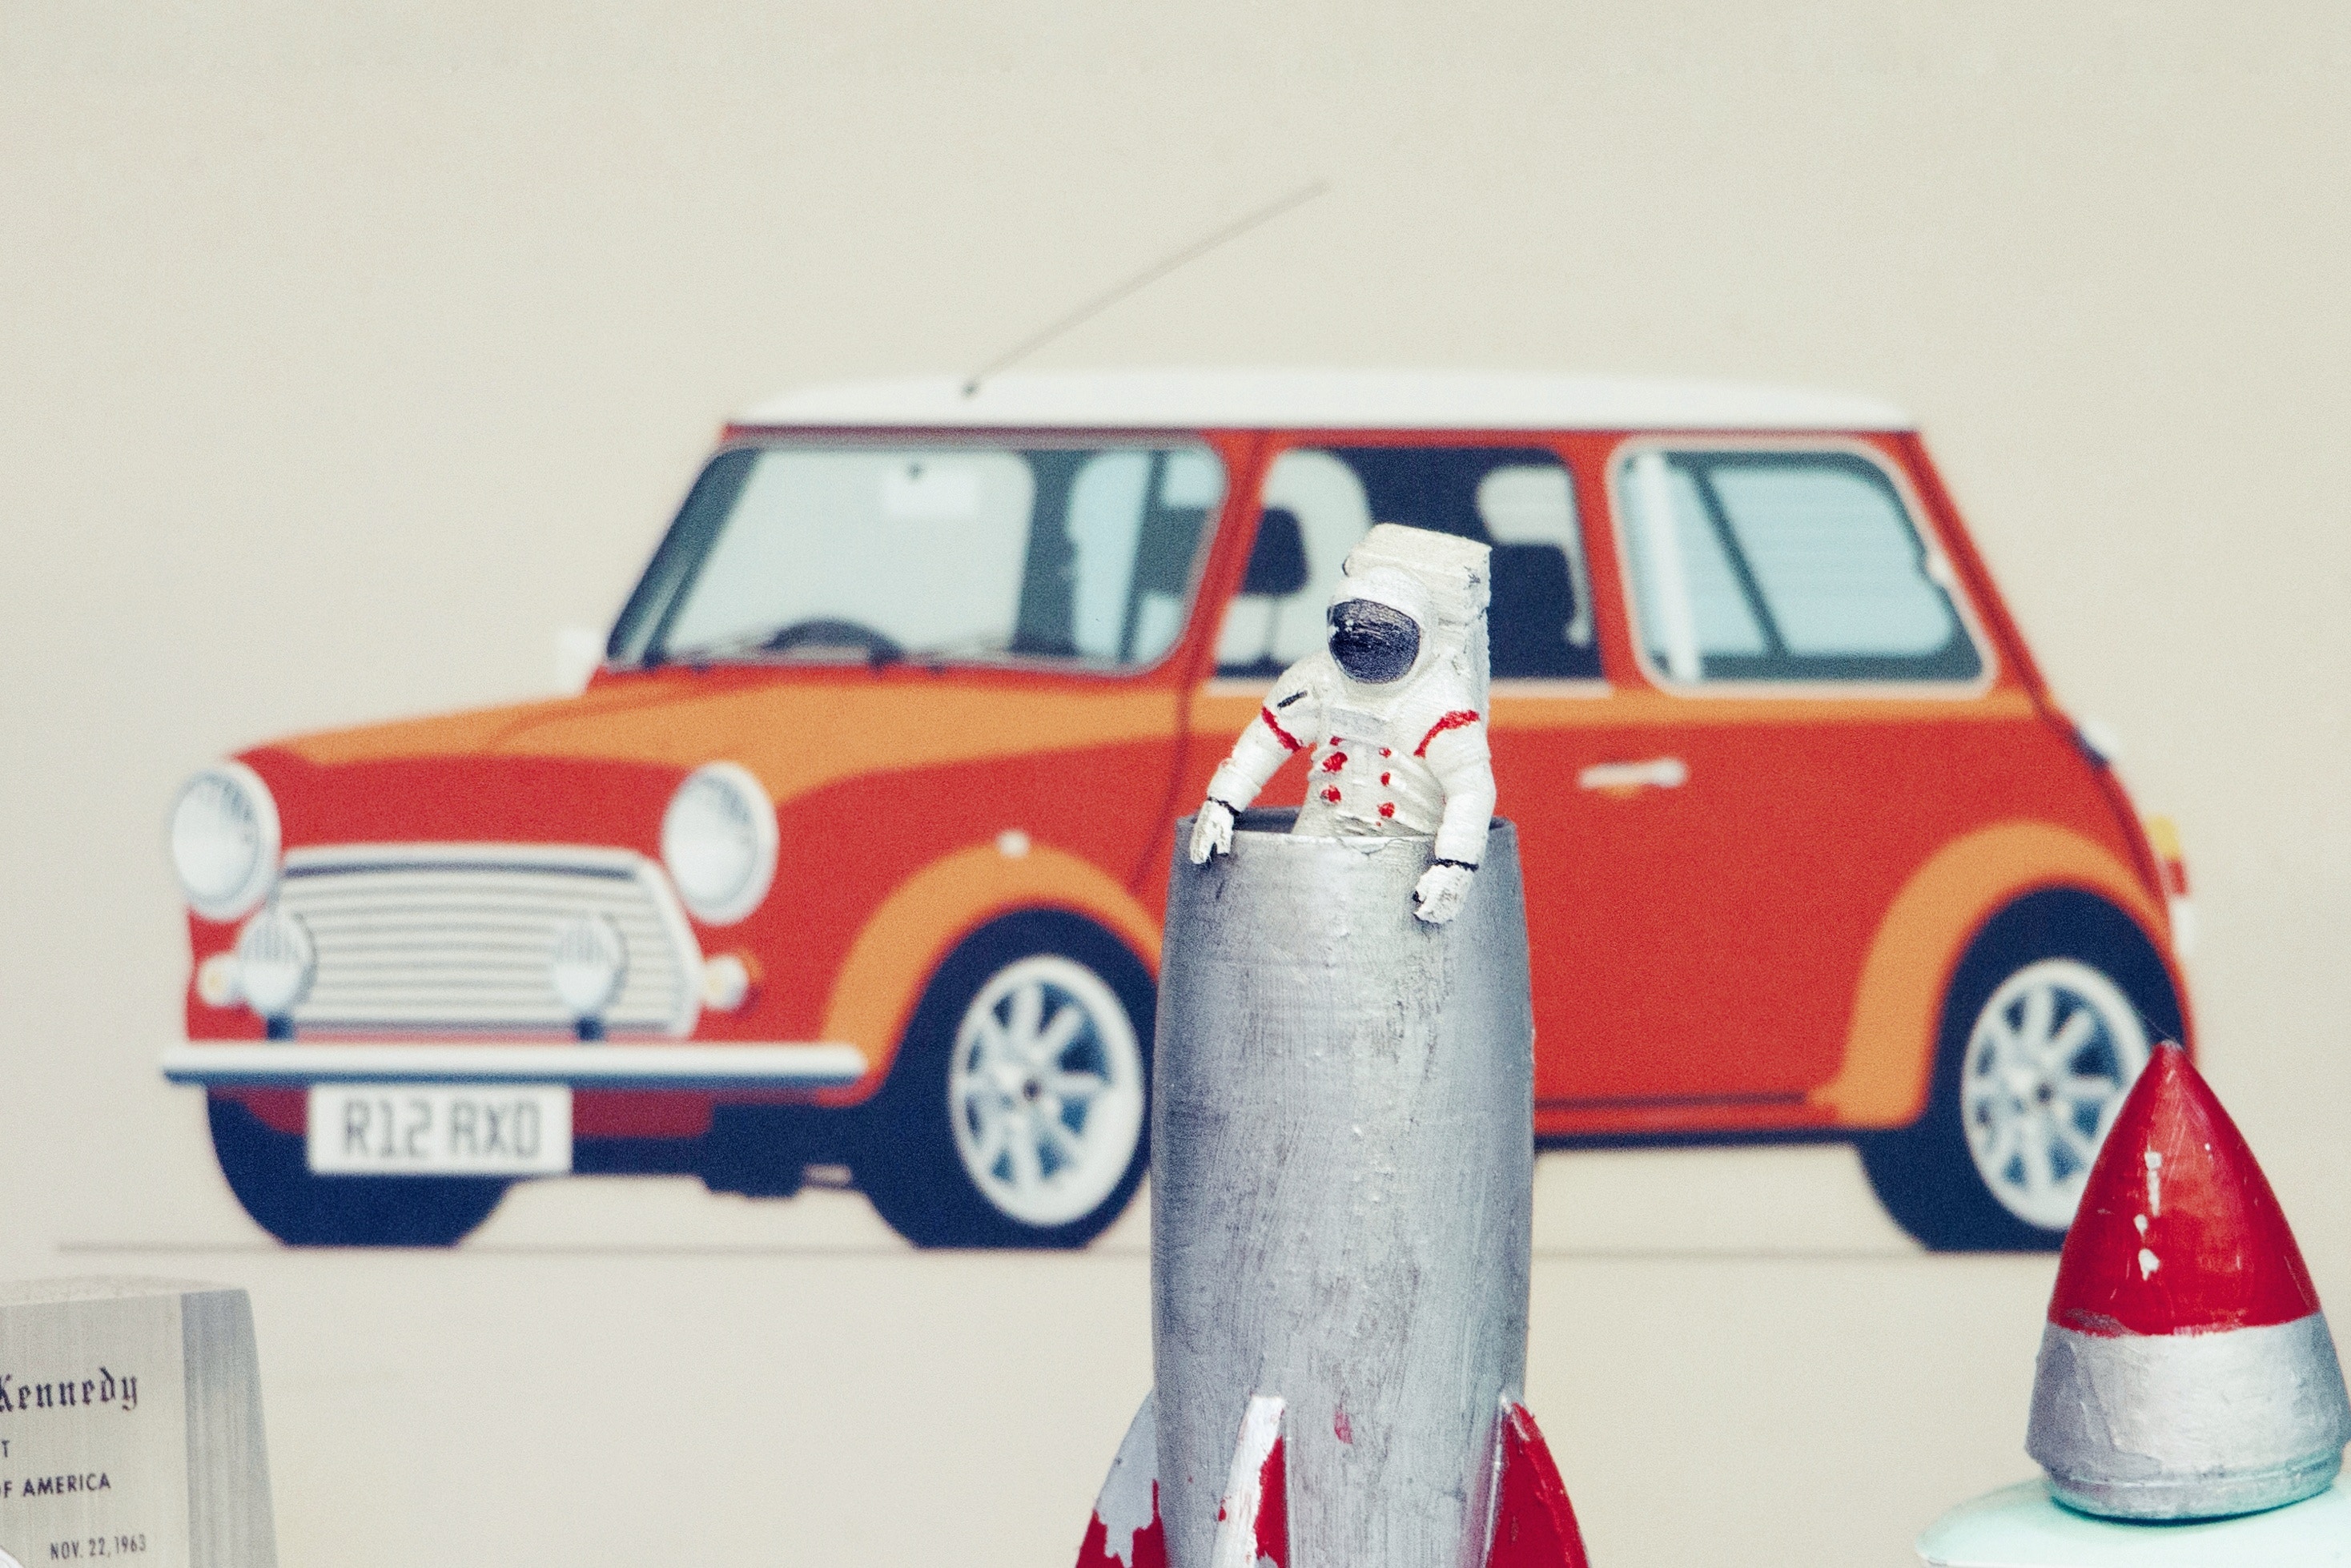
📏 A foam nose cone and a straight cardboard body help rockets fly straighter and survive bounces on landing.
♻️ Stomp rockets are perfect for upcycling household items like bottles and cardboard into a fun science toy.
How do you build and launch a stomp rocket?
What materials do I need to build a stomp rocket?
What ages is this stomp rocket activity suitable for?
What are the benefits of building a stomp rocket?
