Build your own fleet of paper airplanes
Make a fleet of paper airplanes by folding several designs, testing flights, measuring distances, and adjusting shapes to improve speed and accuracy.

Step-by-step guide to build your own fleet of paper airplanes
Step 1
Gather all the materials and place them on a clear table so you are ready to build.
Step 2
Pick three different airplane designs to try such as a dart for speed a glider for distance and a stunt plane for tricks.
Step 3
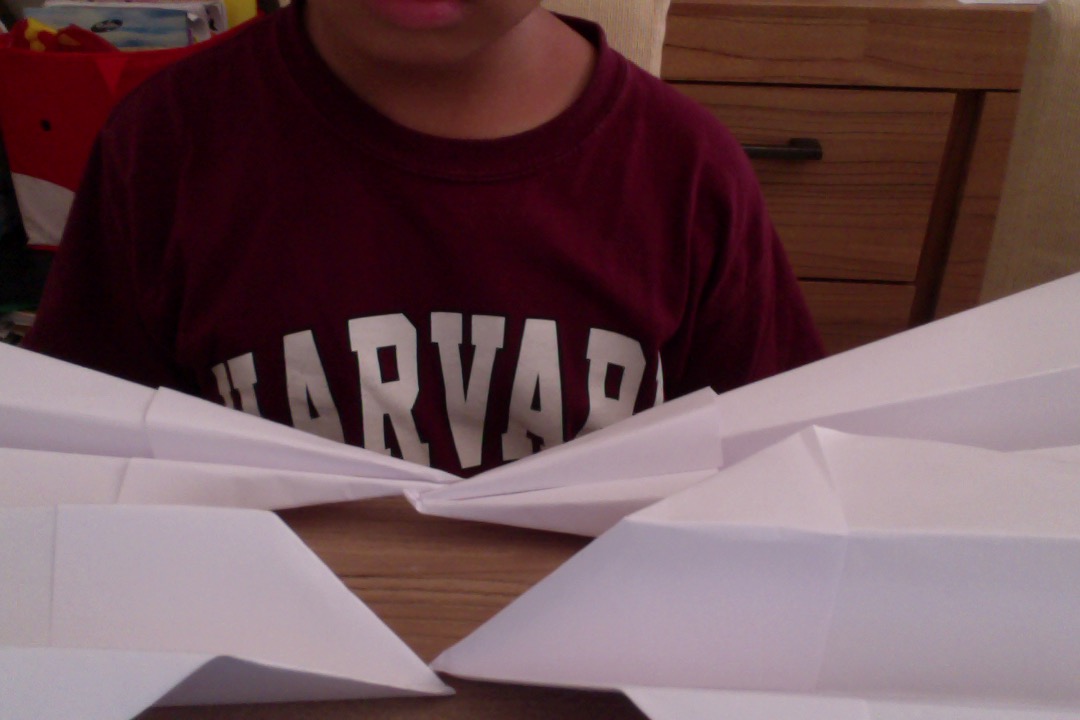
Fold at least one airplane of each chosen design following simple fold steps for each type.
Step 4
Label each airplane with a name or number using your marker so you can tell them apart.
Step 5
Decorate your airplanes with colouring materials if you want to make them look awesome.
Step 6
Find a safe open test area indoors or outdoors with room to fly and no breakable things around.
Step 7
Use the ruler or measuring tape to mark a straight launch line and place distance markers every 1 meter with tape or chalk.
Step 8
Stand behind the launch line and throw the first airplane using the same hold and throw style each time for a fair test.
Step 9
Measure the distance from the launch line to where the airplane first lands and write that number down.
Step 10
Repeat the same launch and measurement two more times for that airplane.
Step 11
Compute the average distance from your three measurements and write the result down.
Step 12
Make one small change to one airplane such as bending the wing tips adding a paperclip to the nose or tightening a fold.
Step 13
Test the changed airplane three times the same way measure each flight and calculate the new average distance.
Step 14
Fold more copies of your best-performing designs to build a fleet of airplanes.
Step 15
Share your finished fleet and what you learned about speed and accuracy on DIY.org
Help!?
What can we use if we don't have a ruler, measuring tape, marker, or paperclips?
If you don't have a ruler or measuring tape to 'mark a straight launch line', use a string with knots every 1 m and a hardcover book or straight edge to line up the launch, replace tape or chalk with masking tape or sticker dots, use a pencil or crayon instead of the marker for the 'Label each airplane' step, and substitute a paperclip nose weight with a small coin taped to the nose.
My planes keep veering or stalling — what should I check during folding and testing?
If a plane spirals or stalls, make sure folds are crisp and symmetrical by refolding along a straight edge or ruler, confirm you stand behind the launch line and use the same hold and throw style each trial, and fine-tune balance by adding or moving a small paperclip or coin to the nose as described in 'Make one small change'.
How can I adapt the activity for different ages so it's safe and fun for everyone?
For toddlers and preschoolers simplify to one glider design with an adult pre-folding and measuring and let them decorate and do single throws while an older child or adult records distances, for 7–11-year-olds follow all steps including using the ruler and calculating the average, and for 12+ encourage controlled experiments like testing different paper types and recording average distances for each design.
How can we extend or personalize the fleet beyond the basic builds and tests?
Extend the activity by decorating and naming each plane from the 'Label each airplane' step, testing different paper types and nose weights from the 'Make one small change' step, adding adjustable wing tips for stunt tricks, recording results in a distance chart using your three measurements and averages, and hosting a DIY.org sharing or competition.
Watch videos on how to build your own fleet of paper airplanes
How To Make A Paper Airplane | Creativity Tips | Crayola Learning
4 Videos
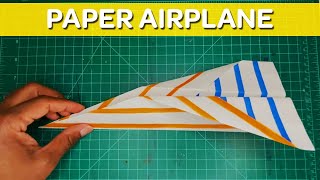
How To Make A Paper Airplane | Creativity Tips | Crayola Learning
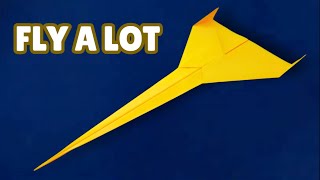
How to Make a ✈ New Paper Plane ✈ Fly a Lot - Best Paper Airplane Fighter
✈️ PAPER AIRPLANE THAT FLY FAR | How to Make a Paper Airplane That Flies Far and Straight Very Easy

How to Make the BEST Paper Airplane at Each Level — Easy, Intermediate, Advanced (Ep. 2)
Facts about aerodynamics for kids
✈️ The world record for longest paper airplane flight is 226 ft 10 in (69.14 m), set in 2012 by a design thrown by Joe Ayoob and folded by John Collins.
📏 Tiny adjustments — like bending wingtips or adding a paperclip nose weight — can change distance and accuracy a lot.
🎯 Different paper plane styles (darts, gliders, stunt planes) are tuned for speed, distance, or tricks.
🧩 Origami folding techniques aren’t just for fun — engineers use the same ideas to pack satellite solar panels and airbags.
🌬️ Whether a paper plane soars or nosedives comes down to lift, drag, thrust and weight working together.
How do I build a fleet of paper airplanes and test them for speed and accuracy?
What materials do I need to build a fleet of paper airplanes?
What ages is this paper airplane fleet activity suitable for?
What are the benefits and safety tips for making a paper airplane fleet?
