Make a Trebuchet Launcher
Build a small tabletop trebuchet launcher from craft sticks, rubber bands, string, and a plastic spoon. Test launches with soft pom-poms safely.


Step-by-step guide to Make a Trebuchet Launcher
Step 1
Gather all the materials from the list so everything is within arm’s reach.
Step 2
Clear a flat tabletop area to build on so you have plenty of room.
Step 3
Make a flat base by lining up six craft sticks and securing the ends tightly with rubber bands.
Step 4
Stack three craft sticks and secure them with a rubber band to make the first upright support.
Step 5
Stack three more craft sticks and secure them with a rubber band to make the second upright support.
Step 6
Attach each upright support to the ends of the base by fastening them down with tape or a rubber band so they stand up.
Step 7
Make the throwing arm by stacking two craft sticks and securing them together with a rubber band.
Step 8
Attach the plastic spoon to one end of the arm using tape or a rubber band so the spoon bowl faces outward.
Step 9
Place the arm between the two upright supports and push the pencil or skewer through the supports and the arm so the arm can pivot.
Step 10
Secure coins or a small lump of modeling clay to the short end of the arm with tape or a rubber band to act as the counterweight.
Step 11
Tie a short piece of string to the spoon handle to make a small sling loop that holds the pom-pom.
Step 12
Put a soft pom-pom into the spoon bowl so it’s ready to launch.
Step 13
Pull the long end of the arm down a few inches and let go to safely launch the pom-pom while keeping fingers and faces clear.
Step 14
Share a photo or short video of your finished trebuchet and a fun launch on DIY.org.
Help!?
What can we use instead of craft sticks, a plastic spoon, or pom-poms if those are hard to find?
If craft sticks aren’t available, use cardboard strips or thin rulers for the base and uprights, replace the plastic spoon with a bottle cap or small disposable spoon, and swap the pom‑pom for a cotton ball or wadded paper while still following the pencil/skewer pivot and counterweight steps.
The arm won’t pivot or my launches are very weak—what should I check or change?
Check that the pencil/skewer passes cleanly through both upright supports and the arm (add a little tape to reduce wobble if needed), and increase the coins or modeling clay on the short end to strengthen the counterweight if launches are weak.
How can I adapt this trebuchet activity for different age groups?
For younger kids, preassemble the base and uprights and let them attach the spoon and pom‑pom with supervision, while older children can add extra craft sticks to the arm, change coin/modeling clay weights, and measure launch distances to investigate variables.
What are some ways to extend or personalize the trebuchet after it’s built?
Decorate the craft sticks with markers, experiment with different sling string lengths tied to the spoon to change the arc, vary coins/modeling clay counterweights to compare distances, and create a target to score accuracy.
Watch videos on how to Make a Trebuchet Launcher
How to build a trebuchet | Diy woodworking project
4 Videos
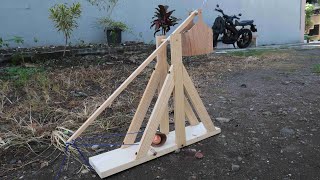
How to build a trebuchet | Diy woodworking project
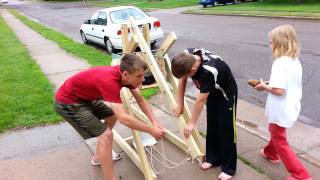
Trebuchet Launching 7th Grade Science Project
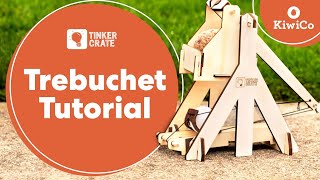
How to Build a Trebuchet | Tinker Crate Project Instructions | KiwiCo
How to Build a Trebuchet | MythBusters
Facts about catapults and simple machines
🏰 Some medieval trebuchets could hurl stones weighing hundreds of pounds up to a few hundred meters.
⚖️ A trebuchet turns the potential energy of a heavy counterweight into kinetic energy — it’s a giant lever in action.
🎯 Adding a sling to the throwing arm increases effective arm length and timing the release boosts range and accuracy.
🧰 Hobby builders often use craft sticks, rubber bands, and spoons to make safe tabletop trebuchets and learn physics hands-on.
🧪 Using soft pom-poms for test launches keeps experiments safe and lets kids do many trial-and-error tweaks quickly.
How do you build a small tabletop trebuchet launcher step by step?
What materials do I need to make a tabletop trebuchet launcher?
What ages is building a tabletop trebuchet suitable for?
What safety tips and learning benefits come from making a trebuchet launcher?
