Take a Material Through a State Change Circuit
Build a three station circuit to change water between solid, liquid, and gas using ice, warm (not boiling) water, and gentle evaporation with adult supervision.

Step-by-step guide to take a material through a state change circuit
Changes in Matter: MELTING and FREEZING - Teacher ANNE ALFARO
Step 1
Gather all your materials and put them on the tray so everything is easy to reach.
Step 2
Use the marker or stickers to label three spots on the tray "Solid" "Liquid" and "Gas".
Step 3
Place an empty small cup on the spot labeled Solid.
Step 4
Place an empty small cup on the spot labeled Liquid.
Step 5
Place an empty shallow dish on the spot labeled Gas.
Step 6
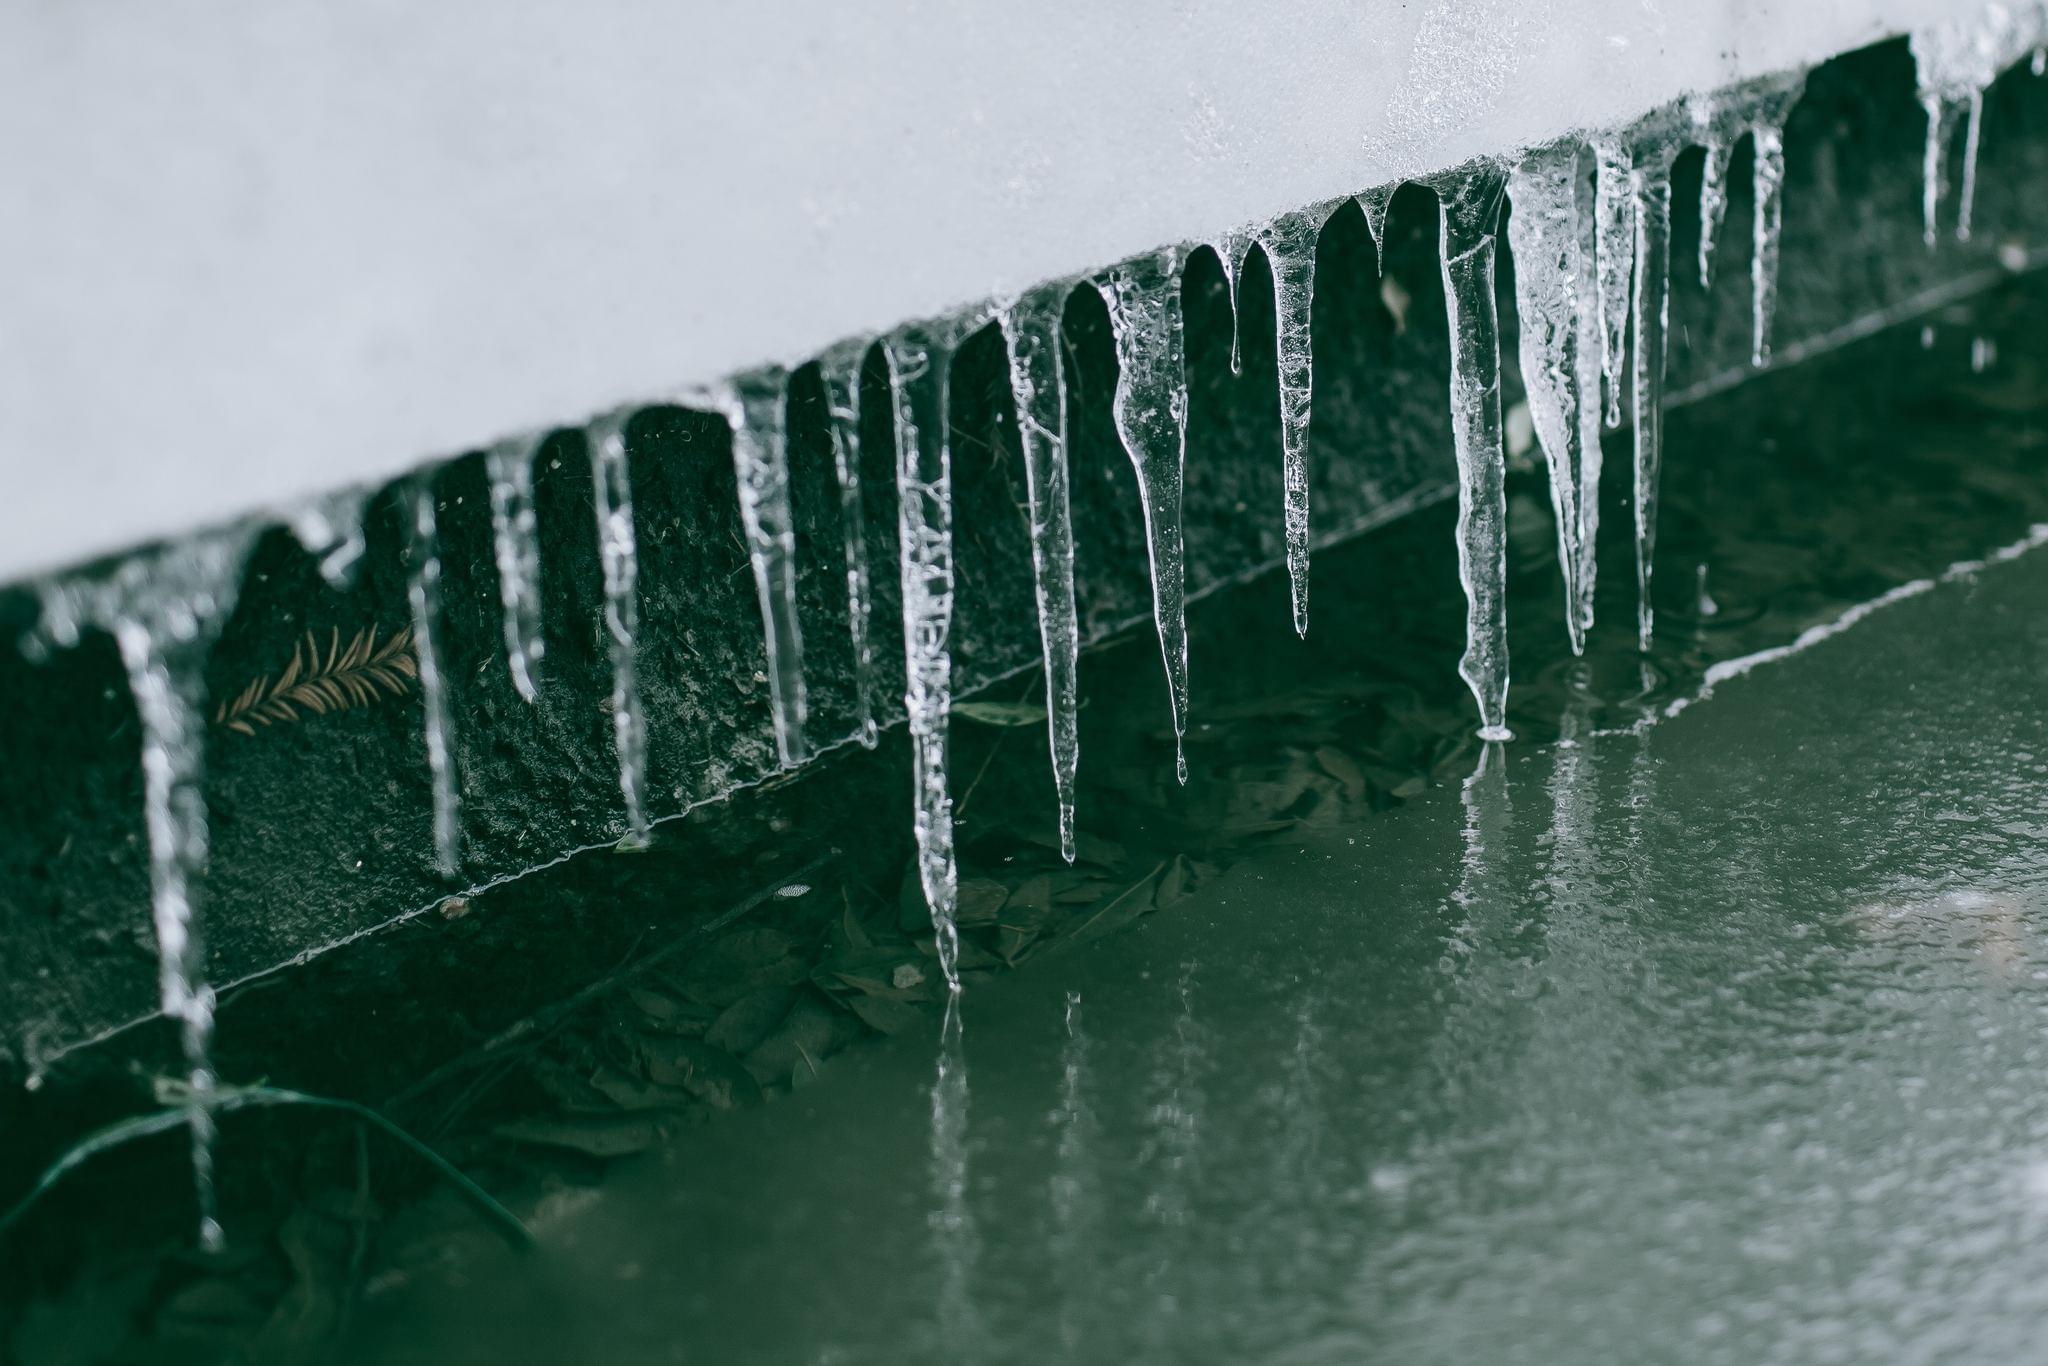
Ask an adult to give you one ice cube and place it into the Solid cup.
Step 7
Ask an adult to pour warm tap water (not boiling) into the Liquid cup until it is about half full.
Step 8
Use the spoon to transfer two tablespoons of warm water from the Liquid cup into the shallow dish at the Gas station.
Step 9
Put the shallow dish in a sunny windowsill or in front of a low fan to let the water evaporate gently under adult supervision.
Step 10
Watch the ice cube in the Solid cup until it melts completely into liquid water.
Step 11
Use the spoon to move the melted ice water from the Solid cup into the Liquid cup.
Step 12
Ask an adult to hold a cool plate briefly above the Gas dish to catch any tiny droplets and show condensation forming.
Step 13
Share your finished water state-change circuit and what you observed on DIY.org
Help!?
What can we use if we don't have small cups, a shallow dish, or stickers?
Use clean yogurt cups or small plastic containers for the Solid and Liquid spots, a soap dish or saucer for the Gas station, and write labels with the marker if you don't have stickers so you can still place the ice cube, warm tap water, and shallow dish as the instructions say.
The ice isn't melting or the water in the shallow dish isn't evaporating—what should we try?
If the ice in the Solid cup isn't melting, move it closer to the sunny windowsill or a warm surface and for slow evaporation place the shallow dish where the low fan can blow gently or put it in a sunnier spot and stir warm tap water with the spoon to increase evaporation surface area.
How can I adapt this activity for a toddler, a school-age child, or an older kid?
For toddlers have an adult do the ice and pouring steps and use big labeled stickers, for school-age kids let them spoon water between cups and watch melting, and for older kids add timing, temperature notes, or repeat the circuit with different fan positions before sharing results on DIY.org.
How can we make the water state-change circuit more interesting or personal?
Try sprinkling a little salt on the ice in the Solid cup to speed melting, use a thermometer when you move melted ice into the Liquid cup, photograph the shallow dish while it evaporates and the plate catching condensation so you can create a time-lapse to share on DIY.org.
Watch videos on how to take a material through a state change circuit
CHANGES IN STATES OF MATTER || FREEZING, MELTING, CONDENSATION, EVAPORATION, SUBLIMATION, DEPOSITION
4 Videos

CHANGES IN STATES OF MATTER || FREEZING, MELTING, CONDENSATION, EVAPORATION, SUBLIMATION, DEPOSITION
PHASE CHANGE / EVPORATION / CONDENSATION / MELTING / FREEZING / SUBLIMATION / DEPOSITION / MATTER
Why Do Things Freeze and Melt | SCIENCE FOR KIDS

Heating Matter and Changes in State
Facts about states of matter and phase changes
🧊 Pure water freezes at 0°C (32°F), but adding impurities like salt lowers the freezing point.
💨 Evaporation can turn liquid water into vapor at room temperature — no boiling required!
🔥 It takes about 80 calories per gram (334 kJ/kg) to melt ice into liquid water (latent heat of fusion).
🌍 Water naturally exists on Earth in all three states—solid, liquid, and gas—at surface conditions.
🌬️ Evaporation cools surfaces because the fastest (highest-energy) molecules escape, which is how sweating helps you cool down.
How do you build a three-station circuit to change water between solid, liquid, and gas?
What materials do I need to set up the state-change circuit activity?
What ages is the ice-water-evaporation circuit suitable for?
What safety tips should I follow for a water state-change circuit with kids?
