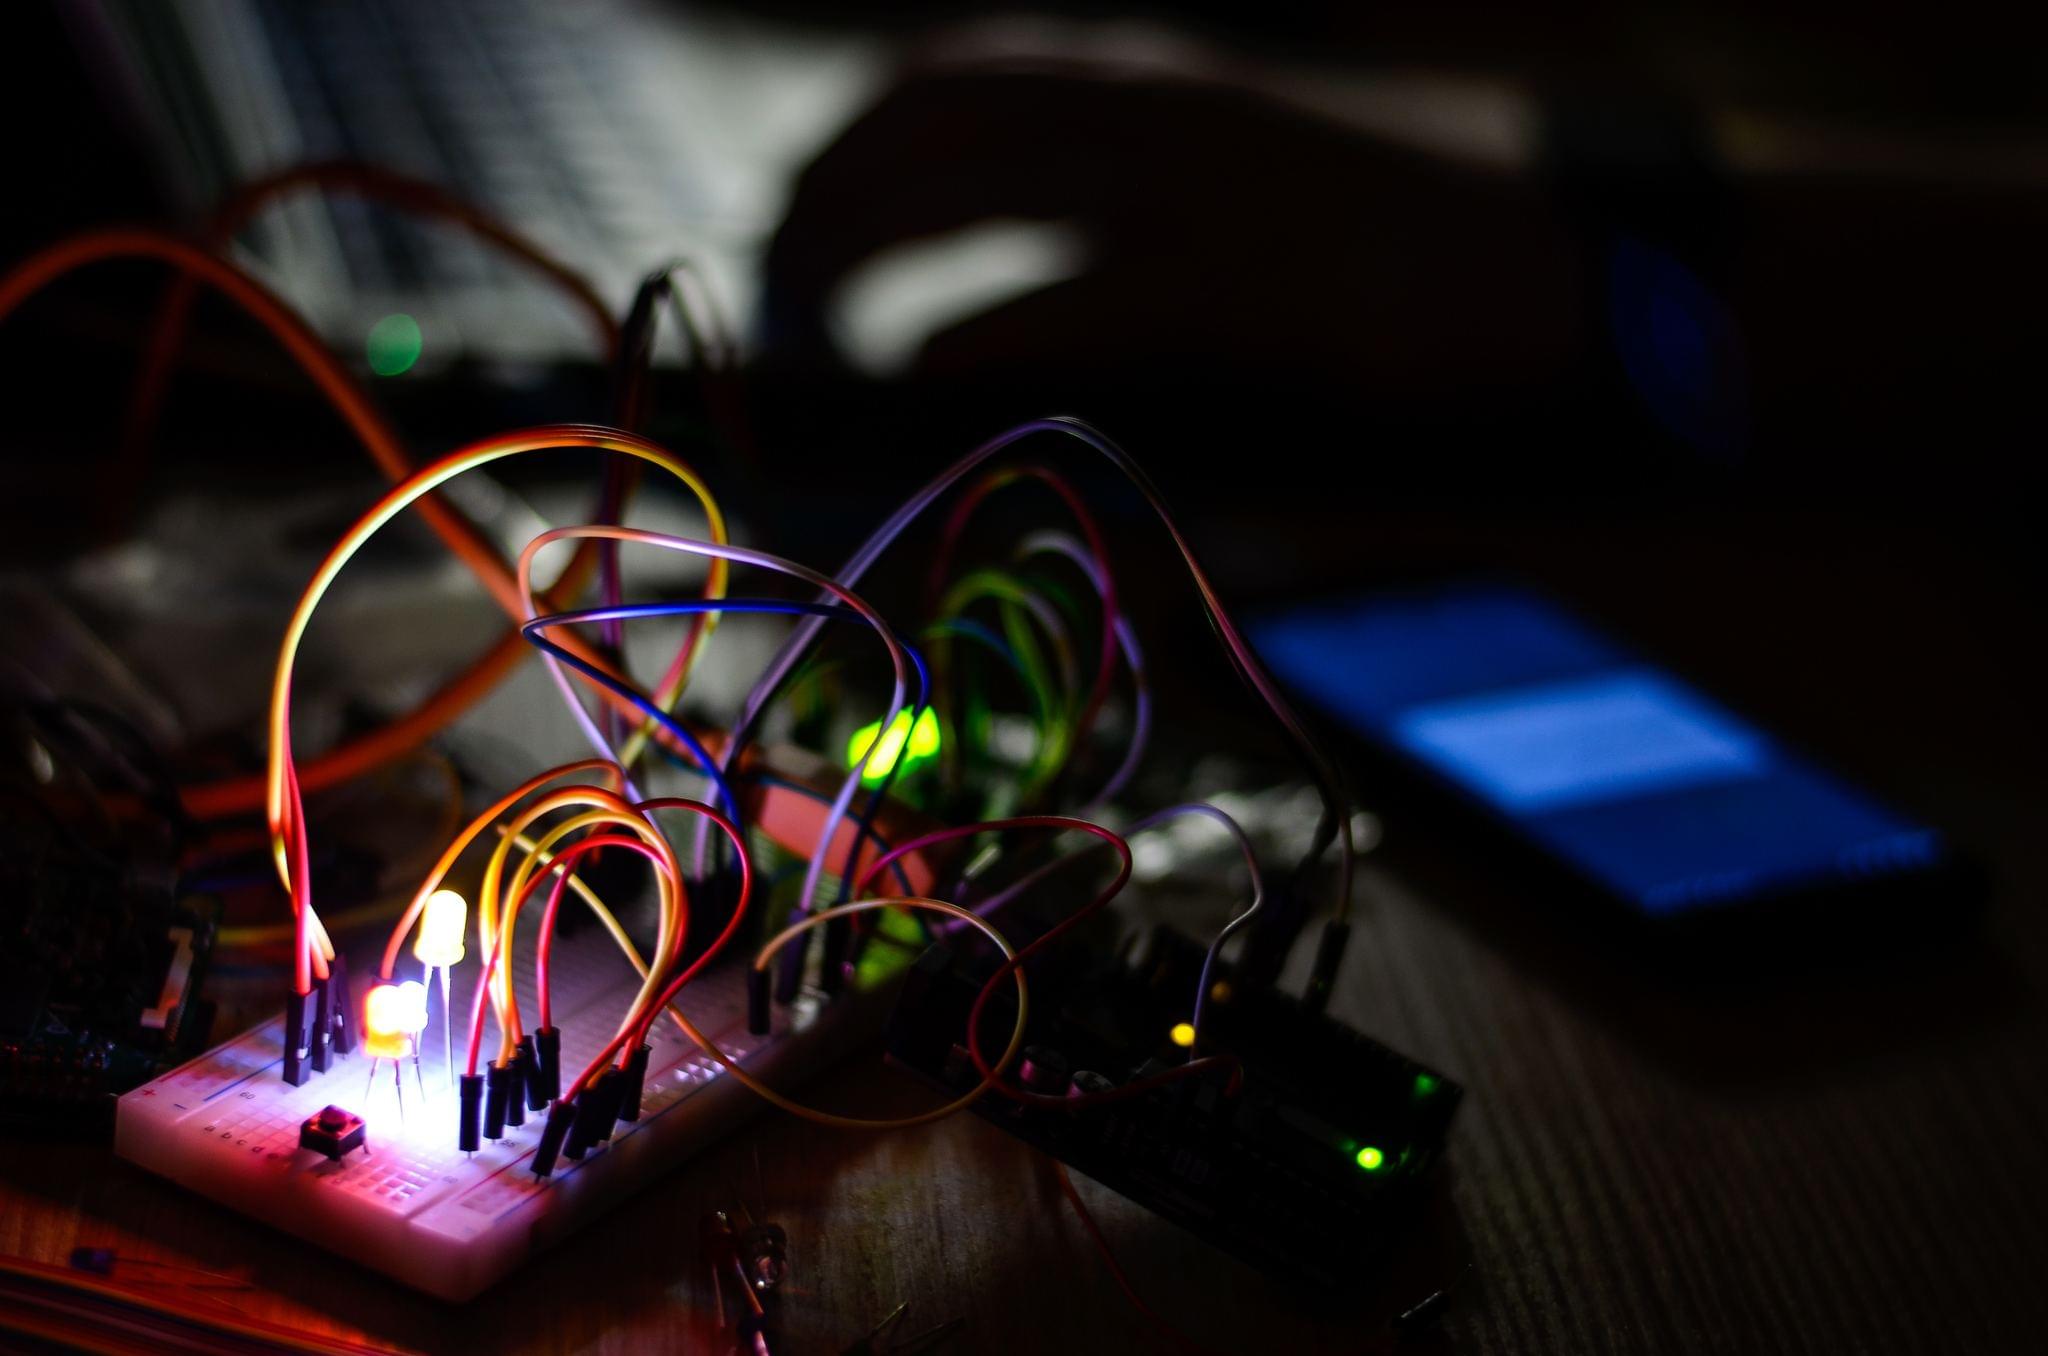
Invent a Light Switcher
Design and build a homemade light switcher with adult help using simple circuits, batteries, LED, wires, and switches to explore electricity.


Step-by-step guide to Invent a Light Switcher
DIY Busy Board: Light Switch Box Toy for Toddlers - Sensory Box/Activity Board for kids
Step 1
Gather all the materials and bring them to a clear workspace.
Step 2
Choose a spot on your base for the battery holder and the switch and mark each spot with the marker.
Step 3
Ask an adult to strip about 1 cm of insulation off both ends of three wires and cut wires to the right lengths if needed.
Step 4
Wrap one lead of the 220 ohm resistor around the LED's longer (positive) leg and secure that joint with electrical tape.
Step 5
Connect a stripped wire from the battery holder's positive lead to one terminal of the switch and tape the connection securely.
Step 6
Connect a stripped wire from the switch's other terminal to the free resistor lead on the LED and tape that connection securely.
Step 7
Connect a stripped wire from the LED's shorter (negative) leg to the battery holder's negative lead and secure with tape.
Step 8
Tape the battery holder and switch onto the marked spots on the base so they stay in place.
Step 9
Tidy and tape down any loose wires so nothing can pull free.
Step 10
Ask an adult to insert the batteries into the holder with the correct orientation.
Step 11
Flip the switch to test your light switcher and watch the LED light up.
Step 12
If the LED does not light, ask the adult to check each taped connection and the battery orientation and fix any loose wires.
Step 13
Decorate your base with the marker to make your Light Switcher look amazing.
Step 14
Share a photo and a short description of your finished Light Switcher on DIY.org.
Help!?
If we can't find a 220 ohm resistor or stripped wires, what can we use instead?
You can use a 330 ohm or 470 ohm resistor wrapped around the LED's longer leg as in step 4 to protect the LED, and substitute pre-made jumper wires or alligator-clip leads instead of stripping your own wires for the connections in steps 3, 5, 6, and 7.
The LED won't light when I flip the switch—what should we check first?
Ask an adult to re-check each taped connection from the battery holder to the switch (step 5), the switch to the resistor-LED joint (step 6), the LED negative to battery negative (step 7), and confirm the batteries are inserted with the correct orientation in step 11 and that the LED's longer leg is the one wrapped with the resistor in step 4.
How can we change the activity for younger or older kids?
For younger children have an adult pre-strip wires and pre-wrap the resistor on the LED so the child focuses on placing and taping the battery holder and switch to the base (steps 1, 7, 8) and decorating in step 13, while older kids can expand the project by adding extra LEDs and switches to explore series and parallel circuits.
What are some ways to extend or personalize our Light Switcher after it works?
Mount the taped battery holder and switch inside a decorated cardboard box or small model house, add multiple LEDs each with its own switch wired in parallel to the battery holder so different switches control different lights, and then decorate the base as in step 13 before sharing a photo on DIY.org.
Watch videos on how to Invent a Light Switcher
How to Build a Simple Electrical Circuit — At-Home Science Activity for Kids
4 Videos
How to Build a Simple Electrical Circuit — At-Home Science Activity for Kids
How to make a simple electrical circuit | School Project Ep. 1
DIY simple electric circuit | How to connect led, battery and a switch | Working model project
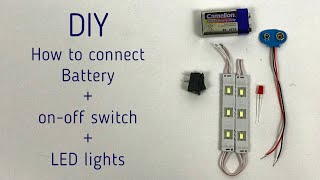
DIY How to Connect A Battery And Led Lights With an On-Off Switch | Science Project for Beginners
Facts about basic electricity and circuits
💡 LEDs use very little energy and can last over 25,000 hours — that's like leaving one on for nearly three years straight!
🔋 The first practical electric battery, the voltaic pile, was built by Alessandro Volta in 1800.
⚡️ A simple circuit only needs three parts: a power source (battery), a path (wires), and a load (like an LED).
🧪 Small LEDs usually need a resistor to limit current — otherwise they can burn out quickly.
🔧 A switch works by opening or closing the circuit — even a simple piece of tape can act as a basic switch in a pinch.
How do I design and build an 'Invent a Light Switcher' science activity at home?
What materials do I need to build a homemade light switcher with batteries, LEDs, wires, and switches?
What ages is the Invent a Light Switcher activity suitable for?
What safety tips should parents follow when making a homemade light switcher with kids?
