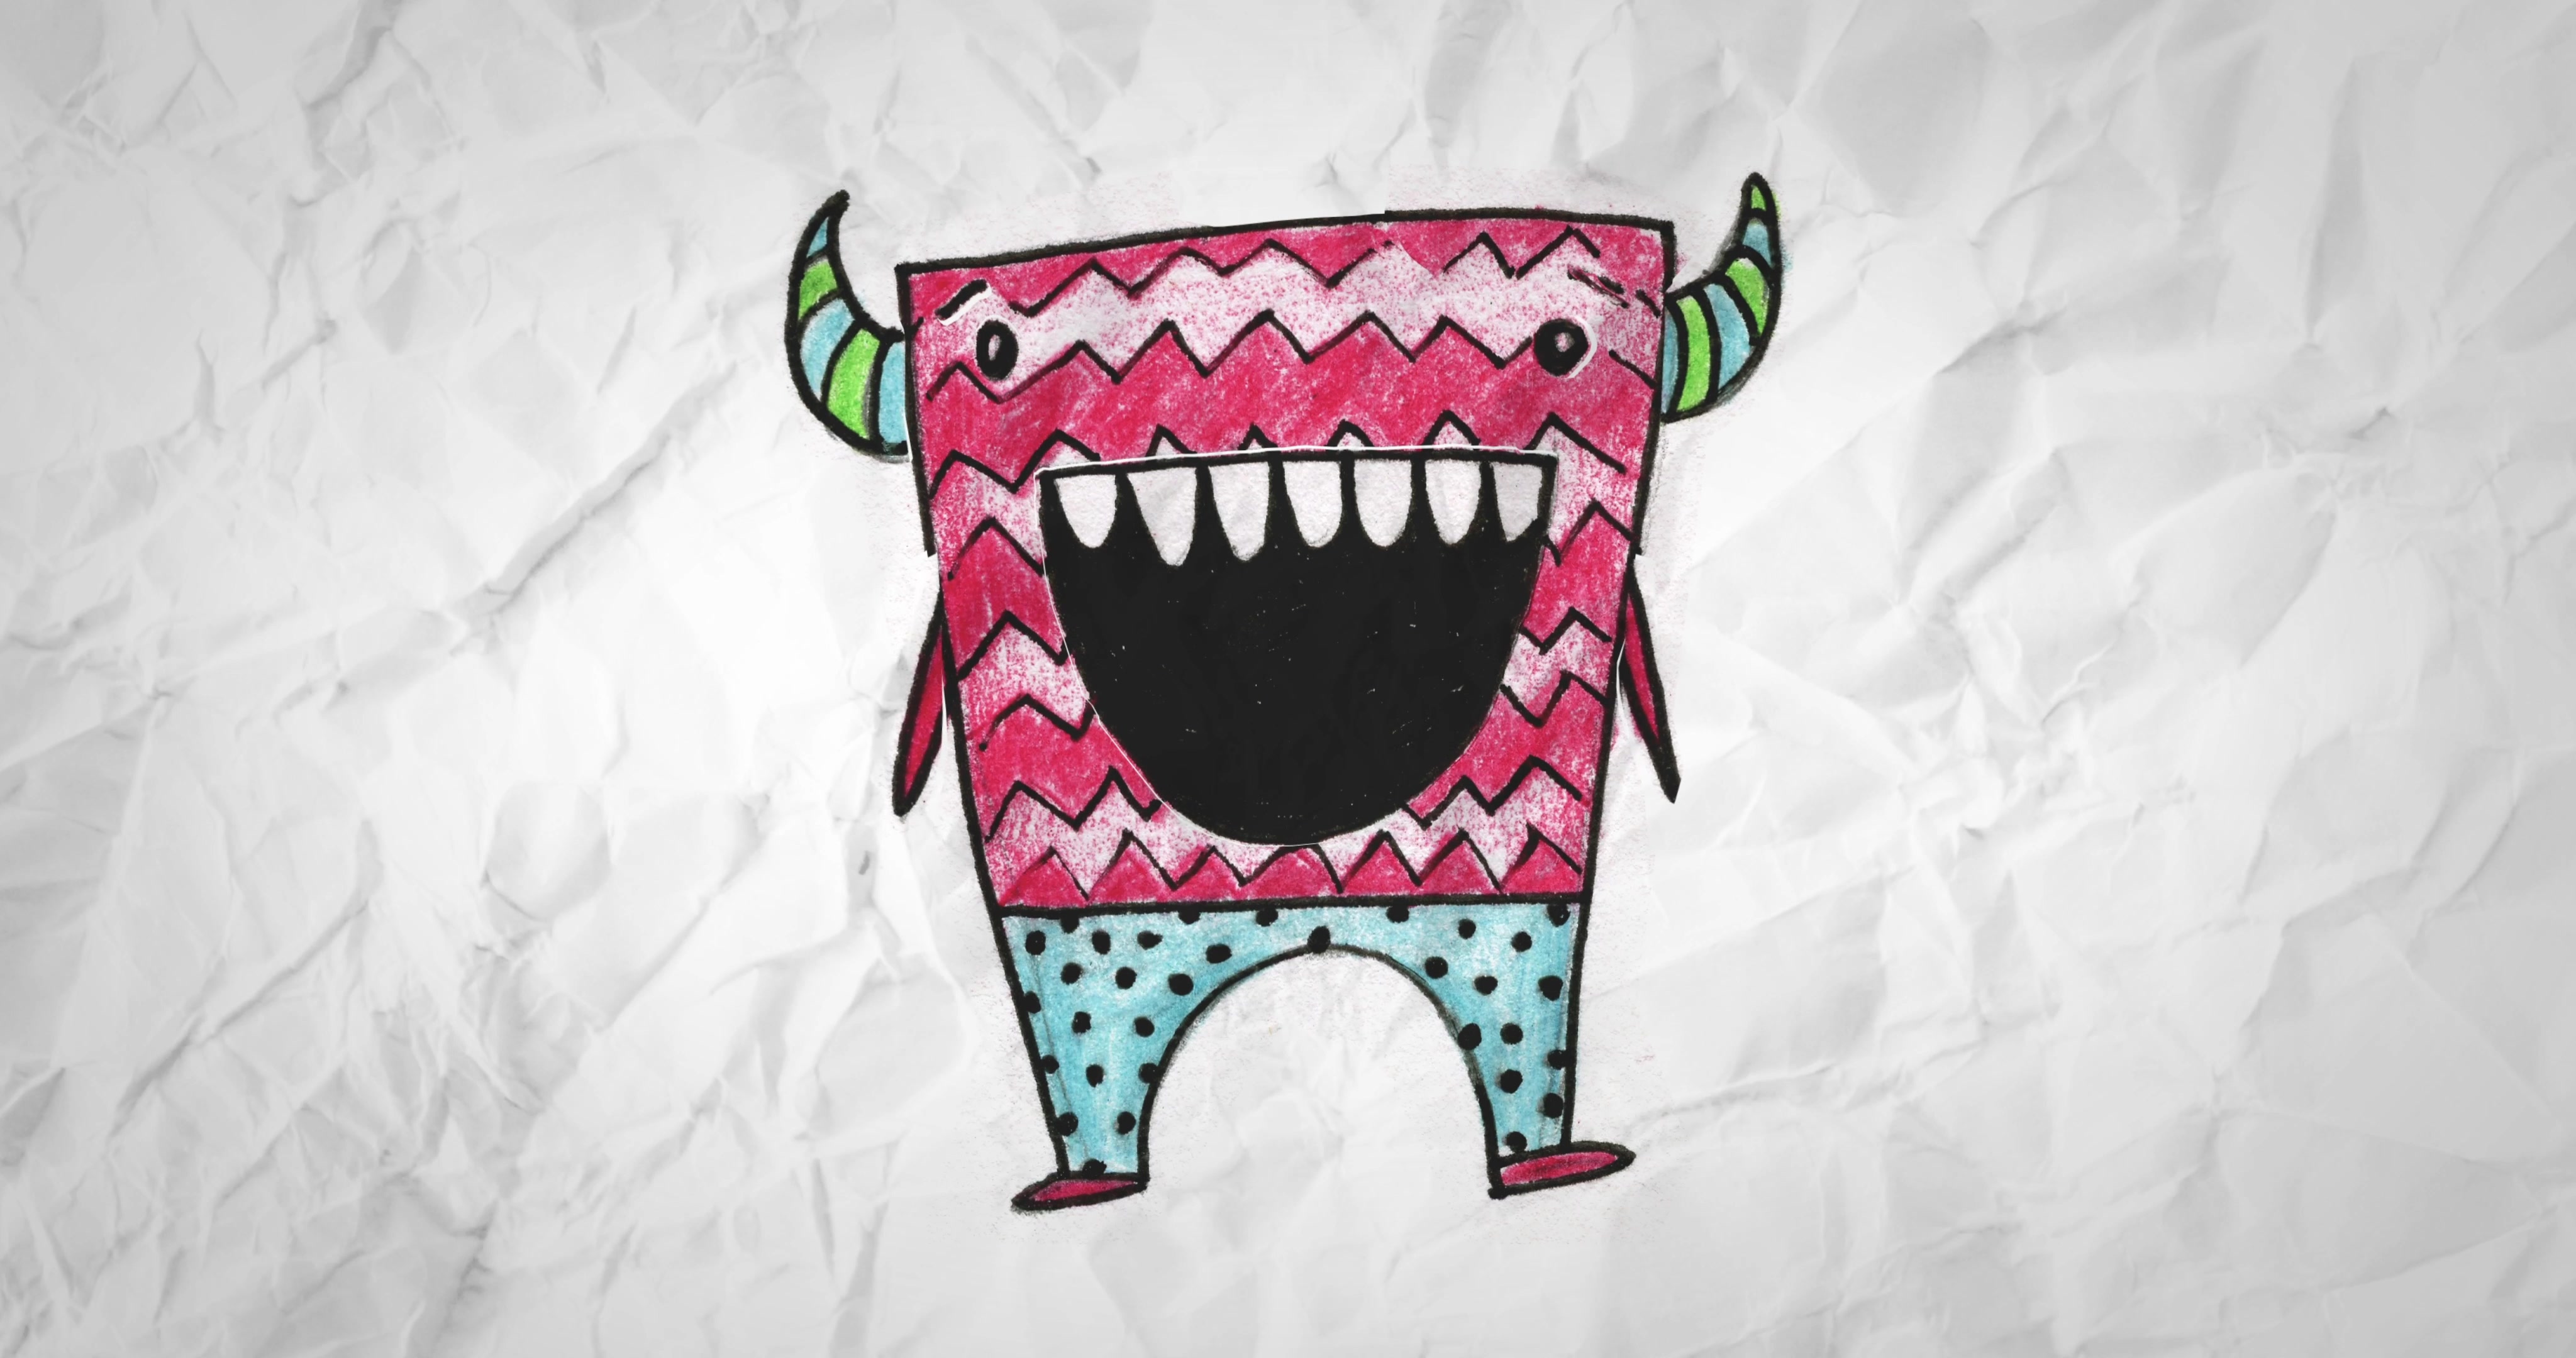
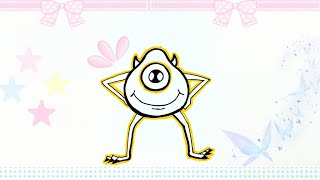
Draw a monster
Draw and color your own monster using pencil, markers, and paper. Create features, give it a name, and tell its short backstory.

Drawing Apps
Step-by-step guide to draw and color your own monster
Step 1
Gather your paper pencil eraser and markers so everything is ready to draw.
Step 2
Close your eyes for a moment and imagine whether your monster is friendly silly spooky or super goofy.
Step 3
Decide two special features your monster will have like wings three eyes or a sparkly tail.
Step 4
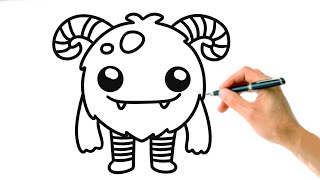
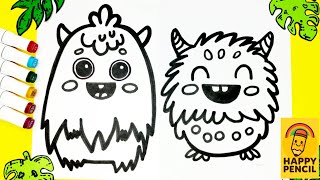
Draw a big simple shape for the monster’s body using your pencil.
Step 5
Add the monster’s face by drawing eyes a nose and a mouth with your pencil.
Step 6
Draw arms legs or other limbs such as tentacles claws or wings.
Step 7
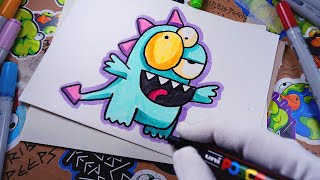
Add extra details like horns spots scales fur or funny teeth to make your monster unique.
Step 8
Draw any accessories like a hat cape backpack or a pair of boots.
Step 9
Trace your pencil lines with the black marker to make the outlines bold.
Step 10
Wait a moment for the marker to dry so it does not smudge.
Step 11
Gently erase the pencil lines leaving only the marker outline.
Step 12
Color your monster using markers crayons or colored pencils to make it bright and fun.
Step 13
Write your monster’s name clearly on the picture.
Step 14
Write a short backstory in one or two sentences about where your monster lives and what it likes to do.
Step 15
Share a photo of your finished monster and its backstory on DIY.org.
Help!?
If I don't have a black marker to trace the outlines, what can I use instead?
Use a dark ballpoint pen, a fine-tip permanent marker, or a dark crayon to trace the pencil outlines so the outline stays bold before you erase the pencil lines.
My marker smudged when I tried to erase the pencil lines—what should I do?
Let the black marker dry completely (a minute or two) and if there is excess ink blot it gently with a paper towel before carefully erasing the pencil lines to avoid smudging the bold outline.
How can I adapt this monster drawing for different age groups?
For younger kids, stick to the step 'Draw a big simple shape' and use thick markers and large features, while older kids can add detailed 'extra details' like scales and a longer 'backstory' and trace with a fine-tip marker.
What are some ways to enhance or personalize the finished monster drawing?
Add mixed-media like glued-on fabric, googly eyes, or glitter to the 'accessories' and 'extra details', draw a habitat around your colored monster, give it a unique name, and then share the photo and backstory on DIY.org.
Watch videos on how to draw and color your own monster
Drawing Cute Monster Step-By-Step Tutorial For Kids Draw & Color Guide
4 Videos
Drawing Cute Monster Step-By-Step Tutorial For Kids Draw & Color Guide
How to Draw and Color Cute Monsters 👾 | Easy Drawing for Kids
How to Draw a Three-Eyed Cute Monster: Easy Tutorial for Beginners
DRAW Cute Monsters with Easy Steps Now
Facts about drawing and character design for kids
🐉 Dragons, vampires and werewolves are some of the oldest monster types — they grew from centuries of folklore and storytelling.
✏️ A single pencil can draw a line about 35 miles (56 km) long — that's a lot of monster sketches!
🖊️ Marker pens come in water-based (washable) and solvent-based (permanent) inks — washable markers rinse out of many clothes.
🎨 Many famous monsters are made by combining animal parts (wings, claws, horns) to make surprising, memorable creatures.
🧠 Giving your monster a name and a short backstory makes it feel like a character you care about — and makes your drawing more fun to share.
How do you draw and color your own monster step by step?
What materials do I need to draw and color a monster?
What ages is drawing and coloring monsters suitable for?
What are the benefits of having children draw and name their own monsters?
