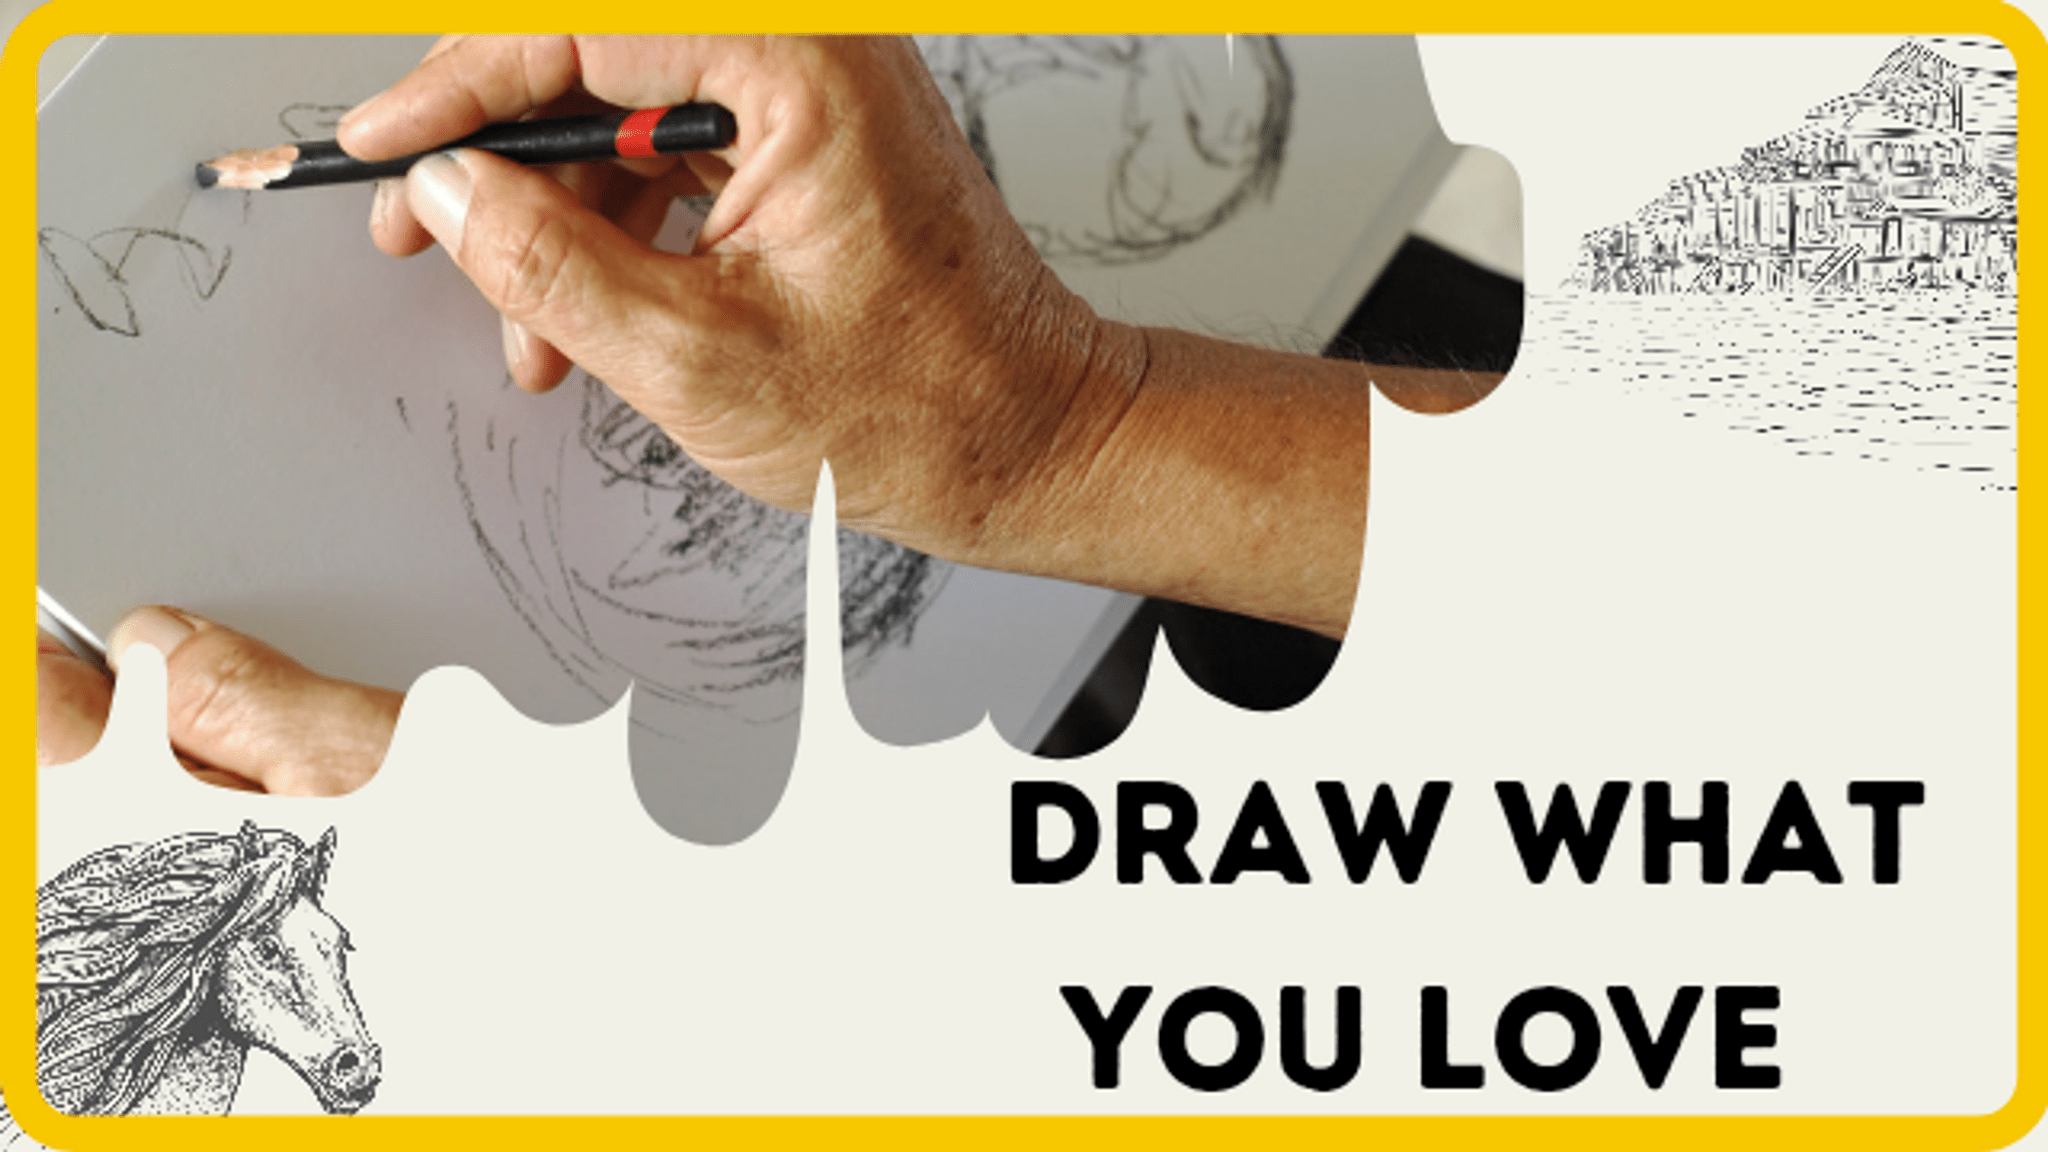
" Draw what you love w/ DIY Star @ApersonThatDraws "
Make a DIY star stencil and use it to draw and decorate pictures of things you love, practicing shape, color, and composition.


Step-by-step guide to draw what you love using a DIY star stencil
How to draw a Star *SUPER EASY* - Easy step-by-step drawing tutorial
Step 1
Gather all the materials and clear a flat workspace so you have plenty of room to draw and cut.
Step 2
Fold a sheet of paper in half horizontally to make a faint center line to help you place your star.
Step 3
Draw a large upright triangle centered on the paper using the center line as a guide.
Step 4
Draw a large inverted triangle that overlaps the first triangle so the two triangles make a six point star shape.
Step 5
Use your pencil to trace the outer outline of the star where the two triangles overlap.
Step 6
Carefully cut out the star outline to make your star stencil while asking an adult for help if needed.
Step 7
Place the stencil on a clean sheet of paper and tape one edge lightly so it will not move.
Step 8
Trace the star stencil onto the paper in several places to make a layout for your picture.
Step 9
Draw things you love around and inside the traced stars using simple shapes to practice composition.
Step 10
Use your colouring materials to fill in the stars and the pictures with bright colors.
Step 11
Add patterns textures or small details inside the stars to make each one unique.
Step 12
Look at your picture and add any final touches like outlines shadows or highlights.
Step 13
Share your finished creation on DIY.org and tag @ApersonThatDraws so others can see what you made.
Help!?
What can we use if we don't have scissors, tape, or markers from the materials list?
If you don't have scissors, ask an adult to cut the star stencil with a craft knife or use pre-cut cardboard shapes, replace tape by holding the stencil with a paper clip or a small dab of glue, and use crayons, colored pencils, or watered-down food coloring as substitutes for the colouring materials.
My star looks uneven or the stencil moved while tracing—how do I fix it?
Refold the paper to re-create the faint center line and redraw the upright and inverted triangles using a ruler for equal placement, then retrace the outer outline carefully and tape one edge lightly before cutting or tracing to stop the stencil from shifting.
How can I adapt this activity for younger or older children?
For younger kids, have an adult pre-cut a large star stencil from cardboard and let them fill one big traced star with chunky crayons, while older kids can measure triangle points precisely, trace the stencil several places for complex layouts, and add detailed patterns and textures inside each star.
What are some creative ways to extend or personalize the finished star drawings?
After tracing stars in several places as the instructions say, personalize by turning some stars into collages with magazine cutouts or fabric for texture, paint others with watercolor before adding outlines and highlights, or mount the best ones to make a gallery card and share on DIY.org tagging @ApersonThatDraws.
Watch videos on how to draw what you love using a DIY star stencil
How To Draw A Star - Memorial Day
4 Videos
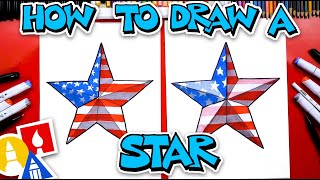
How To Draw A Star - Memorial Day
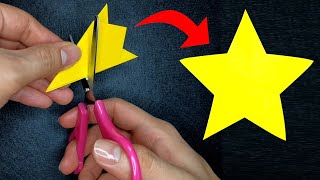
How To Cut a Perfect Star | Make a Perfect Star with Just One Cut
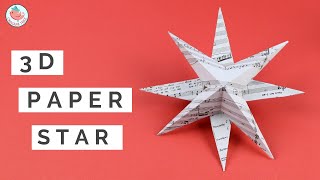
🌟 How to Make a Simple 3D Paper Star Craft (Tutorial) - Narrated Step-by-Step Instructions!
Drawing A Person With My 2-Year-Old (Preschool Lesson)
Facts about stencil drawing and basic art techniques for kids
🖐️ Some of the oldest stencils are handprints found in caves — they're over 17,000 years old!
⭐ Stars are a favorite symbol worldwide and appear on dozens of national flags and logos.
🎨 With just three primary paint colors (red, yellow, blue) you can mix many new shades — a fun color-mixing experiment for kids!
🖼️ Artists use composition tricks like the 'rule of thirds' — placing your star off-center often makes a picture more exciting.
♻️ A sturdy paper or cardboard stencil can be reused many times, so you can stamp matching stars across lots of drawings.
How do I do the "Draw what you love w/ DIY Star @ApersonThatDraws" activity?
What materials do I need for "Draw what you love w/ DIY Star @ApersonThatDraws"?
What ages is "Draw what you love w/ DIY Star @ApersonThatDraws" suitable for?
What are the benefits of "Draw what you love w/ DIY Star @ApersonThatDraws"?
