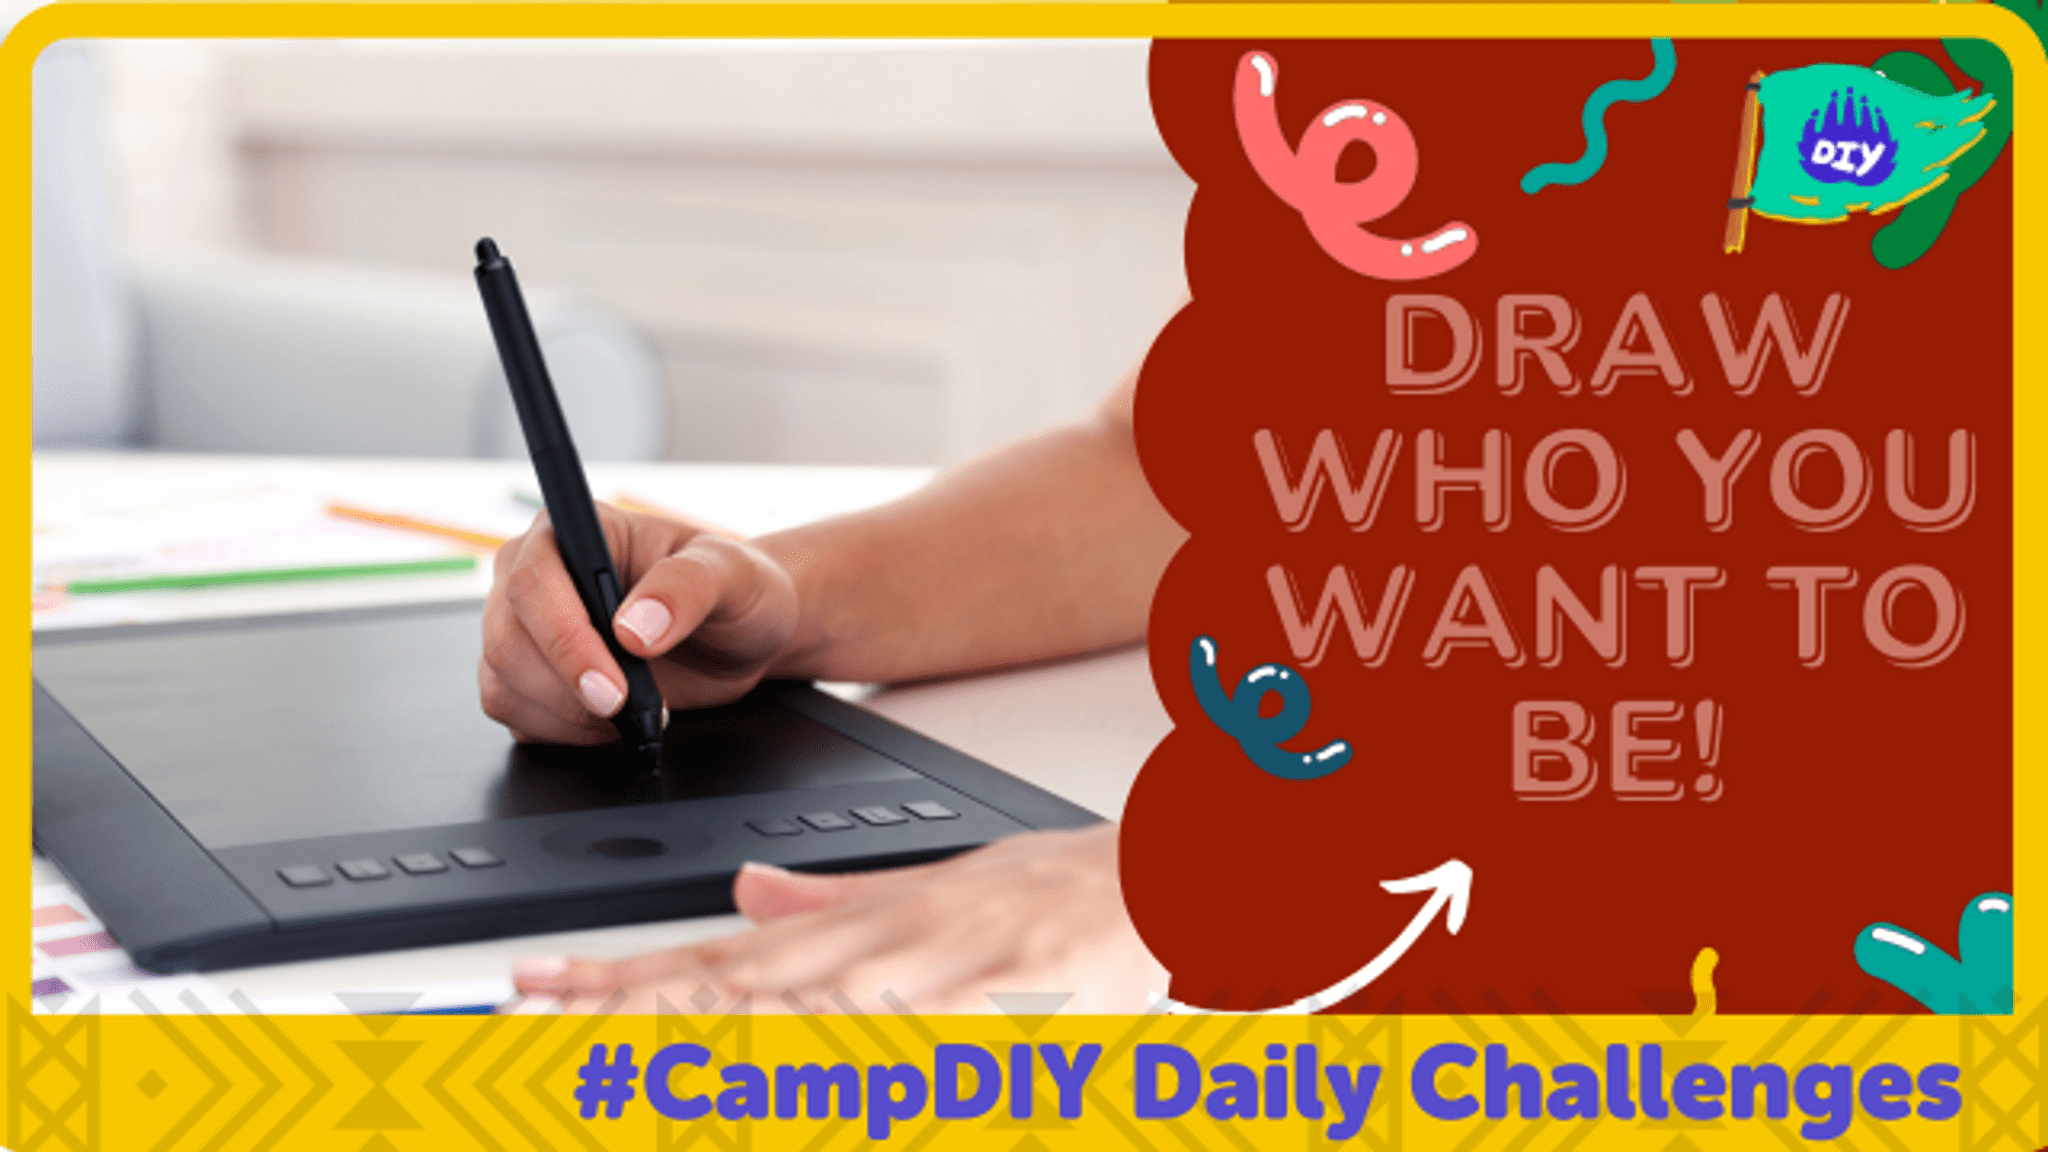
#CampDIY Day 46: Draw who you want to be!
Draw a future self portrait showing who you want to be, add details about interests and goals, then share and explain your choices.

Drawing Apps
Step-by-step guide to #CampDIY Day 46: Draw who you want to be!
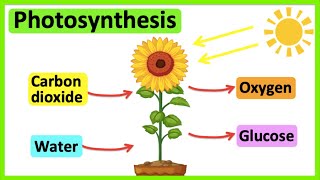
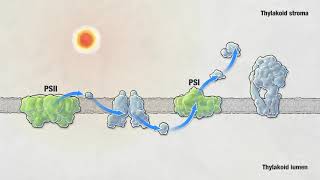
Photosynthesis
Step 1
Gather all your materials and place them on your table so everything is easy to reach.
Step 2
Sit in a comfy spot with good light so you can see your drawing clearly.
Step 3
Close your eyes and imagine who you want to be when you grow up for one minute.
Step 4
Choose three things that show your future self like a job hobby or a goal.
Step 5
Lightly sketch the shape of your head shoulders and body with your pencil.
Step 6
Draw the hairstyle clothes and facial expression that match your future you.
Step 7
Add one or more tools or props that show your interests and goals like a paintbrush stethoscope or soccer ball.
Step 8
Draw a simple background that shows where you might be like a classroom a stage a garden or a lab.
Step 9
Write a short label next to each prop explaining why it is important to your future self.
Step 10
Erase any extra pencil lines to make your sketch neat and clear.
Step 11
Colour your drawing using your colouring materials to bring your future self to life.
Step 12
Practice a two-sentence explanation out loud about your choices and what you want to achieve.
Step 13
Share your finished drawing and your short explanation on DIY.org.
Help!?
What can we use if we don't have some of the listed supplies like colored pencils, a pencil, or an eraser?
If you don't have colored pencils, use crayons, markers, watercolour or a collage of cut paper to 'Colour your drawing', and if you lack a pencil or eraser do the 'Lightly sketch' on scrap paper and trace the cleaned-up lines onto a fresh sheet before colouring.
My drawing's proportions or facial features look wrong—what should I try?
If the 'head, shoulders, and body' look disproportionate, start with a simple stick-figure for posture, use light guideline circles for the head and facial placement, and erase extra lines before you 'Draw the hairstyle clothes and facial expression' so features line up correctly.
How can I adapt this activity for younger or older children?
For younger kids, limit to one or two choices from 'Choose three things', use stickers or templates for 'Add one or more tools or props' and have an adult write the 'short label', while older kids can add detailed backgrounds, mixed-media coloring, and expand the 'two-sentence explanation' into a paragraph or presentation.
How can we make the project more creative or keep it longer-term?
Make the project a keepsake by mounting the 'finished drawing' on cardboard, gluing small real materials to the 'props', writing a timeline next to each 'short label' that lists steps to reach the goal, and photographing it to 'Share your finished drawing' on DIY.org.
Watch videos on how to #CampDIY Day 46: Draw who you want to be!
Photosynthesis 🌷 | What is photosynthesis? | Step-by-step process
4 Videos
Photosynthesis 🌷 | What is photosynthesis? | Step-by-step process

Photosynthesis: Crash Course Biology #8
Photosynthesis | HHMI BioInteractive Video

Photosynthesis - Light Dependent Reactions and the Calvin Cycle
Facts about self-expression and goal-setting for kids
🎨 Rembrandt created around 80 self-portraits — artists have used self-portraiture for centuries to explore identity.
🧭 Visualizing your future self helps you set clearer goals — people who picture success are more likely to follow through.
🧠 The picture superiority effect means people remember images better than words, so drawing your dreams makes them stick.
🌟 Tiny details (pets, tools, uniforms) in future portraits give big clues about hobbies and career wishes.
📣 Sharing and explaining your drawing boosts storytelling and confidence — it helps others understand your goals.
How do I guide my child through 'Draw who you want to be'?
What materials are needed for CampDIY Day 46: Draw who you want to be?
What ages is this activity suitable for?
What are the benefits and variations of drawing a future self portrait?
