Draw a magical object
Draw a magical object, design its powers, color details, and label parts; then write a short origin story to explain how it works.


Step-by-step guide to draw a magical object and write its origin story
Step 1
Think of a magical object you want to create and imagine one exciting thing it can do.
Step 2
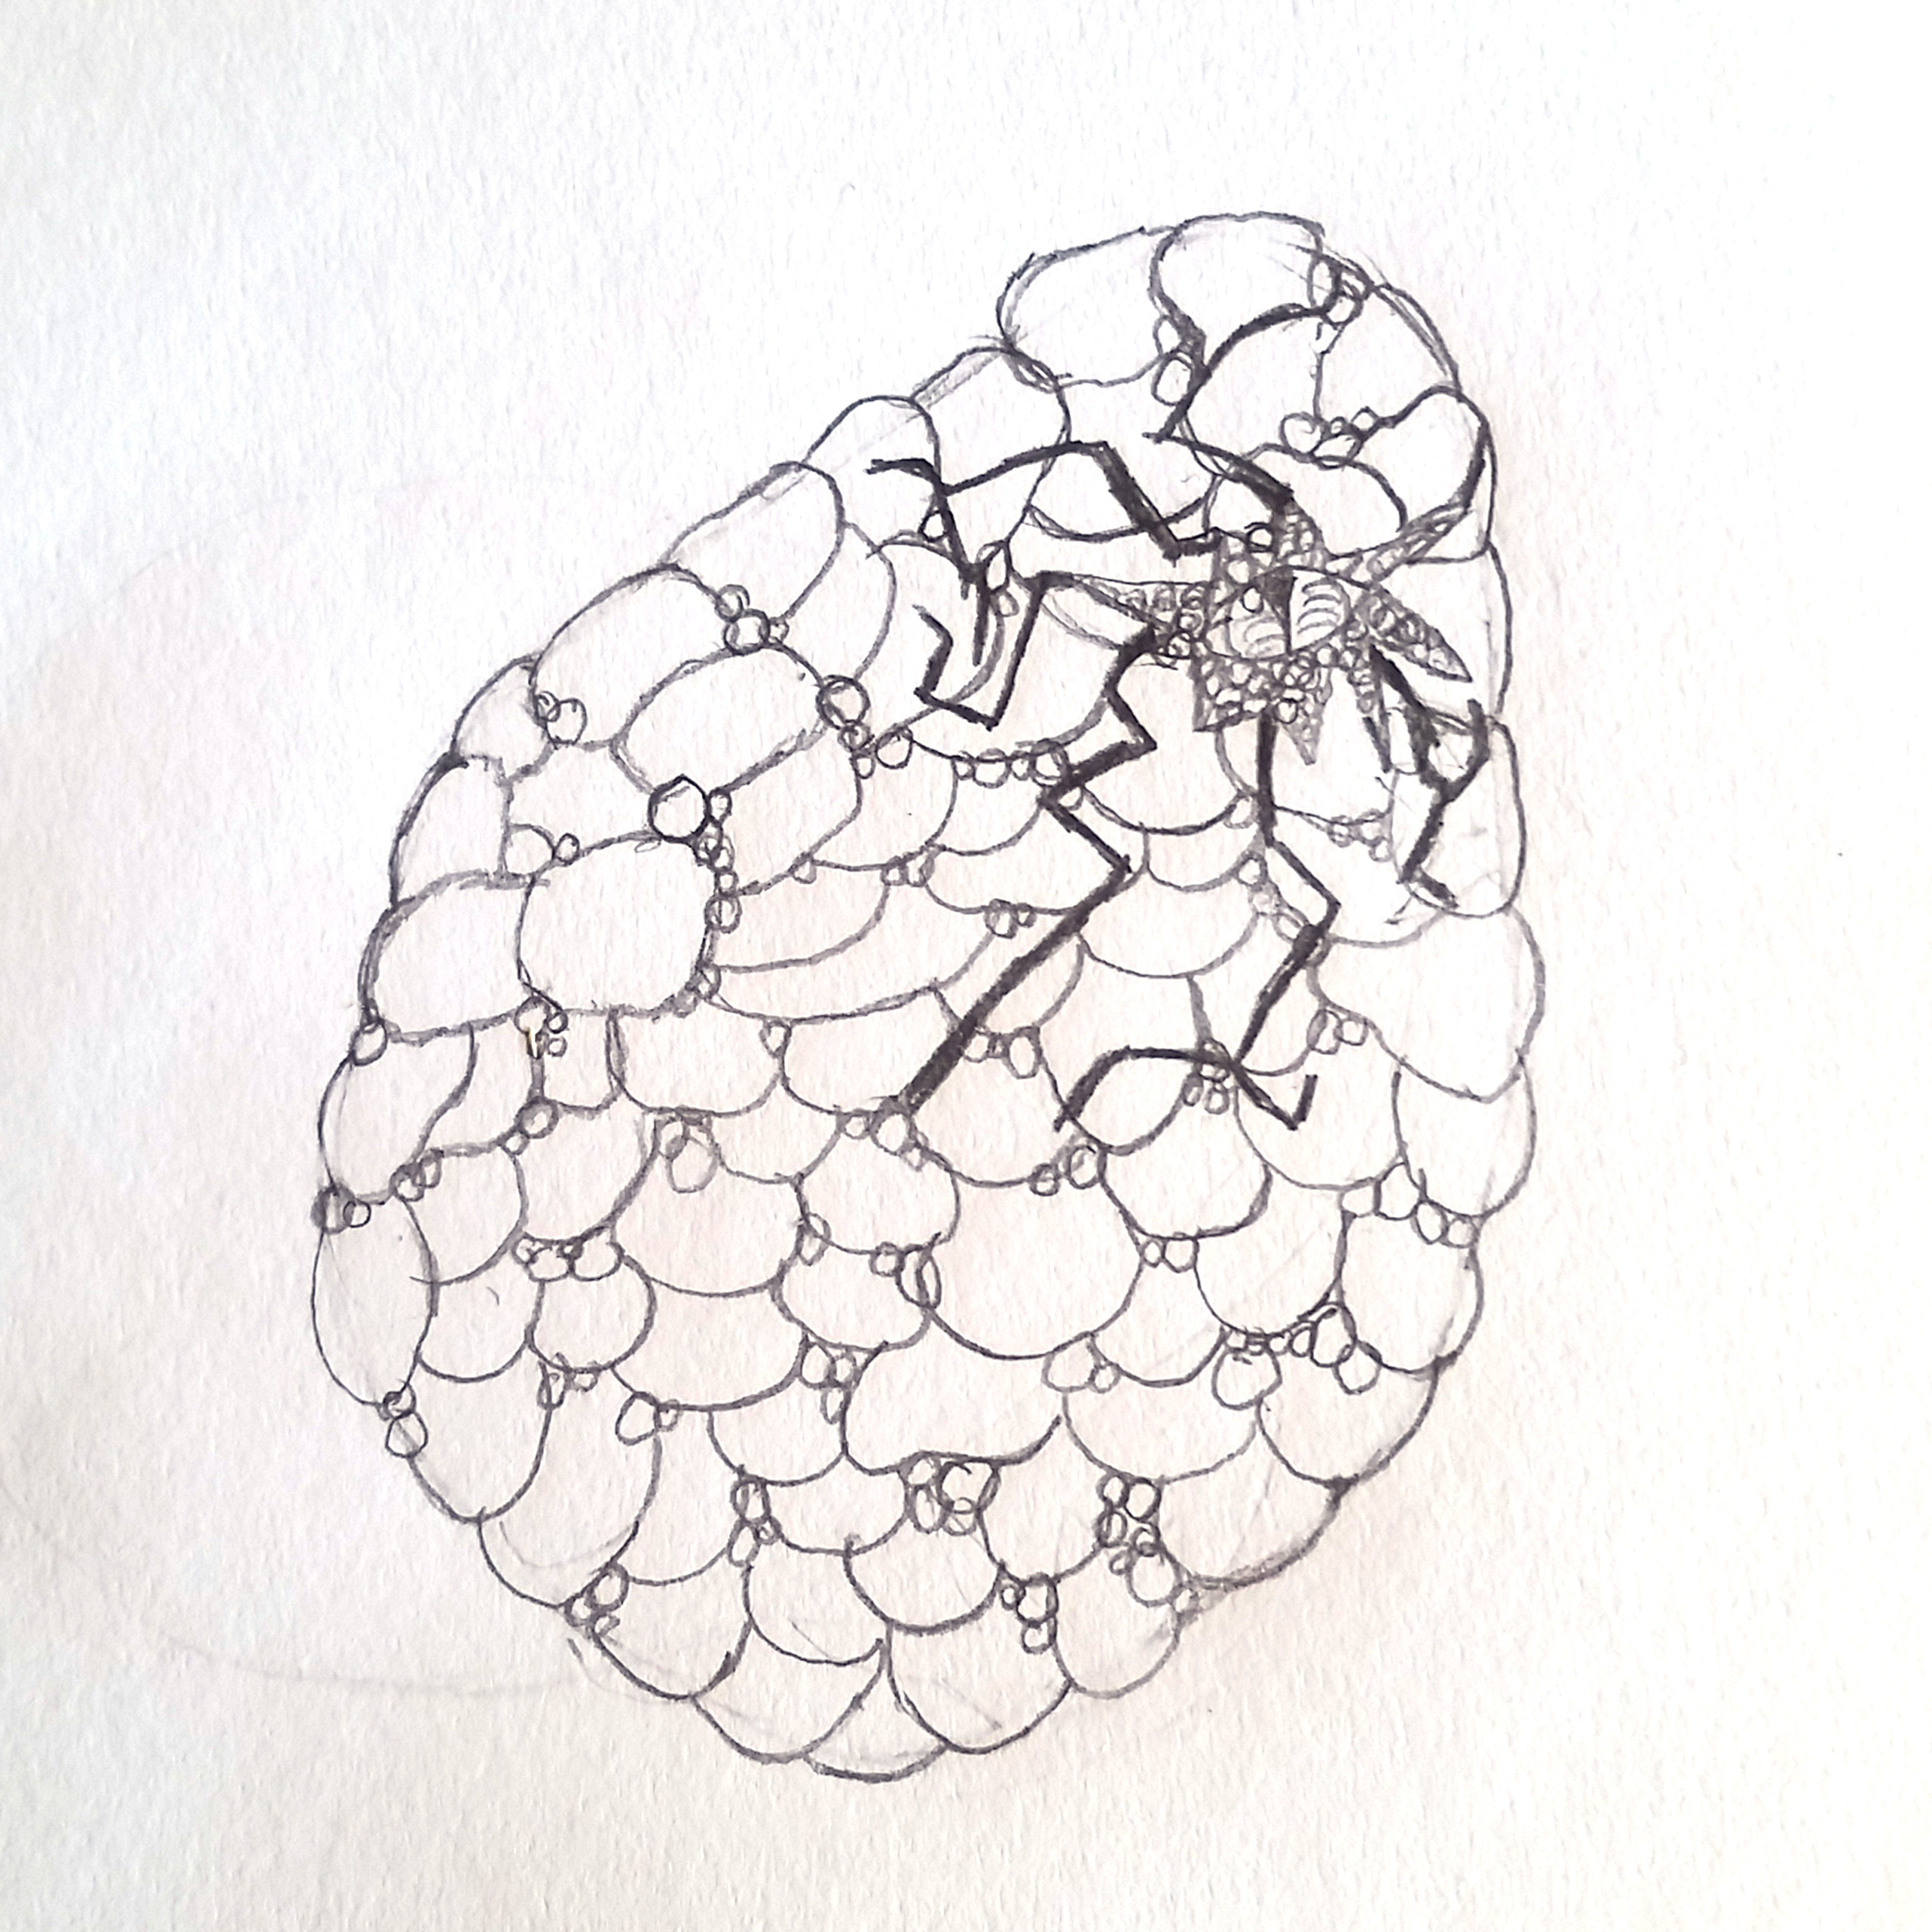
Draw the basic shape of your magical object lightly with your pencil.
Step 3
Add three to five special parts or decorations that make it magical like gems wings buttons or a glowing core.
Step 4
Draw a short line from each special part to a blank space where a label will go.
Step 5
Write a short name for each part next to its line so everyone knows what each piece is called.
Step 6
Write two to four short phrases near the drawing that explain the object’s powers.
Step 7
Add small details or textures such as sparkles cracks or patterns to make your object look real.
Step 8
Trace over your final pencil lines with a black pen or marker to make the drawing bold.
Step 9
Erase any extra pencil marks so the picture looks clean.
Step 10
Color your magical object using your colouring materials and make the colors bright and fun.
Step 11
Write a short one-paragraph origin story that explains who made the object and how its powers work.
Step 12
Give your creation a title and write your name on the page.
Step 13
Take a photo or scan your finished creation and share it on DIY.org.
Help!?
What can we use if we don't have a black pen/marker, coloring materials, or a scanner/camera?
If you don't have a black pen use a fine-tip gel pen or a dark colored pencil to trace the final lines (step 7), swap markers/crayons for colored pencils or watercolors for coloring (step 10), and use a smartphone camera or a library/print shop scanner to photograph or scan your finished creation for sharing (final step).
My pen smudged or my marker bled through the paper when tracing final lines—how can I fix or avoid this?
To prevent smudging or bleed-through when you trace over your pencil lines (step 7), test pens on scrap paper, use a fine-tip archival pen or felt-tip that won't pool, wait several minutes for ink to dry before erasing pencil marks (step 8), and put a spare sheet under your drawing while inking.
How can I adapt the activity for younger children or make it more challenging for older kids?
For younger kids, limit them to one or two special parts, use stickers for decorations, and have an adult write labels and the short origin story (steps 3–5 and step 11), while older kids can add 3–5 intricate textures, glue on small found objects for realism (step 6), and write a longer multi-paragraph origin story (step 11).
What are ways to enhance or personalize the magical object beyond the basic drawing?
Turn the glowing core into a real light by adding a tiny LED and coin cell behind the drawing (referencing special parts like a glowing core in step 3), create pop-up or movable wings before coloring (step 10), or expand the one-paragraph origin into a short illustrated comic and post step-by-step photos on DIY.org (final step).
Watch videos on how to draw a magical object and write its origin story
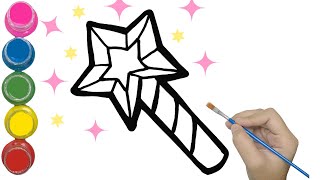
How to Draw a Magical Wand 🪄 | Easy Drawing for Kids
4 Videos
How to Draw a Magical Wand 🪄 | Easy Drawing for Kids
How to Draw a Magical Wand 🪄 | Easy Drawing for Kids
How to Draw Magic Wand Easy | Drawing and Coloring for Kids | Chiki Art | HooplaKidz How To
How to draw magic wand | Step by step| Easy drawing| Painting #100
Facts about drawing and storytelling for kids
🪄 Stories about magic go back thousands of years — many ancient myths give gods and heroes enchanted tools and objects.
🏺 Archaeologists have found amulets and talismans in ancient Egyptian tombs used to protect the dead.
🎨 Colors often carry meaning: gold for power, blue for wisdom, and green for healing — great hints when coloring your magical object!
✍️ Labeling parts like a blueprint (rune core, power conduit, handle) helps make your magical design feel real and believable.
📖 Famous magical objects that inspire origin stories include Excalibur, the One Ring, and the Philosopher's Stone.
How do I guide my child to draw a magical object, design its powers, color details, label parts, and write an origin story?
What materials do I need for a magical object drawing and origin-story activity?
What ages is this activity suitable for?
What are the benefits of drawing a magical object and writing its origin story?
