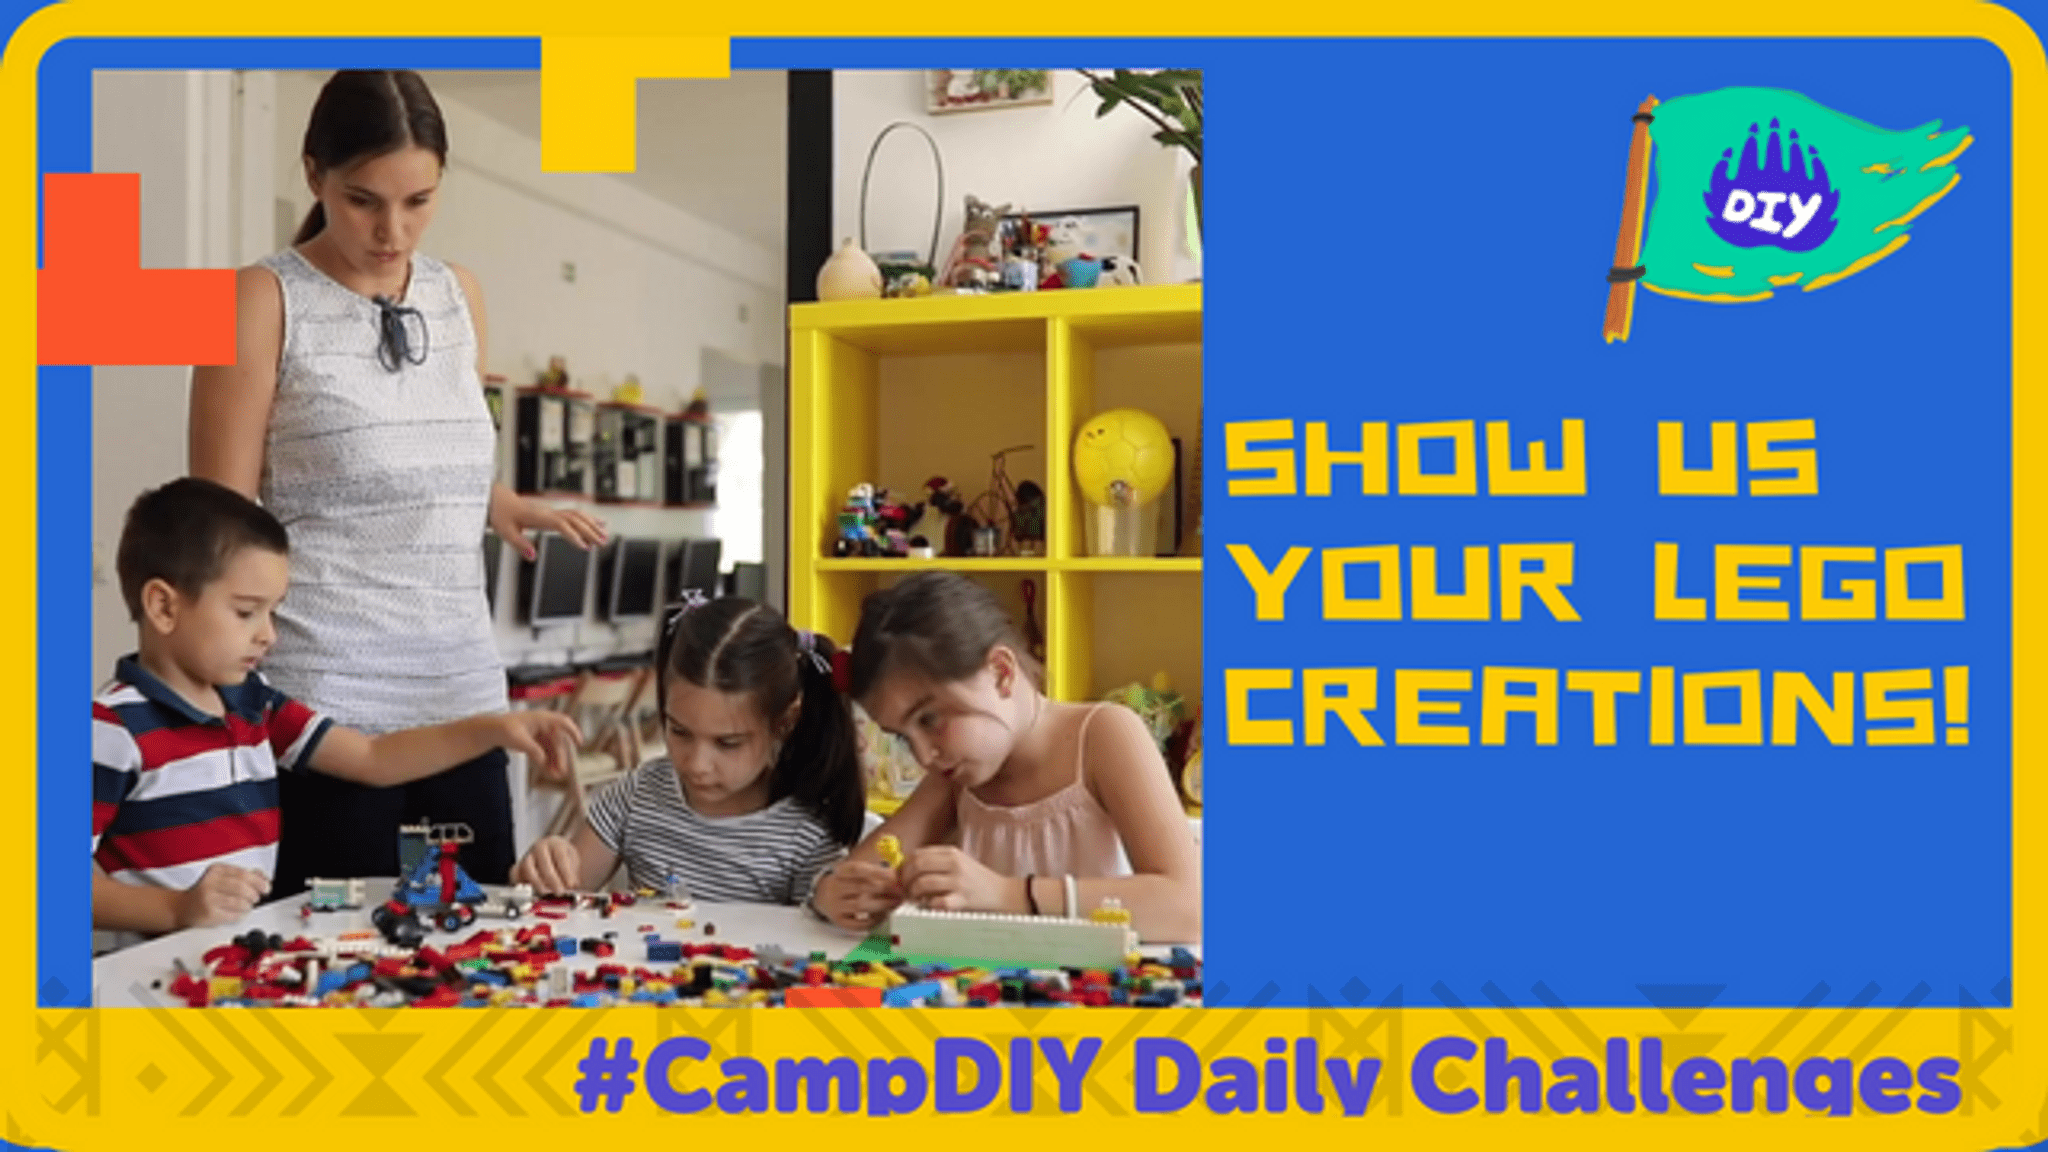
#CampDIY Day 16: Show us your Lego Creations!
Build a creative Lego model (vehicle, animal, or building), photograph or draw and share it, then explain how you designed and improved it.


Step-by-step guide to build a creative LEGO model
Sexual & Asexual Reproduction: How Animals Do It: Crash Course Biology #47
Step 1
Gather all your Lego bricks and your paper and pencil and bring them to a clear table.
Step 2
Choose what to build right now: a vehicle or an animal or a building.
Step 3
Draw a quick plan on your paper showing the main shapes and colors you want.
Step 4
Sort your bricks by size or color into small piles so they are easy to find.
Step 5
Build the main body or chassis of your model using your biggest bricks first.
Step 6
Add details like windows wheels wings or eyes to make your model unique.
Step 7
Gently test the model for wobbling or moving parts to see what needs fixing.
Step 8
Make one improvement to fix wobble or add a cool feature based on your test.
Step 9
Take a clear photo of your finished model or draw a neat picture of it on your paper.
Step 10
Write two to four short sentences explaining how you designed it and what you improved.
Step 11
Share your finished creation and your explanation on DIY.org.
Help!?
What can I use if I don't have Lego bricks, a clear table, or a camera to take the photo?
Use DUPLO or wooden/foam blocks instead of Lego bricks, clear a placemat or the floor for your workspace instead of a clear table, and use a smartphone or draw a neat picture on your paper for the photo step before sharing on DIY.org.
My model keeps wobbling—what should I try to fix it?
Reinforce the main body or chassis using your biggest bricks first (step 5), add a flat baseplate or cross‑bracing plates, then gently retest for wobbling (step 7) and shift or add weight before making one improvement (step 8).
How can I adapt this activity for younger kids or older kids?
For younger kids simplify by using large bricks, skipping a detailed plan, and helping with sorting and one improvement, while older kids can draw a precise plan with colors, add moving parts or Technic elements when building the chassis, and write a longer 2–4 sentence design explanation as in the final step.
How can we extend or personalize our Lego creation after finishing it?
After testing and improving your model, personalize it by adding stickers or paper signs from your paper and pencil plan, building a themed backdrop or diorama, creating a short stop‑motion video with your phone, or turning the build into a photographed series to share on DIY.org.
Watch videos on how to build a creative LEGO model
How Animals Give Birth or Lay Eggs | Reproduction in Animals Part 1
4 Videos
How Animals Give Birth or Lay Eggs | Reproduction in Animals Part 1
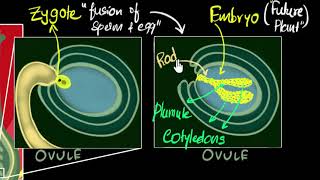
Fertilisation, zygote, embryo, germination | How do organisms reproduce | Biology | Khan Academy

Reproduction in Animals (Complete Chapter)
"How Do Organisms Reproduce? Exploring the Science of Life Continuity"
Facts about LEGO building and design
🧱 LEGO bricks made in 1958 use the same basic stud-and-tube design, so old and new bricks still snap together!
🚗 Fans build huge LEGO creations — many community models use thousands or even tens of thousands of bricks to make vehicles, animals, and buildings.
🏛️ Architects and designers often use LEGO to prototype ideas and teach spatial and structural design.
🎬 Brickfilming (making stop-motion movies with LEGO) is a popular creative hobby — people animate minifigures frame by frame!
🌿 LEGO has started making some pieces from plant-based plastics (like sugarcane) and aims for more sustainable materials by 2030.
How do I do CampDIY Day 16: Show us your Lego Creations?
What materials do I need for CampDIY Day 16 Lego activity?
What ages is the CampDIY Day 16 Lego challenge suitable for?
What are the benefits of doing the CampDIY Day 16 Lego activity?
