Create your best handmade #Bookmark
Design and decorate your own handmade bookmark using paper, markers, stickers, and ribbon; practice measuring, cutting, and creative styling for reading.

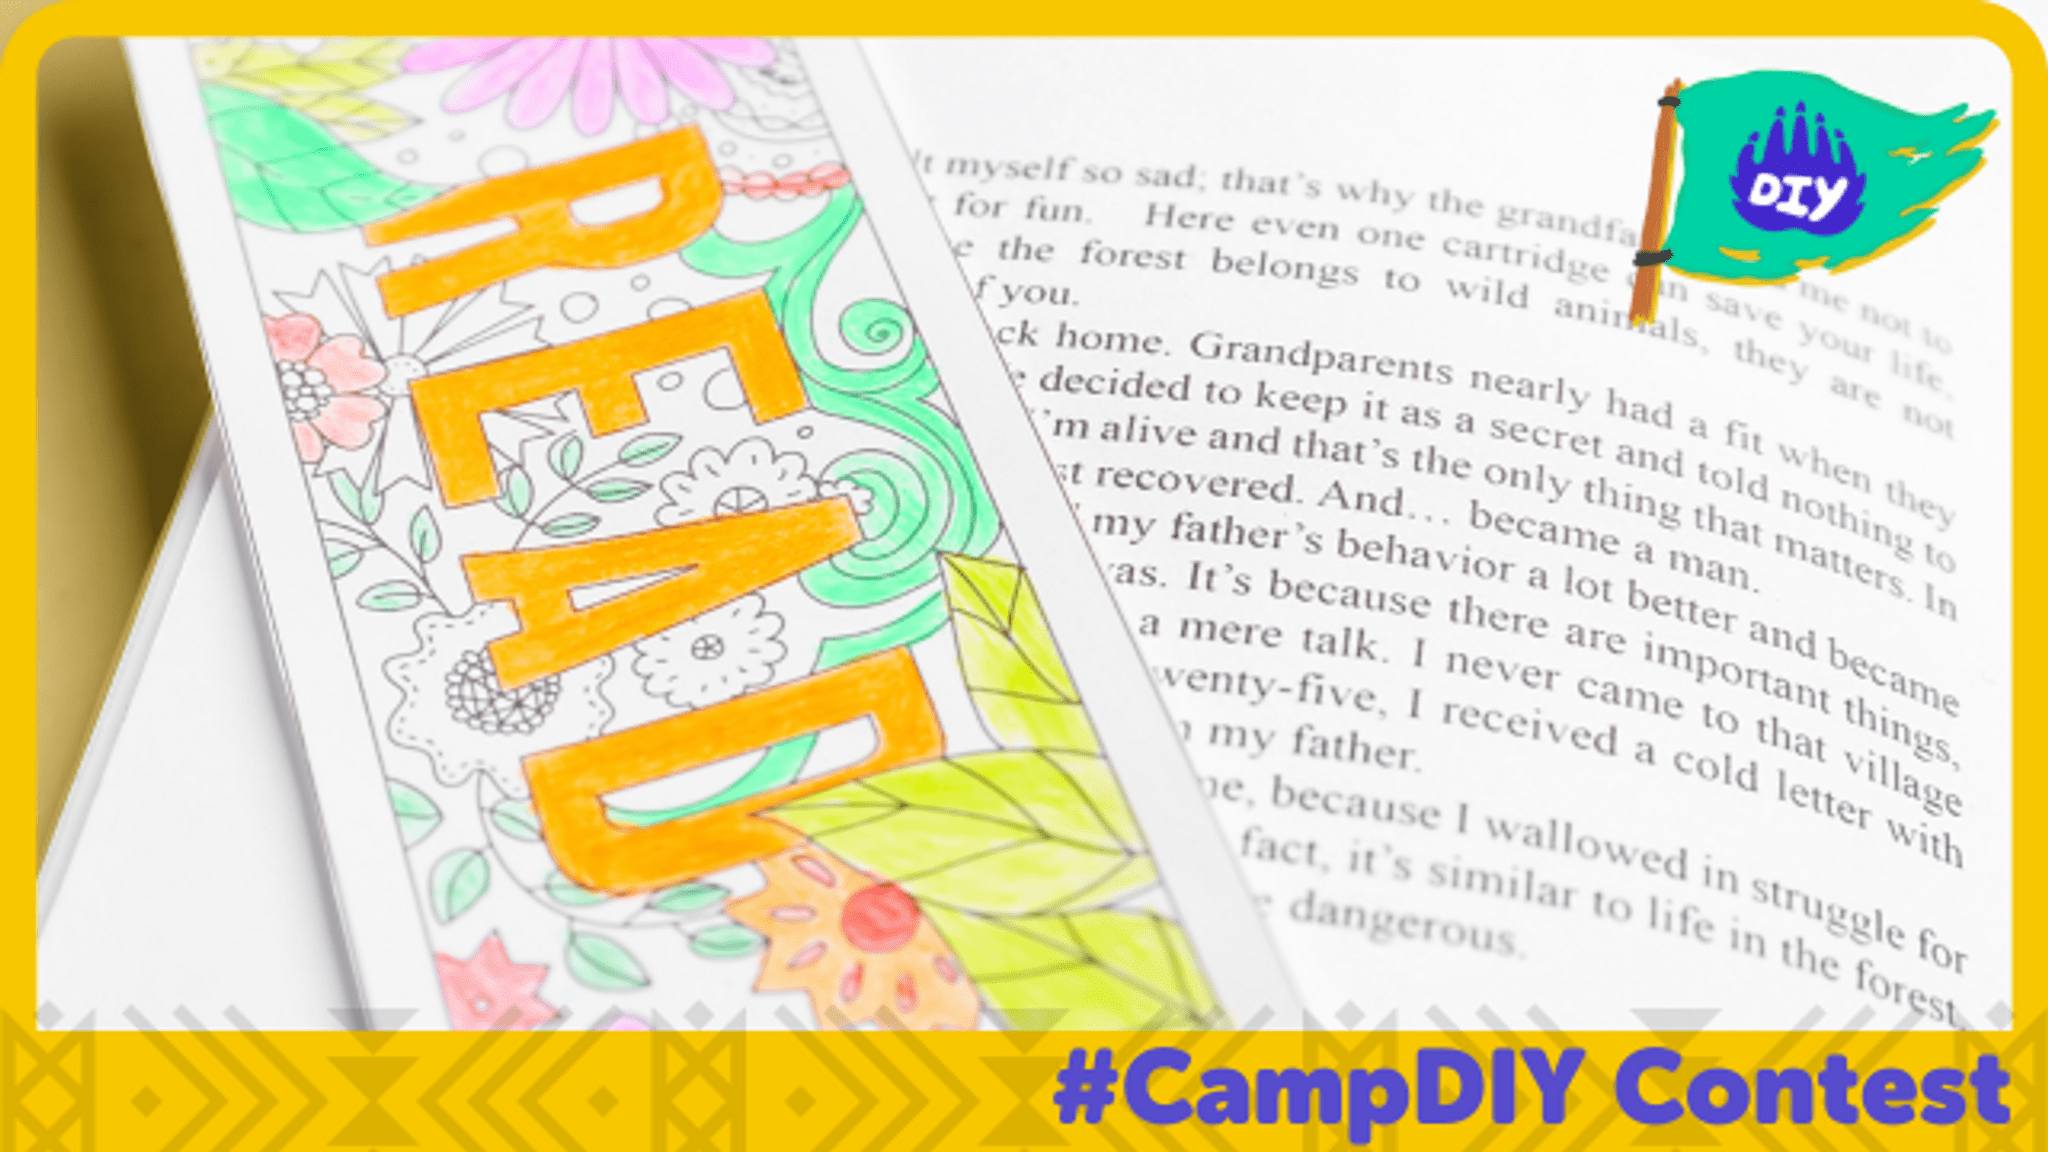

Step-by-step guide to create your own handmade bookmark
🔥 8 Best DIY Craft Ideas 2025 🎨 Handmade Gifts & Home Decor Hacks You'll Love!
Step 1
Pick one sheet of paper or cardstock in a color or pattern you love.
Step 2
Use a ruler and pencil to measure and lightly mark a rectangle 15 cm long and 5 cm wide on your paper.
Step 3
Cut out the rectangle along your pencil lines with scissors.
Step 4
Round the corners by snipping a small curve from each corner or leave them square if you prefer.
Step 5
Choose a theme or pattern for your bookmark like animals stars or stripes.
Step 6
Use your colouring materials to draw and color the front of your bookmark with your chosen design.
Step 7
Add stickers or glue small paper shapes onto the bookmark to make it extra fun.
Step 8
If you have a hole punch punch one hole about 1 cm from the top center of the bookmark; if you do not have one skip to the next step.
Step 9
If you punched a hole thread a short piece of ribbon or yarn through the hole and tie a knot to make a tassel.
Step 10
If you did not punch a hole cut a short piece of ribbon or yarn and tape or glue it to the back top edge of the bookmark.
Step 11
Take a clear photo of your finished bookmark and share it on DIY.org.
Help!?
Can I substitute other materials if I don't have cardstock or a hole punch?
If you don't have cardstock, glue two sheets of paper together or fold regular paper to make it sturdier, and use a clean toothpick or a paperclip to poke a hole about 1 cm from the top or simply tape the ribbon to the back as instructed.
My rectangle edges look uneven after cutting — how can I fix that or avoid problems when rounding corners or punching the hole?
To avoid uneven cuts and ripping when rounding corners or punching, re-measure with the ruler and lightly redraw straight pencil lines before cutting, trim edges against the ruler, and reinforce the punched area with a small piece of tape before threading ribbon.
How can I adapt this bookmark activity for younger or older kids?
For younger kids, have an adult pre-measure and cut the 15 cm × 5 cm rectangles and pre-punch the hole so they can color and stick shapes safely, while older kids can design more detailed themes, use ruler-measured patterns, and create tassels from multiple yarn strands.
What are some ways to enhance or personalize the finished bookmark before I take the photo to share on DIY.org?
Enhance your finished bookmark by adding glitter glue or a name with permanent marker, laminating the 15×5 cm rectangle for durability, or threading a bead onto the ribbon/yarn tassel for extra flair before taking a clear photo.
Watch videos on how to create your own handmade bookmark
Top 10 DIY Craft Ideas 2025 ✨ Handmade Gifts & Stunning Home Decor You Must Try!
4 Videos

Top 10 DIY Craft Ideas 2025 ✨ Handmade Gifts & Stunning Home Decor You Must Try!
Top 10 Handmade Craft Ideas ✂️ Stunning DIY Gifts & Home Decor 2025
8 Fun DIY Craft Ideas for 2025 ✨ Easy Handmade Gifts & Home Decor You'll Love!
The Best Handmade Craft Loved in America & Europe ✨ #diy
Facts about paper crafts for kids
📚 Bookmarks have been used since medieval times to mark your place without folding pages.
✂️ A common bookmark size is about 2 in × 6 in (5 × 15 cm) — a perfect measuring practice for kids.
🎨 With markers, stickers, and ribbon you can make dozens of unique bookmark styles from simple to sparkly.
📏 Tracing with a ruler and scoring with a blunt edge helps kids cut straighter, cleaner lines every time.
🎀 Adding a ribbon or tassel makes a bookmark easier to spot in a thick book and adds playful flair.
How do I make a handmade bookmark for kids?
What materials do I need to make a paper bookmark?
What ages is making a handmade bookmark suitable for?
What are the benefits of making a handmade bookmark?
