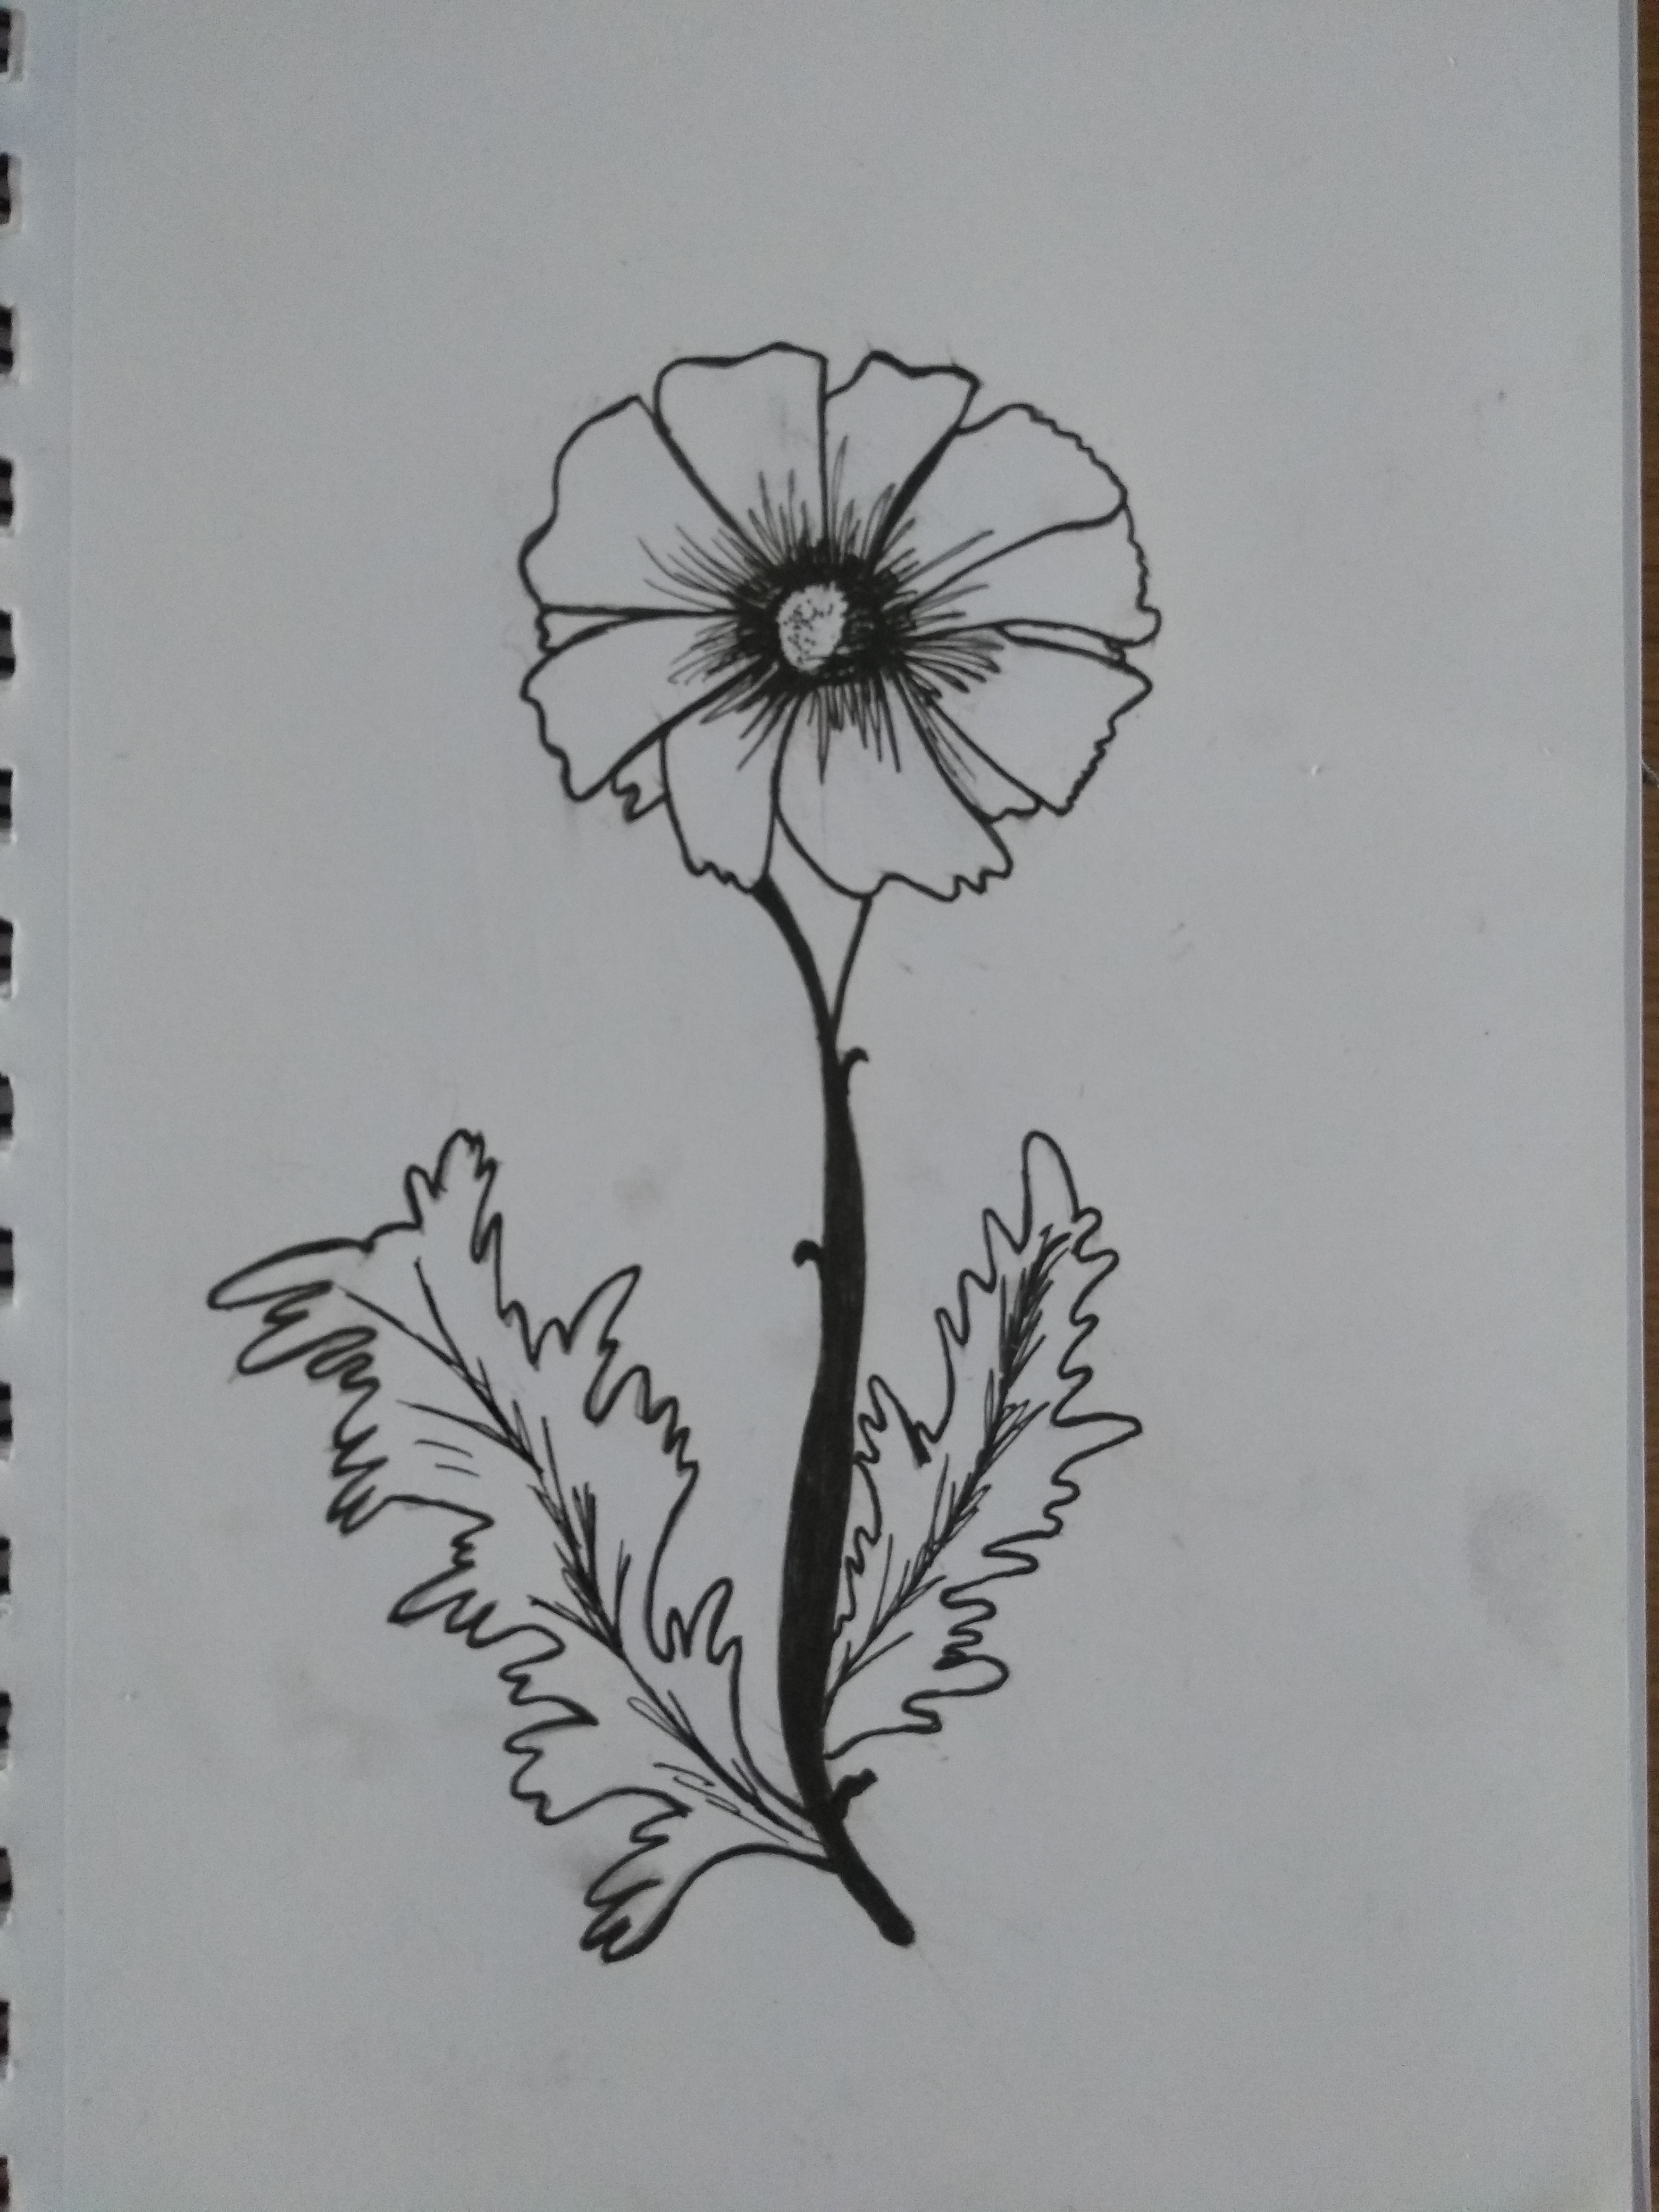
Draw a flower
Draw a flower using pencil and colored pencils on paper, practice sketching petal shapes, symmetry, and shading to create a realistic blossom.

Drawing Apps
Step-by-step guide to draw a flower
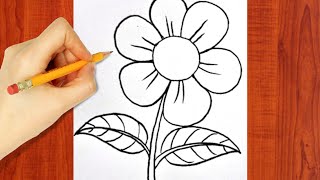
Step 1
Lay your paper flat on the table so you have lots of space to draw.
Step 2
Place your pencil and colored pencils next to the paper so they are easy to reach.
Step 3
Lightly draw a small circle in the middle of the paper for the flower center.
Step 4
Draw a faint cross through the center to create vertical and horizontal guide lines for symmetry.
Step 5
Mark four small points between the cross lines around the circle to show where petals will go.
Step 6
Lightly sketch one petal shape between two marks using a smooth curved line.
Step 7
Copy that same petal shape at each marked spot so the petals are even and balanced.
Step 8
Add a second row of smaller petals behind the first by sketching petals between the outer ones.
Step 9
Refine each petal outline with smoother lines to make them look neat and natural.
Step 10
Erase extra guideline marks inside and around the petals to clean up the drawing.
Step 11
Draw gentle veins on each petal with short thin lines that radiate outward from the base.
Step 12
Decide where the light comes from and add soft pencil shading near the petal bases and on the shaded sides.
Step 13
Color the petals with a light base layer of colored pencil following the shading direction.
Step 14
Add darker colored pencil to the shadowed areas and blend the colors gently with a tissue or cotton swab for smooth gradients.
Step 15
Share your finished flower drawing on DIY.org.
Help!?
What can I use if I don't have colored pencils or a tissue/cotton swab for blending?
If you don't have colored pencils you can use crayons, markers, or watercolor pencils to color the petals, and if you don't have a tissue or cotton swab for blending use a fingertip, a Q‑tip, or a folded paper towel to smooth the color gradients.
My petals look uneven—what should I do to make them balanced like the instructions say?
Keep your lines light while sketching, use the faint cross and the four marked points as placement guides, erase and adjust any single petal before you refine the outlines so all petals match.
How can I adapt this flower drawing for different ages?
For younger kids simplify by using larger paper, a pre-drawn center and guide lines, and crayons for coloring, while older children can add the second row of smaller petals, draw veins, and practice layered colored-pencil shading with a tissue for blending.
How can we make the activity more creative or challenging once we finish the basic flower?
Extend the activity by drawing additional flowers using the same cross-and-point method to make a bouquet, experiment with watercolor washes before adding colored-pencil shading for texture, or create a patterned background and then share the finished drawing on DIY.org.
Watch videos on how to draw a flower
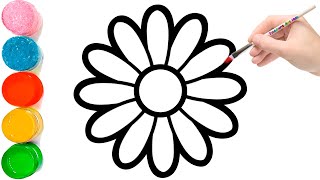
How to Draw Flowers Easy Step by Step | How to Draw a Cute Flower Easy for Kids and Toddlers
4 Videos
How to Draw Flowers Easy Step by Step | How to Draw a Cute Flower Easy for Kids and Toddlers
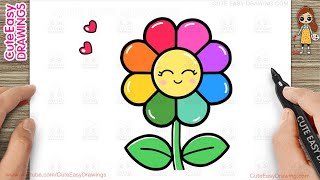
How to Draw a Cute Rainbow Flower Simple & Easy for Kids
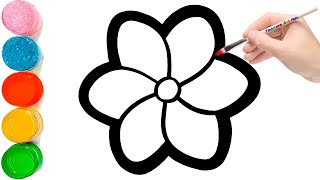
Flower Drawing | How to Draw a Flower Step by Step | Easy Drawing
Very Easy Flower Drawing - How to Draw Flowers - Simple Drawings Step by Step
Facts about drawing and sketching for kids
🌸 Many flowers show symmetry—some are radially symmetric like daisies, others bilaterally symmetric like orchids.
✏️ Artists usually start with light construction lines to map petal shapes and proportions before darkening the final sketch.
🎨 Colored pencils can be layered and burnished to create smooth blends and rich colors without paint.
🌼 Petals come in lots of shapes—tubular, lobed, spoon-shaped, fringed—so studying real flowers gives great reference variety.
🧭 Botanical illustrators combine art and science: a single accurate drawing can help scientists identify a plant species.
How do I guide my child to draw a realistic flower with pencil and colored pencils?
What materials do I need to draw a flower with pencil and colored pencils?
What ages is this flower drawing activity suitable for?
What are the benefits of drawing flowers for kids?
