Capcut Editing w/ DIY Star ItsPotter
Make a DIY glitter star prop called ItsPotter and learn simple CapCut editing to add effects, music, and transitions for a short creative video.

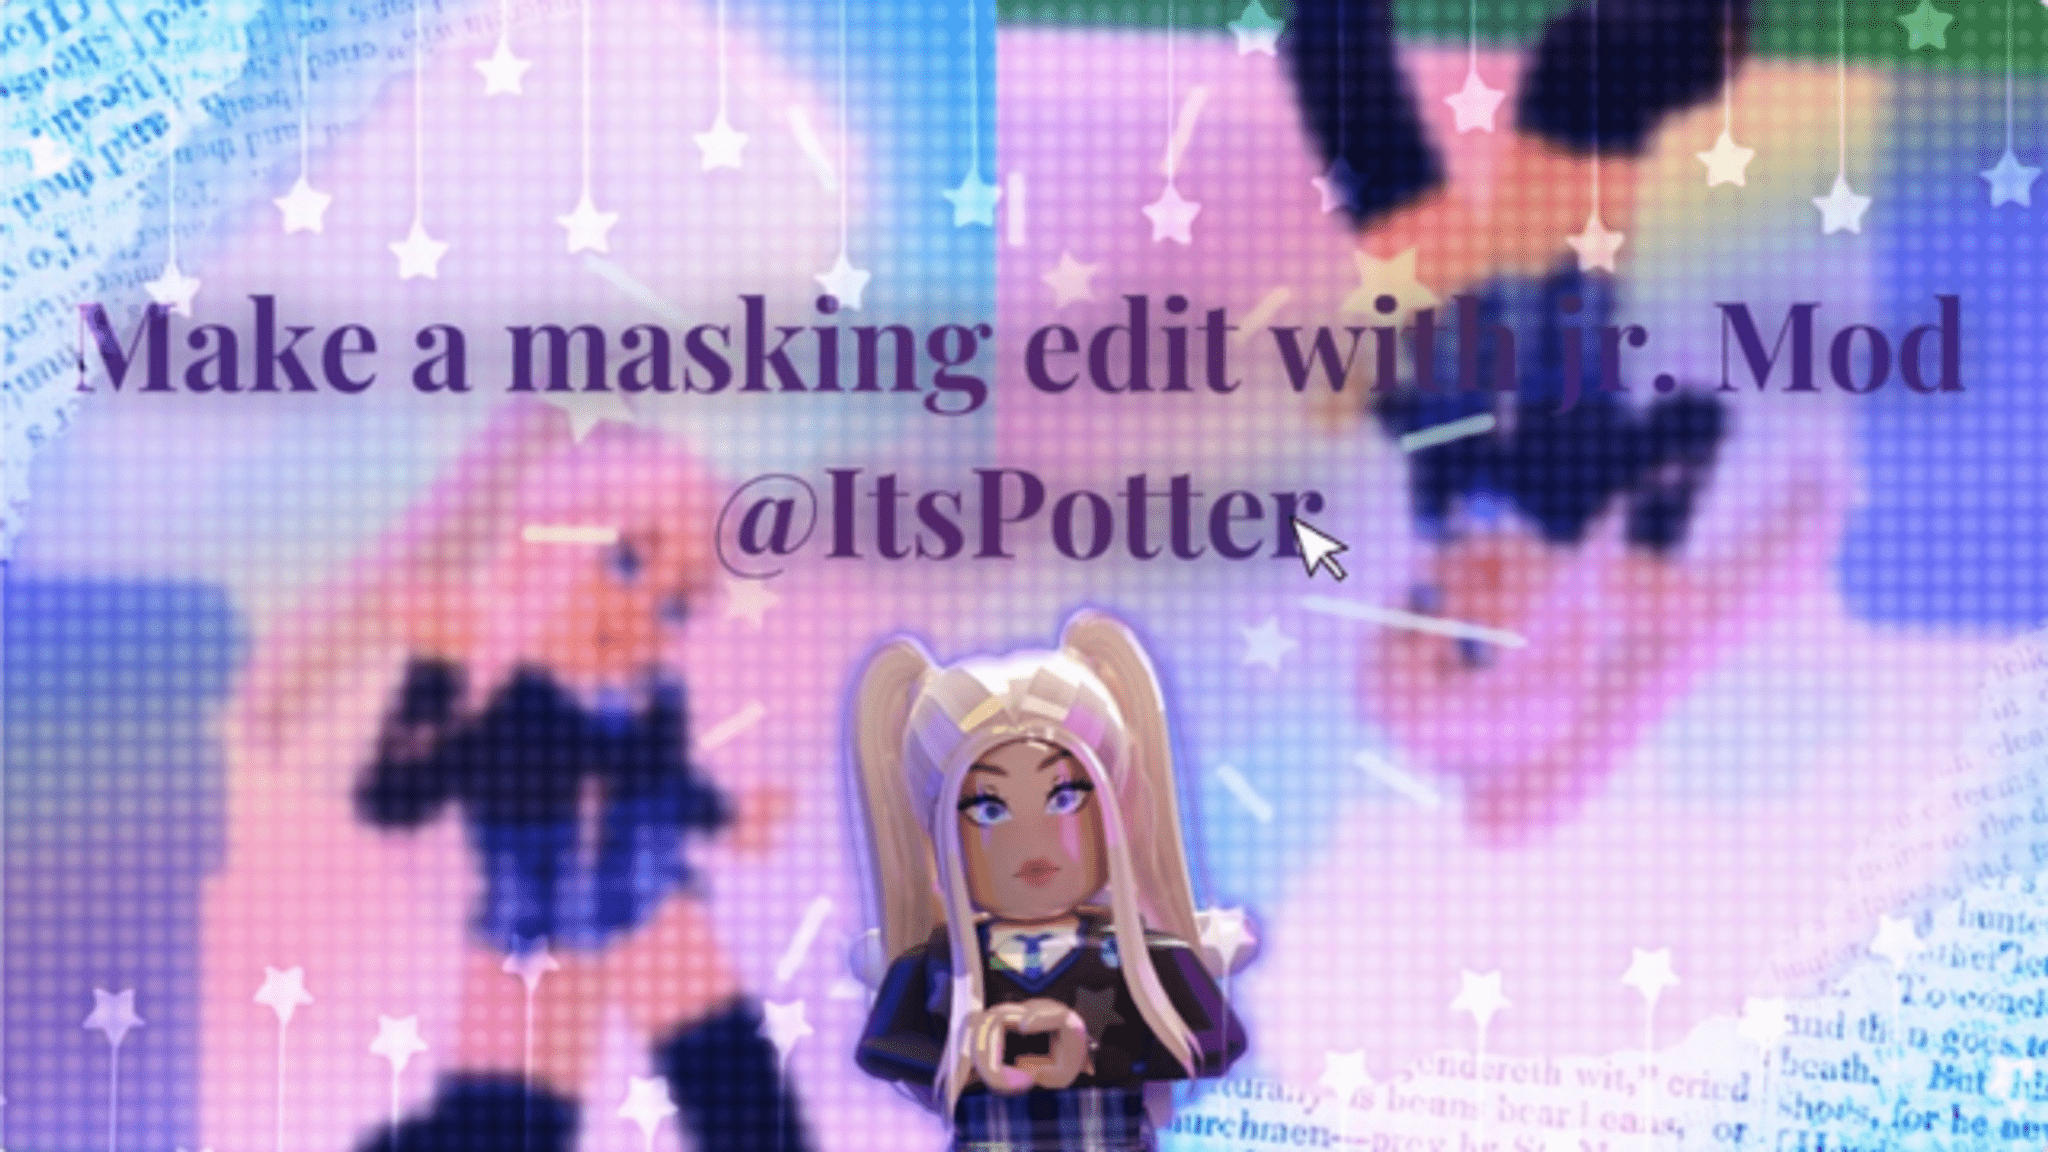
Step-by-step guide to CapCut editing with DIY glitter star ItsPotter
CapCut App Video Editing Tutorial - FOR BEGINNERS
Step 1
Lay scrap paper on a table and clear a flat workspace to protect surfaces.
Step 2
Use a pencil to draw a big star shape on the cardboard.
Step 3
Cut out the star carefully along the pencil lines with scissors.
Step 4
Spread a thin even layer of glue over the front of the star.
Step 5
Sprinkle glitter all over the glued star while holding it over the scrap paper.
Step 6
Gently tap the scrap paper so extra glitter falls off.
Step 7
Let the glued star dry completely for about 10 to 20 minutes.
Step 8
Flip the star and tape or glue the craft stick to the back center to make a handle.
Step 9
Add colors or patterns to the star with markers or paint for extra sparkle.
Step 10
Put up a plain background and position a lamp so your face and the star are well lit.
Step 11
Pick three short magical moves to do with the star and practice them a couple times.
Step 12
Record three separate short clips of 3 to 6 seconds each performing one move per clip.
Step 13
Open CapCut and import the three recorded clips into a new project.
Step 14
Trim each clip to the best moment then add transitions and a sparkle visual effect between clips.
Step 15
Add a music track adjust its volume export your final video and share your finished creation on DIY.org
Help!?
What can I use if I don't have cardboard, a craft stick, or loose glitter?
Use a cereal or pizza box for the cardboard to draw and cut the star, a wooden spoon or sturdy straw taped to the back instead of a craft stick, and substitute glitter with glitter glue or sparkly confetti when you spread glue and sprinkle over the star.
My glitter keeps falling off or the star looks patchy after drying—what should I do?
After you 'Spread a thin even layer of glue over the front of the star,' press the glitter into the glue gently, let the star dry longer than 10–20 minutes, then seal with clear-drying glue or a spray sealant so the glitter doesn't fall off when you tap the scrap paper.
How can I adapt this project for different ages during cutting, decorating, and filming?
For younger kids have an adult 'Cut out the star' and use glue sticks or glitter glue for decorating, for school-age kids let them cut and tape the craft stick themselves, and for teens add more advanced CapCut steps like trimming clips precisely and adding multiple 'sparkle visual effect' layers.
What are some easy ways to make the finished video and star more special or unique?
Personalize by painting patterns on the star with glow-in-the-dark or metallic markers, attach a small LED behind the star for lighting, record clips on a tripod for steady shots, and in CapCut add custom transitions, a voiceover, or adjust music volume before you export and share your creation on DIY.org.
Watch videos on how to CapCut edit and make a DIY glitter star ItsPotter
A Full Tutorial on How To Edit Your Videos in the CapCut Desktop App | CapCut 101 | CapCut
4 Videos
A Full Tutorial on How To Edit Your Videos in the CapCut Desktop App | CapCut 101 | CapCut

Edit PRO Youtube Videos in Capcut | In Depth Tutorial

LEARN CAPCUT IN 15 MINUTES // COMPLETE MOBILE VIDEO EDITING TUTORIAL FOR BEGINNERS!
🎬 10 CapCut Video Editing Tips You NEED to Know!
Facts about video editing and DIY craft props
🎬 CapCut is a popular video-editing app from ByteDance made for quick, vertical clips perfect for social platforms.
✨ Glitter was first mass-produced from ground glass and today tiny plastic pieces give us the same dazzling sparkle.
🎵 Adding a catchy 5–15 second music loop to a short video can make it feel more polished and memorable.
✂️ Simple transitions like cuts, crossfades, and zooms are often all you need to make your DIY prop look cinematic.
⭐ A glitter-covered star prop reflects light in many directions, so it naturally 'twinkles' on camera without extra effects.
How do I make a DIY glitter star ItsPotter and edit a short video in CapCut?
What materials do I need to make the ItsPotter glitter star prop and use CapCut?
What ages is CapCut editing with a DIY ItsPotter star suitable for?
What safety tips should parents follow when kids make the ItsPotter star and edit in CapCut?
