Draw a hat
Draw different hat styles using pencil and color, practice proportion, shading, and patterns, then decorate and display your finished hat drawings.

Drawing Apps
Step-by-step guide to draw different hat styles
How to Draw Hat Step by Step Learn Drawing Hat Easy and Simple for Kids
Step 1
Gather all your materials and place them on a clean flat surface.
Step 2
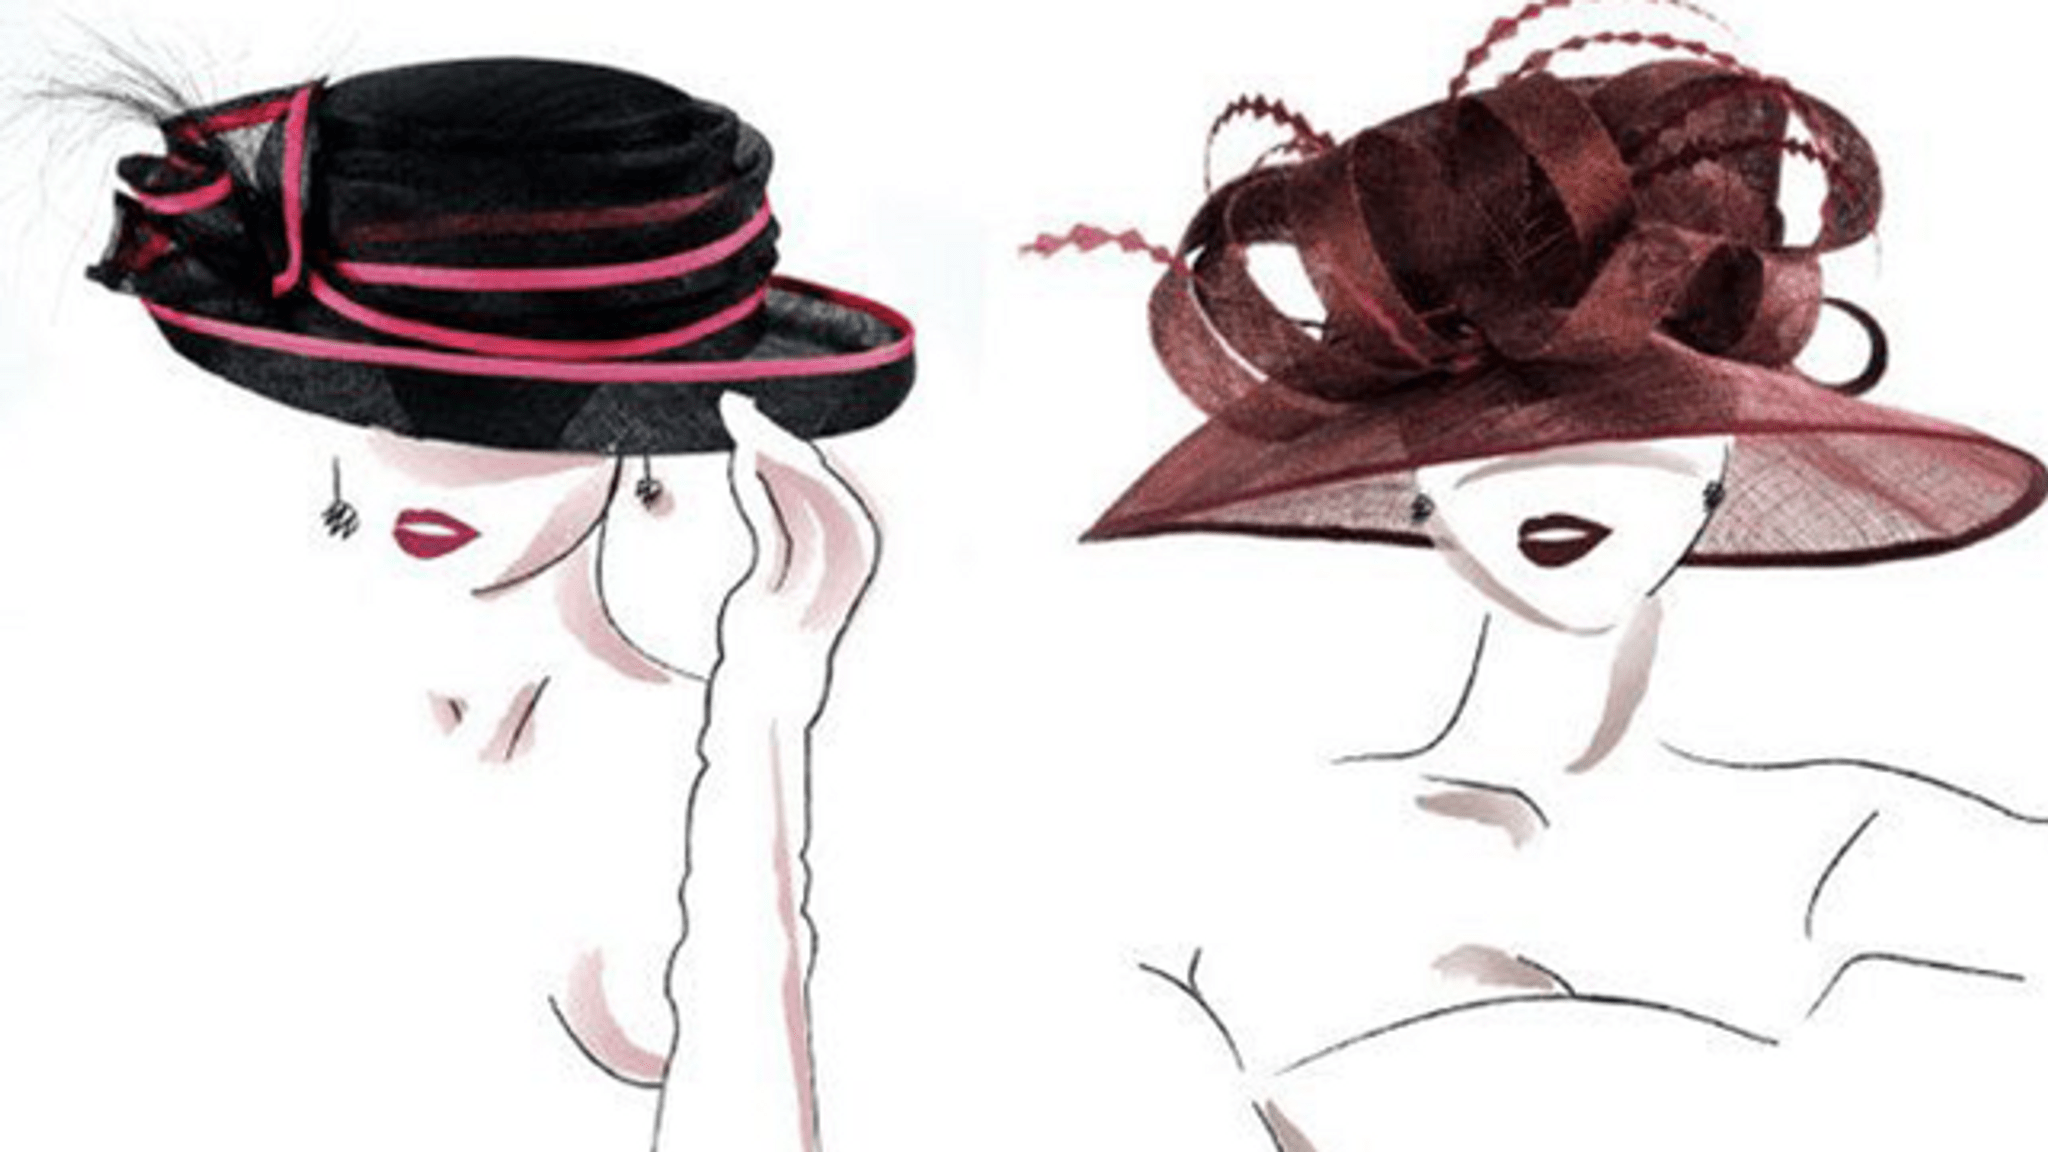
Choose three different hat styles you want to draw.
Step 3
Pick a real hat or a picture to use as a reference for shapes and details.
Step 4
Lightly sketch the basic shape of each hat to map their proportions.
Step 5
Refine the outline of your first hat by darkening the main lines you want to keep.
Step 6
Refine the outline of your second hat by darkening the main lines you want to keep.
Step 7
Refine the outline of your third hat by darkening the main lines you want to keep.
Step 8
Add shading to each hat to show where light and shadow fall.
Step 9
Add patterns and textures to each hat like stripes polka dots or woven lines.
Step 10
Color each hat using your coloring materials to bring them to life.
Step 11
Add stickers or decorations to any hat you want to make extra special.
Step 12
Sign and date your drawings in a small corner to finish them.
Step 13
Share your finished hat drawings on DIY.org.
Help!?
What can I use if I don't have the exact coloring materials or a real hat for reference?
If you don't have markers or a real hat, use crayons, colored pencils, or watercolors to 'Color each hat' and substitute a printed photo, magazine cutout, or a household bowl as the 'Pick a real hat or a picture' reference.
My sketches look wrong when I try to refine the outlines—how can I fix that?
If proportions look off after 'Lightly sketch the basic shape', hold your pencil at arm's length to measure key widths against your reference and correct the light sketch before you 'Refine the outline' and darken the main lines.
How can I change the steps to suit different ages?
For preschoolers simplify to one bold hat with stickers and crayons and skip detailed 'Add shading', for elementary use two hats with light pencil sketches, simple textures and 'Color each hat', and for older kids complete all three styles with careful 'Add shading', textures, and layered coloring techniques.
What are some fun ways to enhance or personalize the hat drawings after coloring?
To extend the activity, glue fabric scraps or ribbon from 'Add stickers or decorations' onto a colored hat, cut and fold one drawing into a wearable paper hat, then 'Sign and date' it and 'Share your finished hat drawings on DIY.org'.
Watch videos on how to draw different hat styles
How to Draw a Hat - Easy Step-by-Step Tutorial for Kids & Beginners
4 Videos

How to Draw a Hat - Easy Step-by-Step Tutorial for Kids & Beginners

Learn to Draw a Hat in 5 Minutes! 🎨✏️ (Beginner-Friendly)
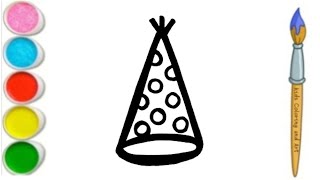
How to draw an easy Party hat step by step for kids beginners and toddlers @Kidscolouringandart
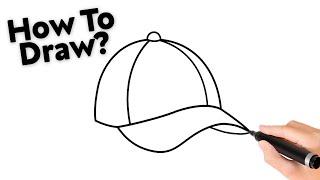
How To Draw a Hat Step by Step - SO EASY
Facts about drawing and sketching
🎩 Hats have been worn for thousands of years — ancient civilizations used head coverings for status, protection, and decoration.
✏️ Artists use simple proportion rules (like measuring the head in equal parts) to help hats sit naturally on a drawn head.
🎨 Adding highlights and shadows to a hat can turn a flat drawing into a believable 3D shape almost instantly.
🧵 Millinery is the art of hat-making — traditional milliners shape hats on a block and add trims like ribbons and feathers.
🖼️ Iconic hat styles include the fedora, the bowler, and the beret — each tells a different story about fashion and history.
How do I teach my child to draw different hat styles step by step?
What materials do I need to draw and decorate hat designs?
What ages is the hat drawing activity suitable for?
What are the benefits and fun variations of drawing different hat styles?
