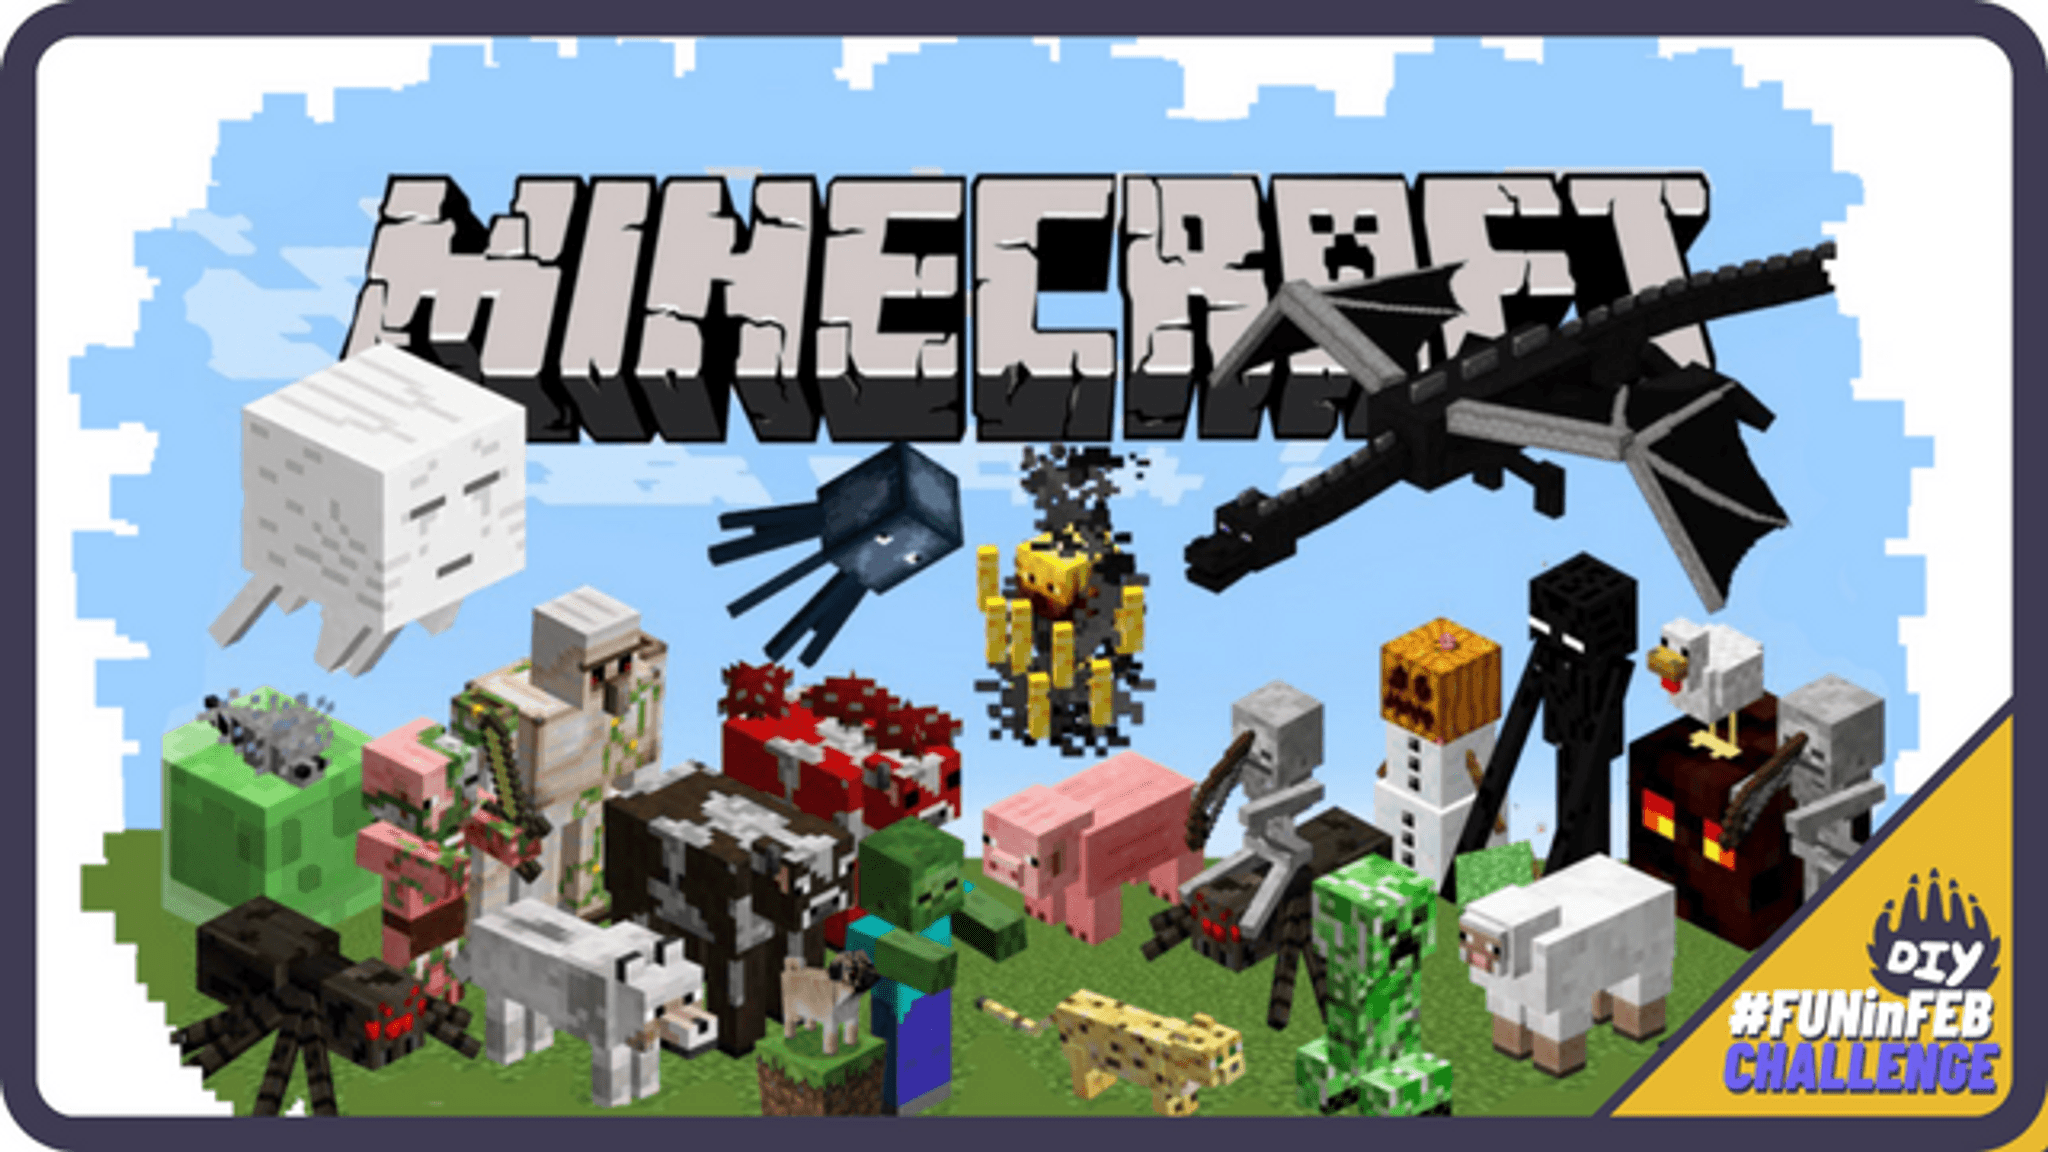
Draw your Fav Minecraft Character w/ Mdobby16
Join Mdobby16 to draw your favorite Minecraft character using blocky pixels, simple shapes, coloring, and step by step tips to practice proportion and creativity.

Drawing Apps
Step-by-step guide to draw your Fav Minecraft Character w/ Mdobby16
How to Draw a Minecraft Character
Step 1
Pick your favorite Minecraft character and place a picture of them where you can see it.
Step 2
Join Mdobby16 to draw together and listen for fun tips about blocky pixels and shape ideas.
Step 3
Put your paper on a flat surface and make sure your pencil eraser and ruler are ready.
Step 4
Use your ruler to draw a light grid of equal squares across the paper with a pencil.
Step 5
Count squares and lightly mark where the character’s head will sit on the grid using square blocks.
Step 6
Draw the body using stacked squares so it looks blocky and Minecraft style.
Step 7
Add arms and legs as columns of squares that match the body size on the grid.
Step 8
Draw the face and clothing details using small square shapes inside the head and body blocks.
Step 9
Look at your reference picture and erase or redraw any blocks that seem out of proportion.
Step 10
Trace the final blocky outline with a black marker to make the pixels pop.
Step 11
Erase the pencil grid lines once the marker is dry so only the bold blocks remain.
Step 12
Color each square to match your character or invent new colors while staying inside the squares.
Step 13
Add a simple blocky background or a prop like a sword using big square shapes.
Step 14
Share your finished creation on DIY.org
Help!?
What can I use if I don't have a ruler, black marker, or special paper for this Minecraft drawing activity?
Use a straight edge like a book spine or a cardboard strip to draw the light grid in step 4, a fine-tip permanent pen or dark crayon to trace the final outline in step 10, and any plain paper or the back of a cereal box as your drawing surface in step 3.
My character looks out of proportion after I draw the blocky squares—how can I fix it?
If proportions look off after steps 5–7, lightly erase the affected blocks, recount squares against your grid marks from step 4, and redraw or overlay graph paper to realign features before retracing with the marker in step 10.
How can I adapt this activity for younger or older children?
For younger kids use a larger, simpler grid with pre-drawn head and body blocks for coloring in steps 4–6, while older kids can use a denser grid for finer pixel detail and add detailed clothing pixels and shading in steps 8–11.
How can we extend or personalize the finished Minecraft character drawing?
After coloring in step 11, add craft foam squares or stickers for a textured 3D pixel effect, build a cardboard blocky background or prop like a sword in step 12, and photograph the result for sharing on DIY.org in step 13.
Watch videos on how to draw your Fav Minecraft Character w/ Mdobby16
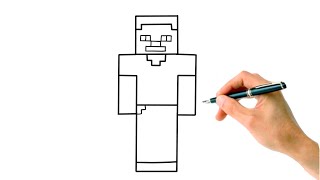
How To Draw Minecraft Characters Easy Step By Step Steve | Minecraft Drawing
4 Videos
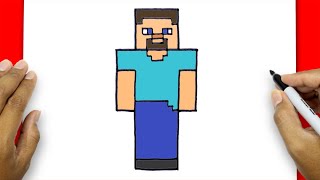
How To Draw Minecraft Characters Easy Step By Step Steve | Minecraft Drawing
How to draw Steve from Minecraft ✏️ Step by step tutorial 💜 | Small Artists
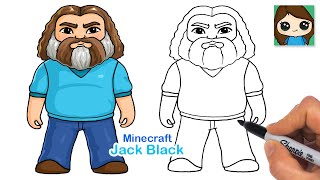
How to Draw Steve from Minecraft | Jack Black

How to Draw 5 Minecraft Characters | Drawing Videos for Kids and Teachers
Facts about pixel art and drawing for kids
🎮 Minecraft is one of the best-selling video games of all time — kids everywhere love its blocky style.
🧱 The whole Minecraft world is made of cubes, so characters are perfect for practicing blocky, pixel-style drawing.
🎨 Pixel art uses a square grid — Minecraft skins commonly use a 64×64 pixel canvas you can color like tiny tiles.
✏️ A great drawing trick: block out characters with simple rectangles and squares first to get proportions right.
🌈 Limiting your palette to 3–5 colors makes blocky characters look cleaner and helps your designs pop.
How do I draw my favorite Minecraft character with Mdobby16 step by step?
What materials do I need to draw my favorite Minecraft character with Mdobby16?
What ages is the 'Draw your Fav Minecraft Character w/ Mdobby16' activity suitable for?
What are the benefits and safe variations of drawing Minecraft characters with Mdobby16?
