Recreate your Fav Movie Poster!
Design and recreate your favorite movie poster using paper, markers, costumes, and props; plan layout, measure proportions, photograph the final poster for display.


Step-by-step guide to recreate your favorite movie poster
Create a Google Slides Movie Poster with Spinners | Easy Template for 3rd Grade Tech Lesson
Step 1
Pick your favorite movie and find one poster image to copy or use as inspiration.
Step 2
Clear a flat workspace and lay your paper or poster board down so you can work comfortably.
Step 3
Use the ruler to mark the poster edges and draw light margin lines to plan your space.
Step 4
Sketch big shapes for the main characters and objects in pencil to plan the layout.
Step 5
Measure and mark where the main image and the title will go so your proportions stay balanced.
Step 6
Draw the characters and important details in pencil following your marks and shapes.
Step 7
Pencil in the movie title and any text using the marked space for size and placement.
Step 8
Trace the important lines and letters with the black marker to make them stand out.
Step 9
Color your poster using the coloring materials to match the look of the original or your own style.
Step 10
Attach costume pieces and small props to the poster with tape or glue to add texture and fun details.
Step 11
Photograph your finished poster in a well-lit spot so the colors and details show clearly.
Step 12
Share your finished creation on DIY.org
Help!?
I don't have poster board, a ruler, or black markers—what can I use instead?
Tape several sheets of printer paper together or use flattened cardboard as your 'paper or poster board', use a straight book edge as a ruler, and replace a black marker with a dark pen or a thin paintbrush when you trace important lines.
My proportions look wrong and the title is too big—how do I fix layout mistakes?
Before you trace or color, re-measure with your ruler, lightly erase and adjust the pencil marks you made when you 'measure and mark where the main image and the title will go', and try sketching the title on scrap paper to pick a better size.
How can I adapt this activity for a 5-year-old or a 12-year-old?
For younger kids, pre-sketch the big shapes from step 4 and let them color and stick on costume pieces in step 9, while older kids can use precise ruler measurements, detailed shading in steps 4–7, or edit the photographed poster digitally after step 10.
How can we make the poster more special or display-ready after finishing?
Glue on fabric scraps or small props in step 9 for texture, mount the finished poster on cardboard, and follow step 10 to photograph it in good light so it looks great for framing or sharing on DIY.org.
Watch videos on how to recreate your favorite movie poster
ELA Movie Poster Project for Middle School & Upper Elementary: Book Report alternatives (PBL)
4 Videos
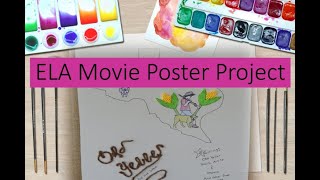
ELA Movie Poster Project for Middle School & Upper Elementary: Book Report alternatives (PBL)
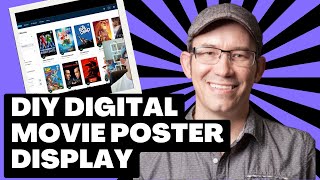
Create Your Own Stunning Digital Movie Poster Showcase: A Step-by-Step DIY Guide
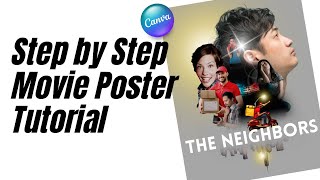
Create Stunning Movie Poster Collage Art with Canva | Step-by-Step Tutorial

Make a MOVIE POSTER like a Pro with Canva in Minutes!
Facts about poster design and basic photography for kids
🎬 Movie posters were often hand-painted until the mid-20th century, which is why many vintage posters look like paintings.
🎨 Designers use big simple shapes and high-contrast colors so posters are easy to read from far away—great trick for bold kid designs!
👗 Costume colors in posters often signal a character's mood—red for excitement or danger, blue for calm—so pick colors that tell your story.
🎭 Many movie props are made from lightweight foam, cardboard, or painted plastic to look heavy but stay safe for actors to use.
📸 To photograph your finished poster without weird angles, shoot straight-on in soft even light or use a tripod and level.
How do you recreate your favorite movie poster step by step?
What materials do I need to recreate a movie poster?
What ages is the movie poster activity suitable for?
What are the benefits of recreating a movie poster with kids?
